Case 2 - Improbable Suicide Walkthrough Part 2
More Mystery Detective Adventure
Welcome to our Mystery Detective Adventure walkthrough. This is another in the popular line of Mystery escape room and puzzle games from Five-BN.
This is Part 2 of our walkthrough for the second case in the game. Improbable Suicide is the case of the death of the son of a brothel owner. It appears to be suicide but the victims mother does not believe that her son would take his own life. In Part 1 we investigates Oscar Brown's involvements and found clues at the theater. Now we are going to check out the victims room.
Case 2 - Improbable Suicide Walkthrough Part 1
After speaking to the mother you have received the key to the victims room.

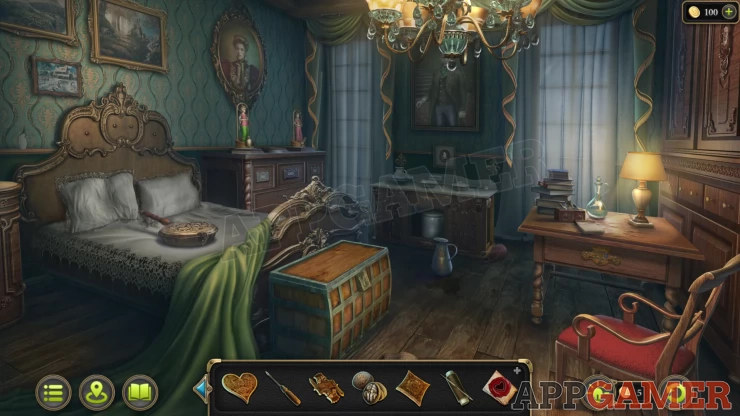
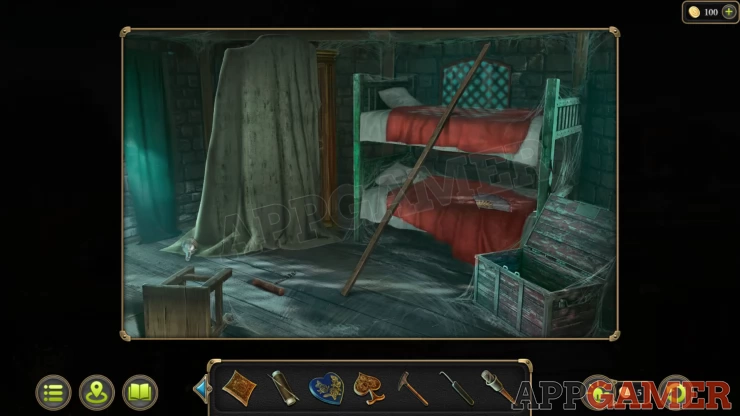
New Task - Inspect the Deceased's Room
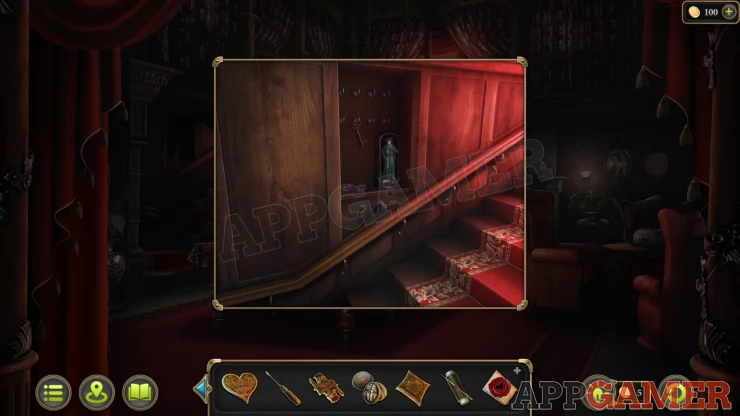
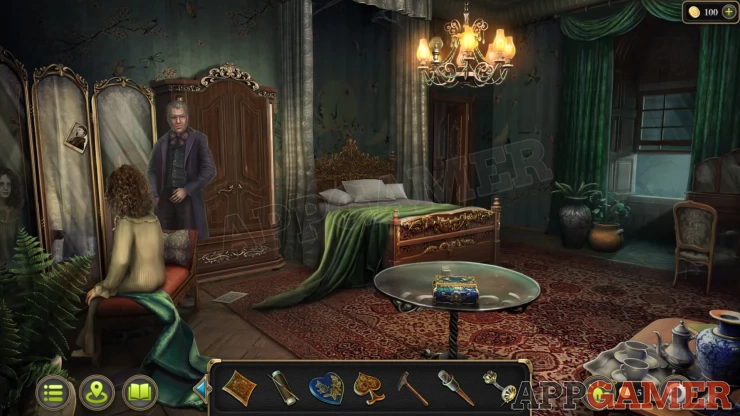
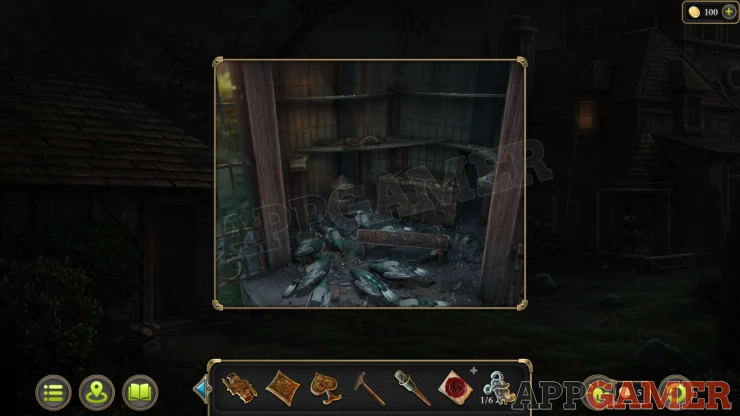
Head up the stairs in the brothel and use the key to enter the room.
Morphing Object: Wool / belt on the floor by the right side window.
View the table on the right.
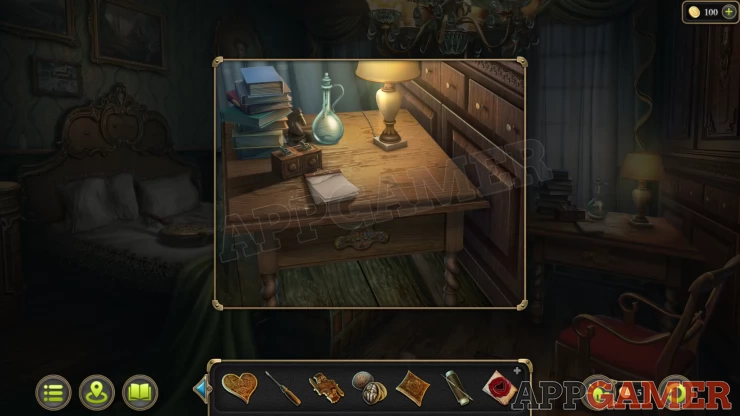
Collection Item: Chess piece on the table by the books.
Collect the Notebook
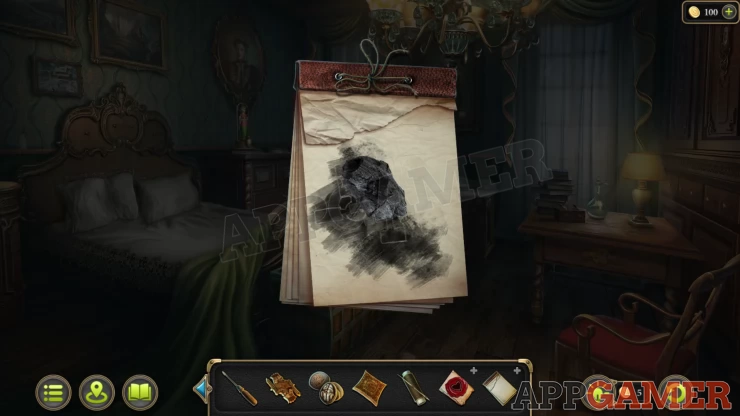
Now view the bed and collect the Warming Pan. View the pan in your inventory and collect from it some Charcoal

Now view the notebook in your inventory and use the charcoal on it to reveal a Clue.
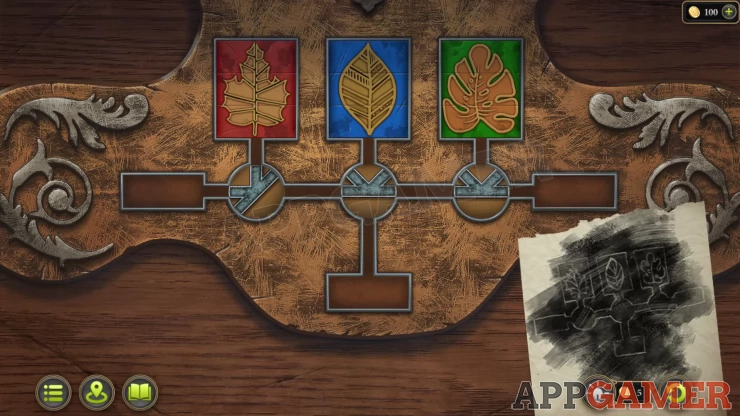
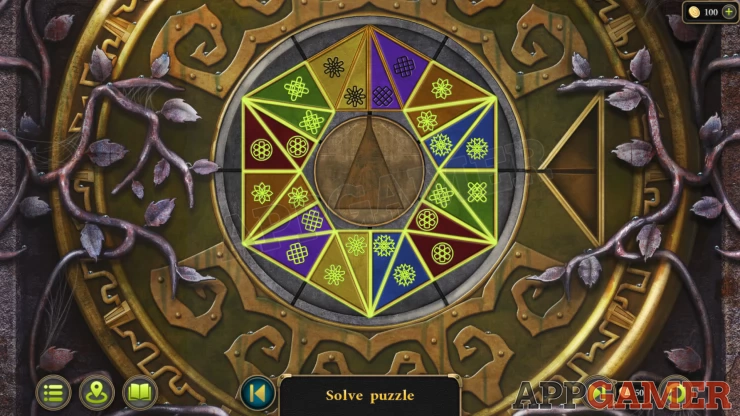
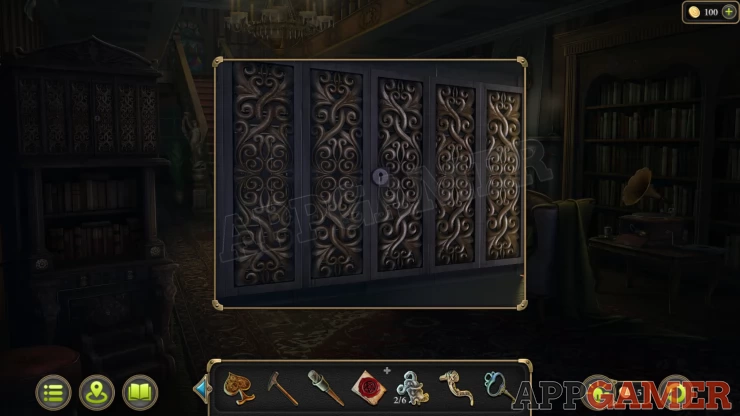
View the table on the right again and then tap on the decoration on the side to see a puzzle.
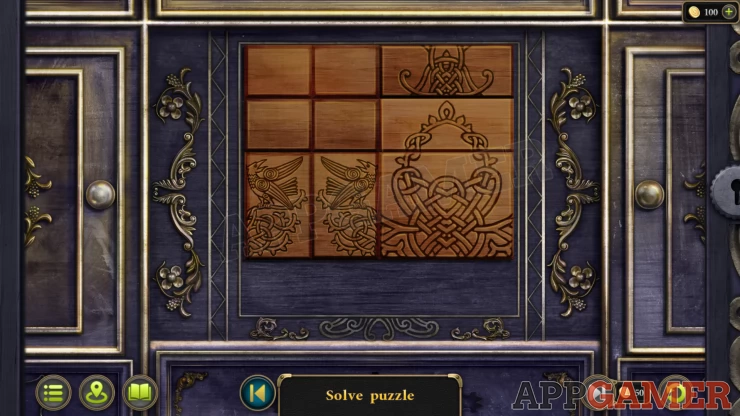
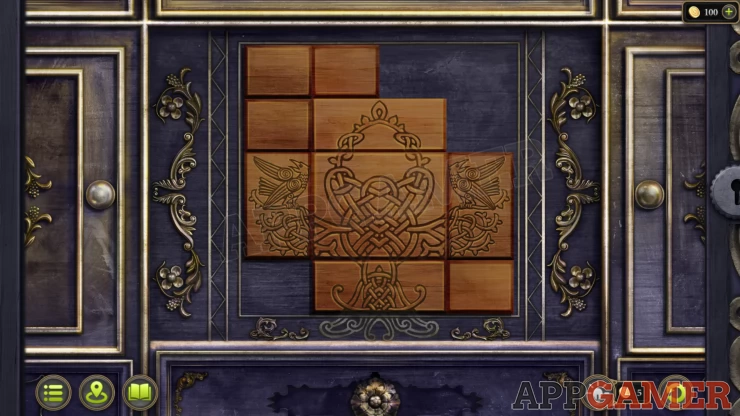
Table Puzzle
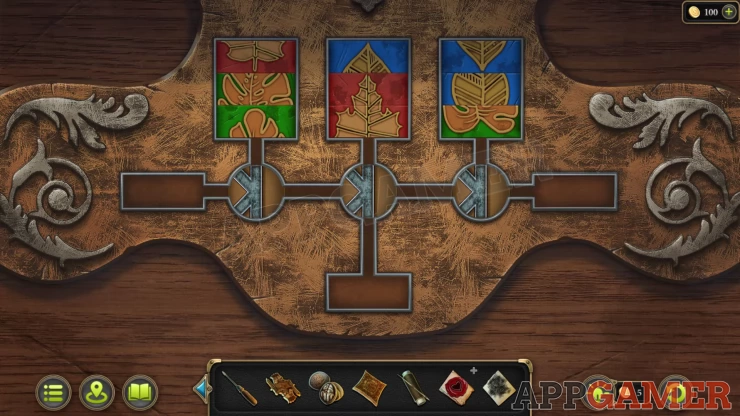
- Add the clue to puzzle to understand the solution.
- Tap the three circle junctions to rotate them and allow for different passages.
- Use these to let you move pieces of the 3 leaf images to the side storage areas.
- Arrange all the pieces to assemble the leaf images in the correct order as shown on the clue .
Solution: Show
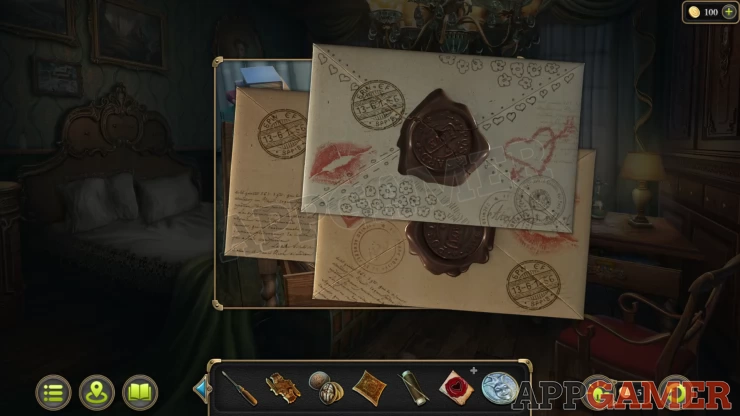
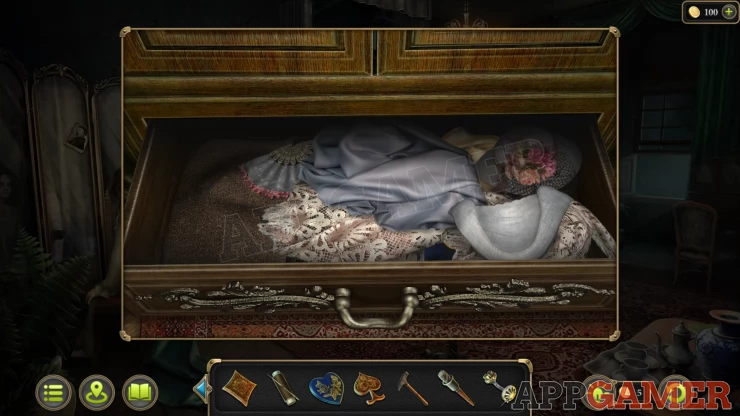
Collect the a Token from the drawer and then examine the letters. After reading them you get Evidence 4/5 - Love Letters
Go back down stairs to the Play room and view the small table on the right by the red chairs.
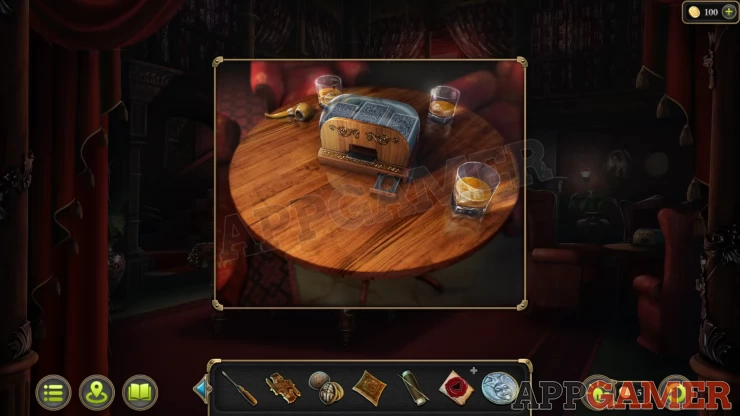
Add the token to the slot on the box and then you can collect a Joker card.
Now tap the bottom of the stairs on the left of the room, you will see a drawing of a Joker on the wall. Add the joker card to this to start a puzzle.
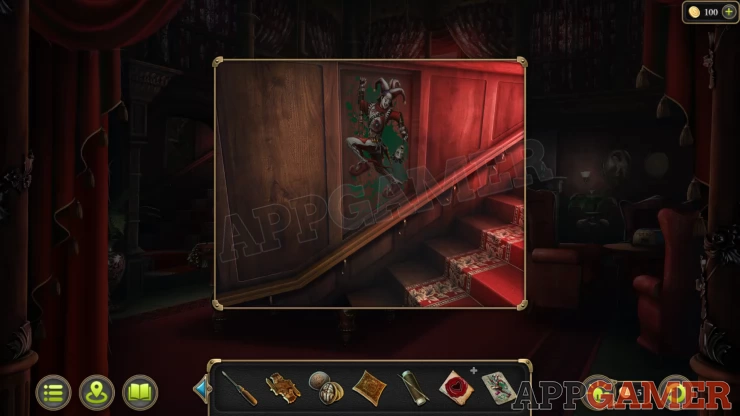
Joker Puzzle
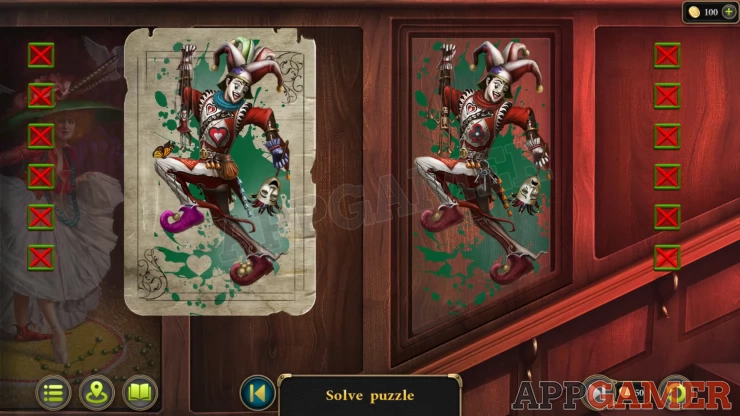
- This is a spot the difference puzzle
- There are 12 differences between the 2 pictures.
- These may be color or design of items in the pictures, or missing items.
Solution: Show
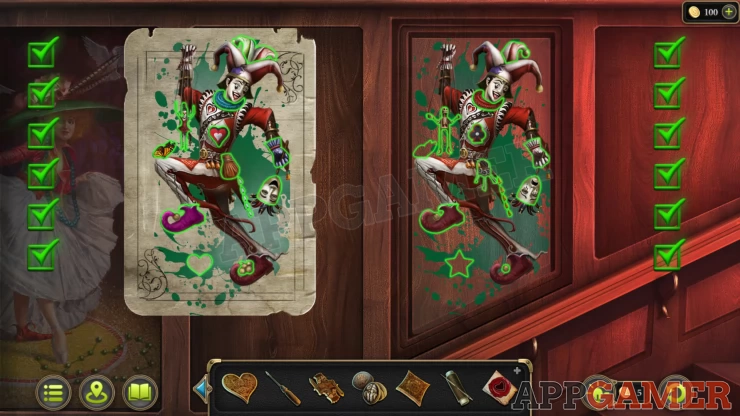
When the panel opens collect a Key and a Figurine.
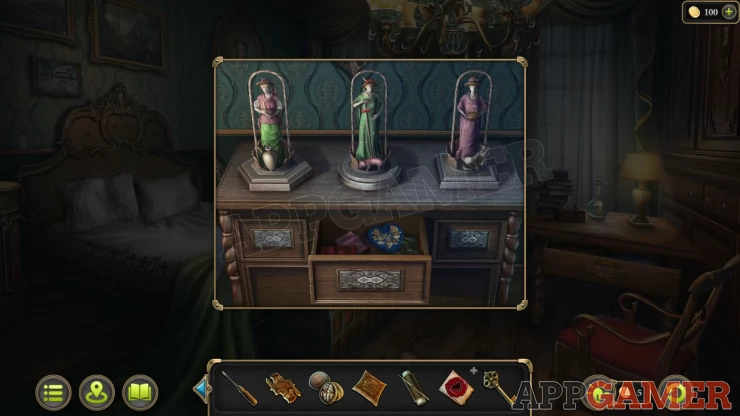
Now return to the bedroom and view the cabinet on the left behind the bed. Place the figurine in the center and a drawer will open. Collect the Heart.
Then view the chest at the foot of the bed. Use the key to open it.
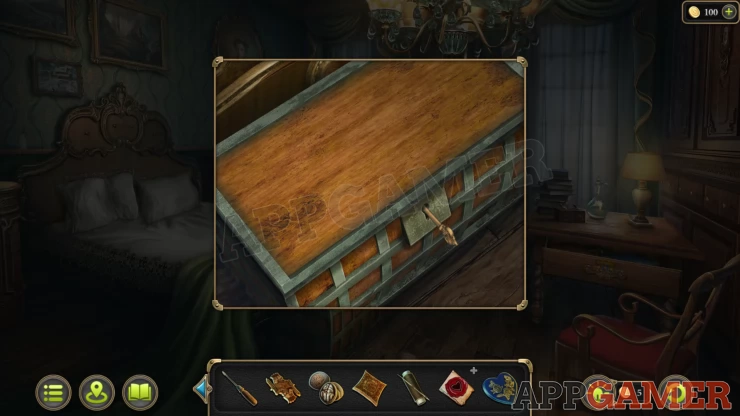
Collect a Weight for Clock and a Part of Box. Then use the tweezers on a red scrap of fabric on the bottom of the chest to open up a compartment.
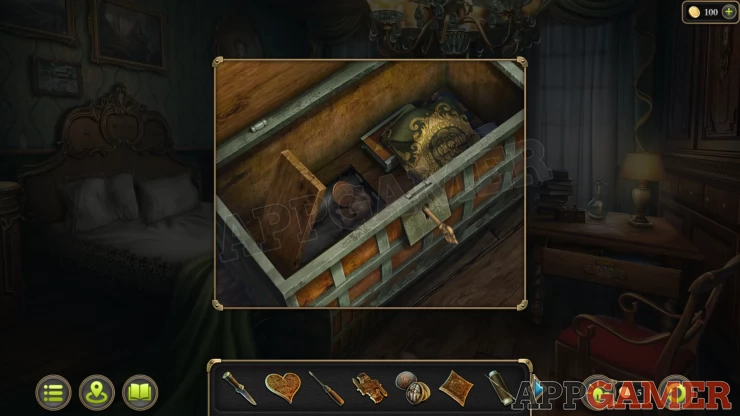
View a locket inside to get Evidence 5/5 - Medallion for a keepsake.
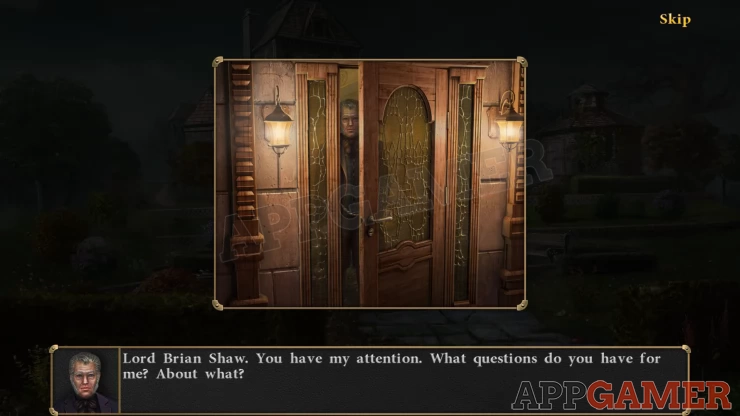
Talk to the mother to ask about Vivian Shaw.
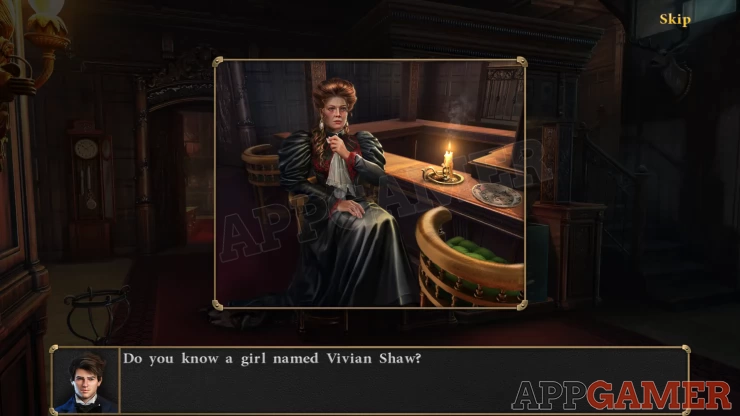
New task - Cherchez la Femme
View the tall clock to the left of the mother, Open the door and place the Weight for clock inside.
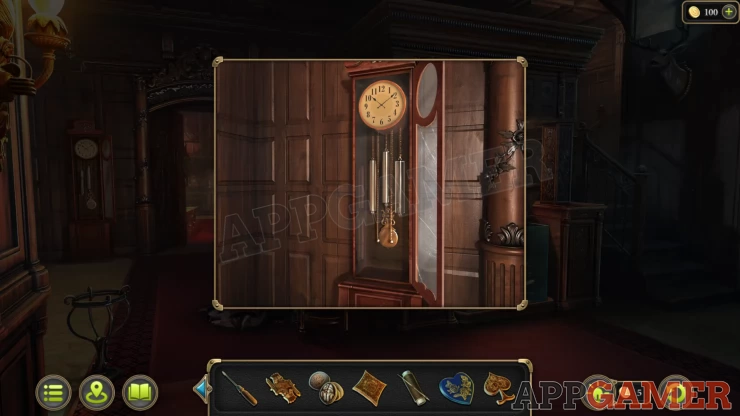
This opens a secret room.
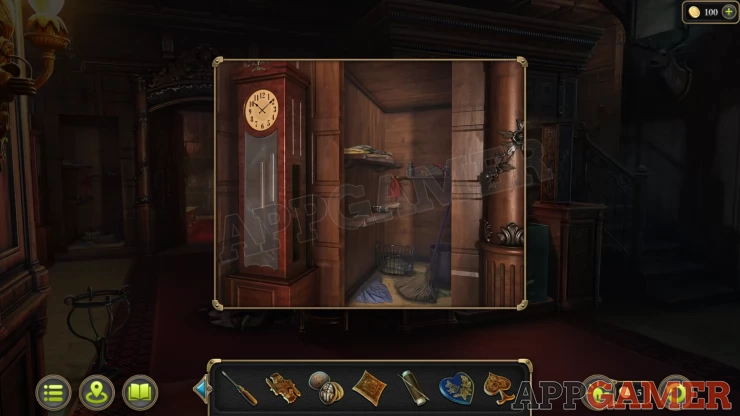
Collection Item: Fan on the shelf at the back.
Look inside to collect a Lock pick and a Hammer.
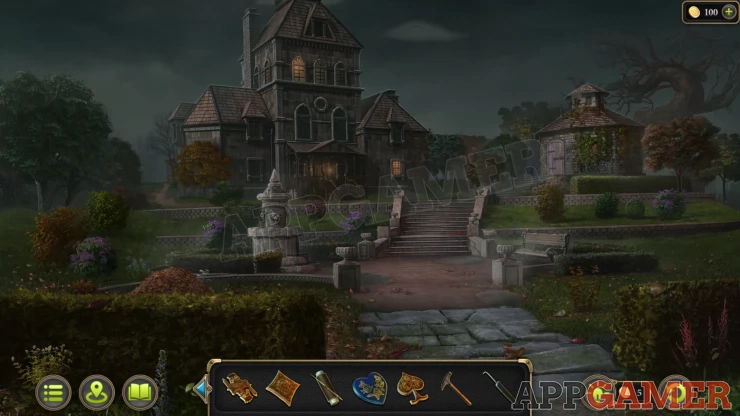
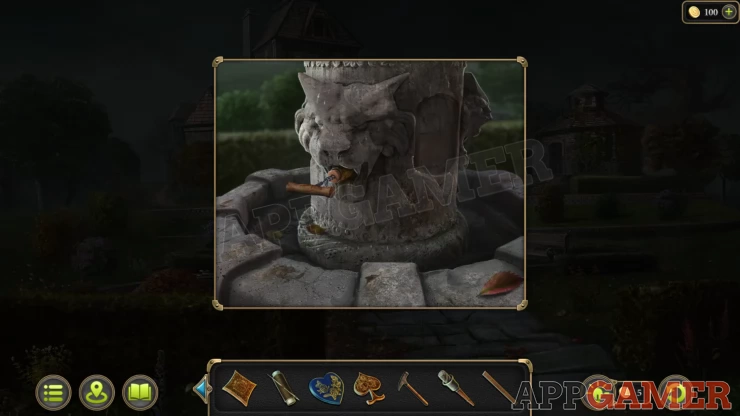
Now exit the brothel and tap the large estate at the top of the hill.
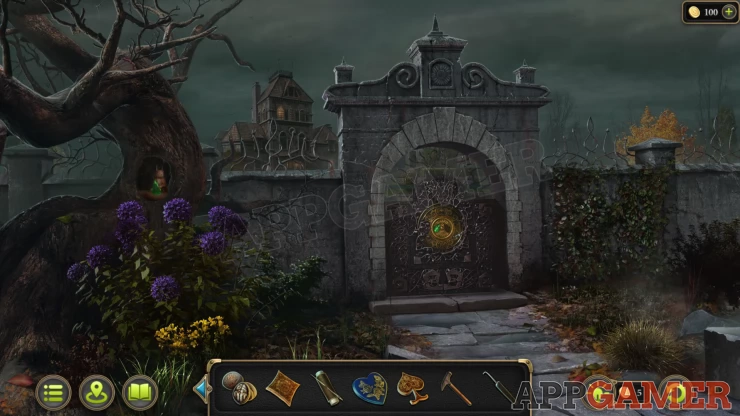
Collection Item: Fan near the top of the tree on the left.
Morphing Object: Stone craving design at the top of the archway above the gate.
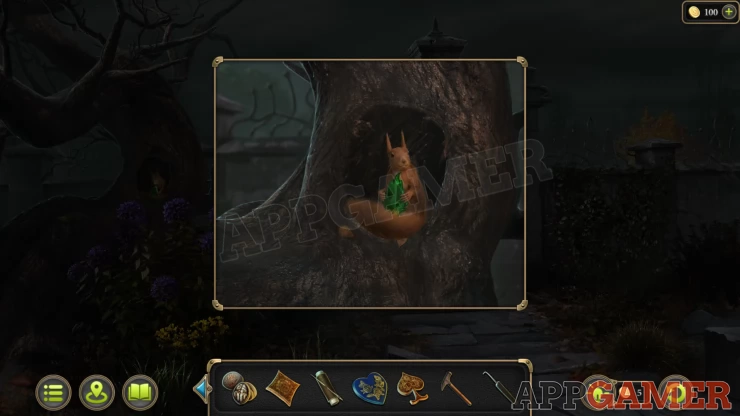
View the squirrel in the tree, place the nuts that you have and it will drop the Part of the Lock for you to collect.
Now view the lock on the gate and add the part to it. Tap to reveal a puzzle
Gate Puzzle
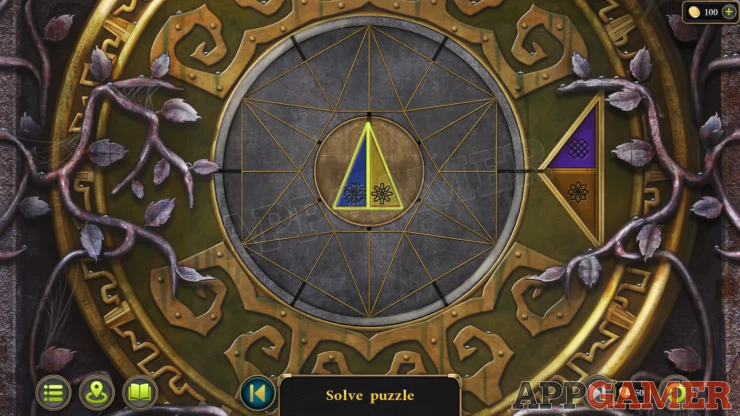
- There is a star shaped circular frame that you can rotate.
- In the center is a narrow triangle with 2 colored halves, and on the right is a wider triangle with 2 colored halves.
- You can tap the triangle to place them on to the frame.
- Continue to fill the frame until all of the triangle are added but you need to align them so that matching colors are next to each other.
- You can replace a triangle with another one as needed.
Solution: Your pieces may vary.
Show
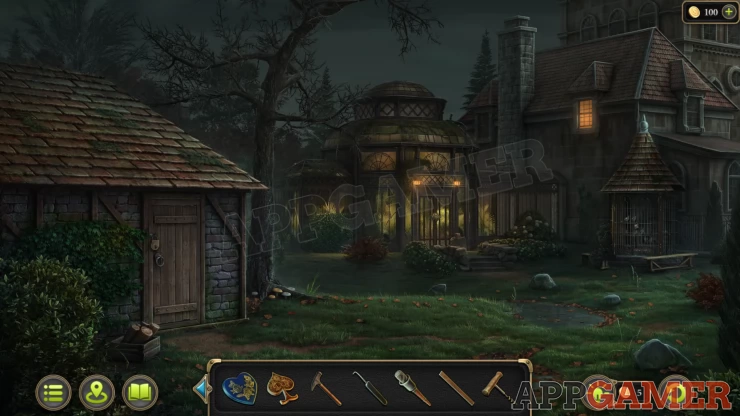
Enter the grounds, you will talk to Lord Byron Shaw.
New task - Strange Disease
Morphing Object: Cube / Sphere bush on the right.
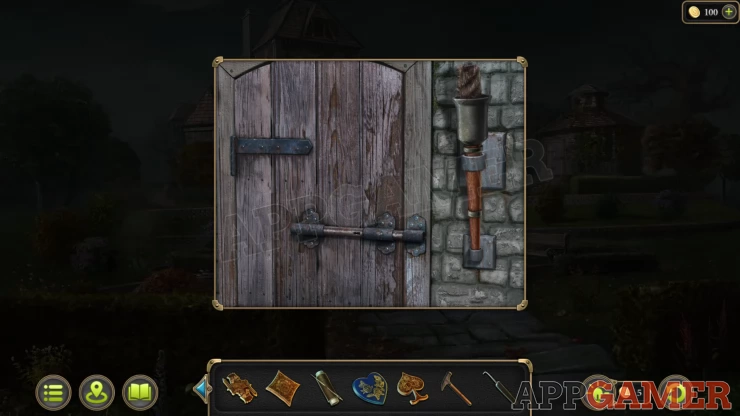
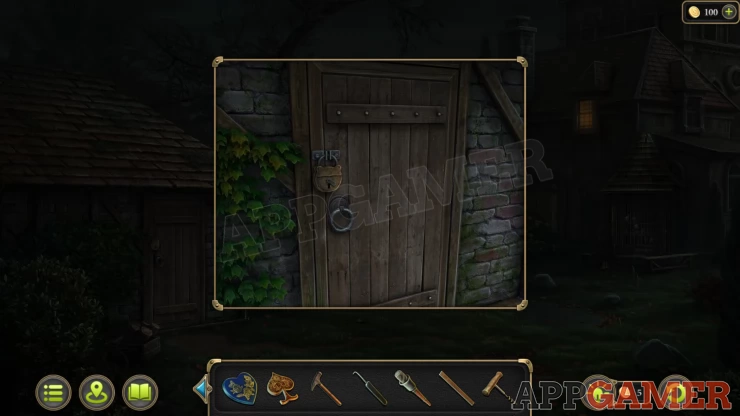
View the door to the smaller building on the right. Collect the Torch and then use the screwdriver on the bolt to open the door.
Collect a Board from the beads and then a Corkscrew from the floor.
Collection Item: Fan on the lower bed.
Back out and view the fountain on the left of the garden. Use the corkscrew on the cork stuck in the pipe.
Next tap on the path to the left of the house to go around to the back.
Morphing Object: point on top of the lower round roof on the right.
View the door to the outbuilding on the left, you can use the lock lick to open the padlock.
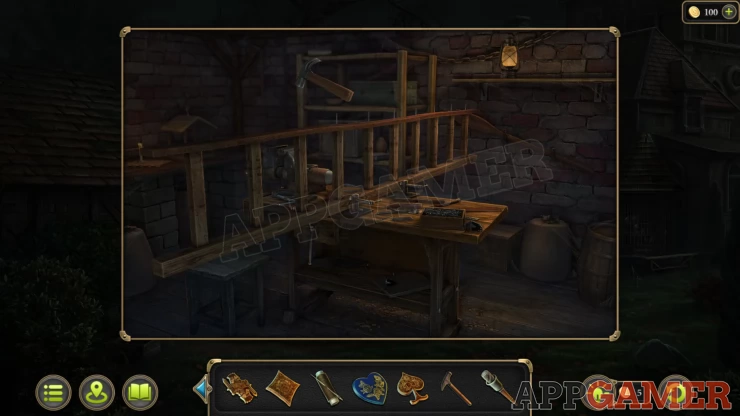
Enter the building to find a broken ladder.
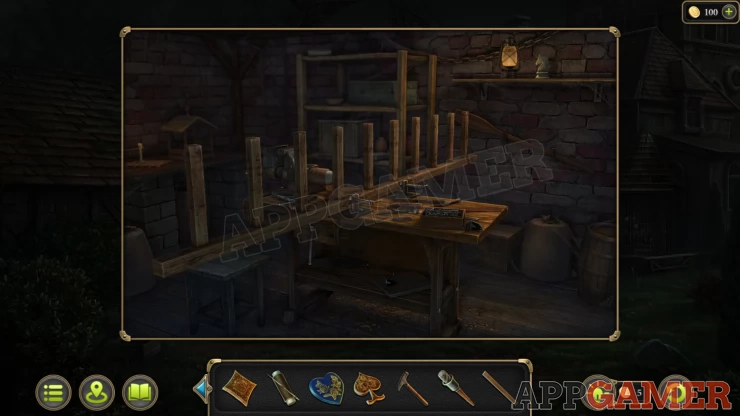
Collection Item: Chess piece on the shelf top right.
Add the board to the ladder and then tap the box of nails on the work bench, and then the ladder to place the nails.
Then use the Hammer to complete the repair, Collect the Ladder
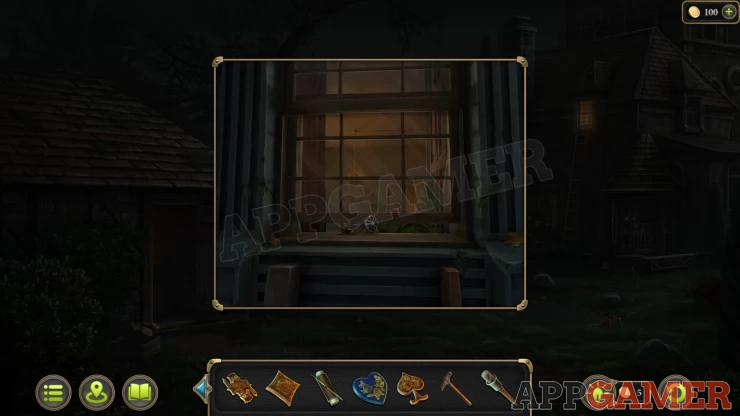
Use the ladder on the side of the house and climb up, Collect the Tone Arm for the window ledge and then go inside.
Talk to the Lord and then you can investigate.
Morphing Object: dragonfly design on the wall paper above the cupboard
Tap the drawer at the bottom of the cupboard and open it.
Collection Item: Fan in the draw.
Look through the clothes until you find a blue cape to get Evidence 1/8 Cape without button.
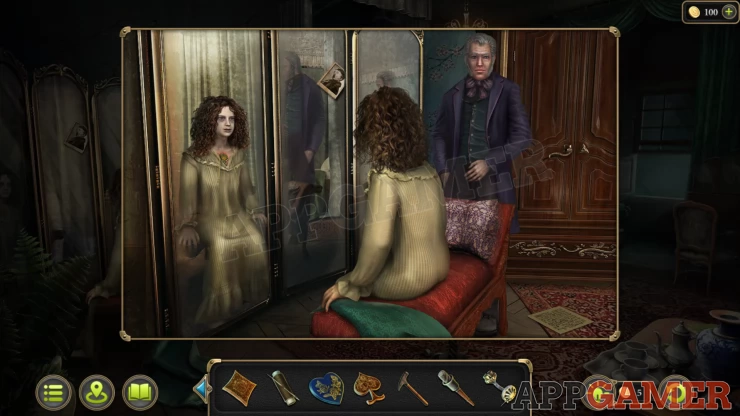
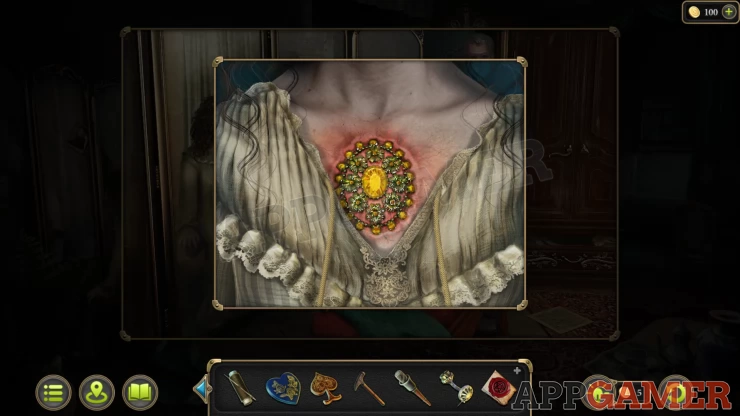
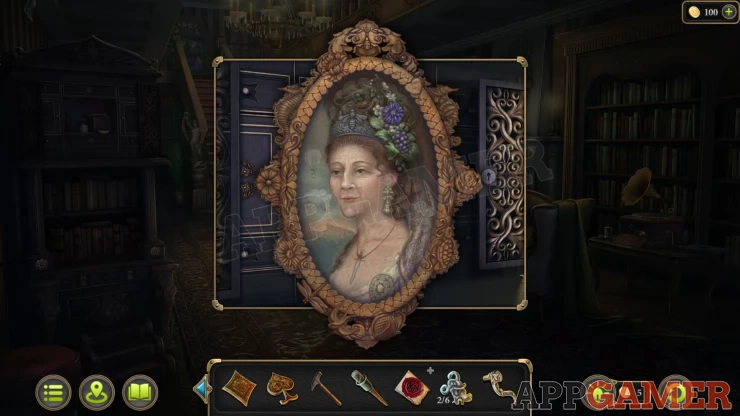
Tap on the daughter and then her reflection in the mirror to see a large brooch. Tap it to get Evidence 2/8 Brooch.
Then tap on the photo stuck in the mirror frame to get Evidence 3/8 - Photo of the deceased with his eyes scratched out.
Now view the round table in the center.
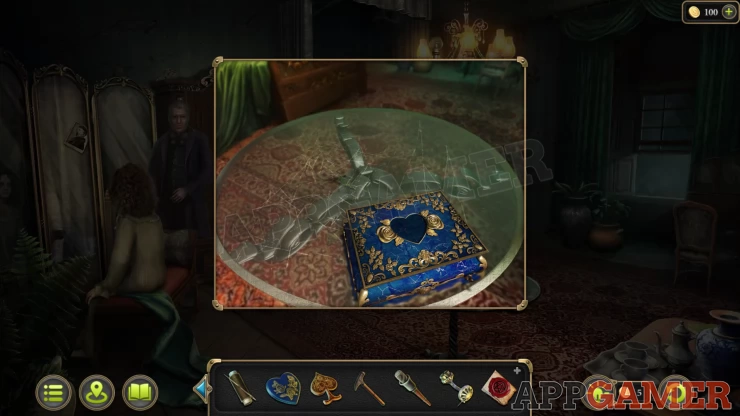
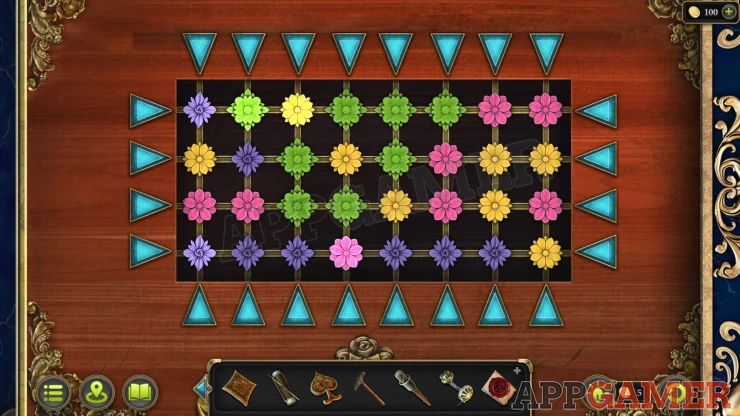
Add the heart you have to the blue box to reveal a puzzle, you need to get a clue first to solve this.
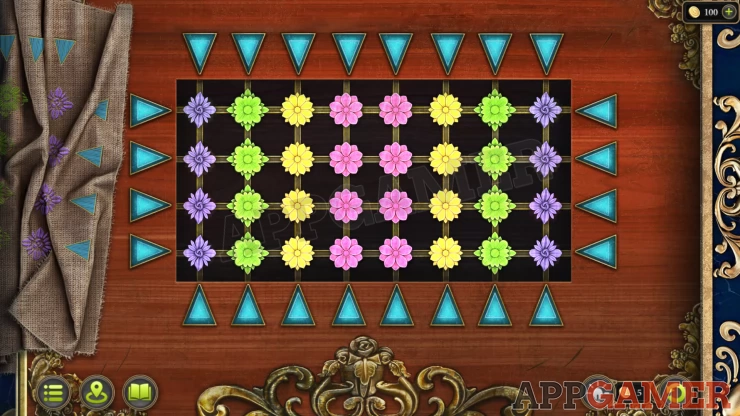
Heart Box Puzzle
- Travel back to the Play room in the Brothel and view again the upper balcony. On the left wall is a torn embroidery.
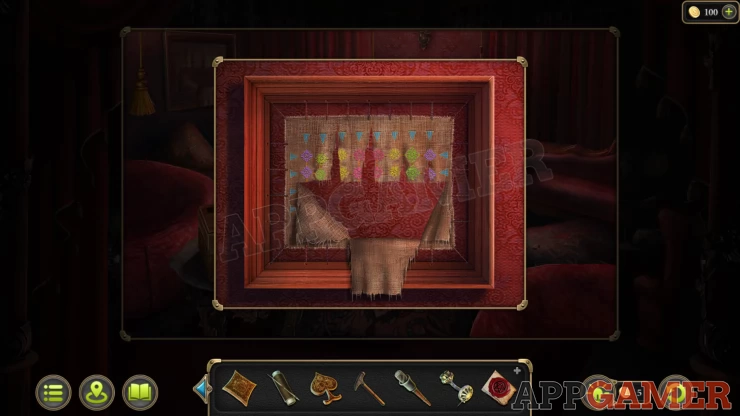
- Use the needle and thread on this to repair it and then you can use the knife to collect it.
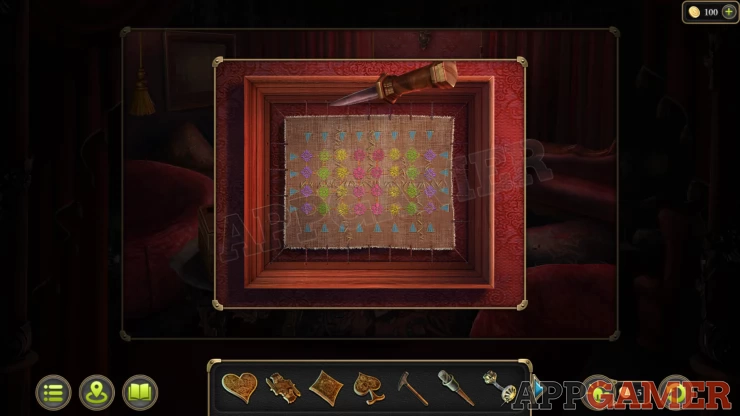
- Return to the bedroom of Vivian and you can add this clue to the puzzle
- Use the arrows to move each row or column.
- Arrange the colored flowers to match those in the clue embroidery.
Solution: Show
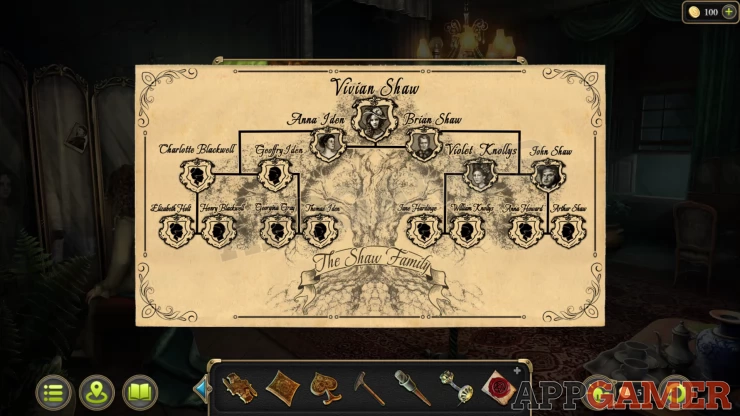
With the box opened you can view the Family Tree of the Shaw Family and then collect a Bas-relief (1 of 6).
Tap the door of the room to go down stairs to a library area.
Morphing Object: Cup / feather on the small book shelf on the left.
View the gramophone on the table on the right.

Collection Item: Chess piece on the left.
Add the Tone arm to the gramophone and then tap the handle to play it. The front will open up. Collect a Key.
Now return to the back of the house and view the doors to the greenhouse. Collect some Grain from the bag on the right.
Then view the bird cage that is on the right under the round roof.
Use the key to open it and then you can add the grain to attract the birds from the roosts.
Collect a Handle from a shelf and then open the box at the back and collect another Key and another Bas-relief (2 of 6).

Go back into the library of the house and use the key to open a cupboard at the top of the book shelf on the left.
This reveals a block puzzle
Block Puzzle
- Slide the blocks around the board
- You need to arrange them to complete the engraved picture on them.
Solution: Show
Once done view a picture inside to get Evidence 4/8 Portrait of the grandmother with a brooch.
Collect the Portrait, a Wrench and some Glue.
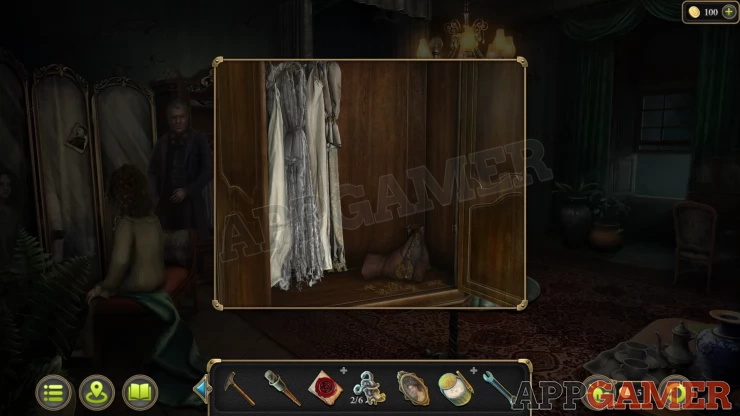
Then go up to the bedroom again and add the handle to the Cupboard door.
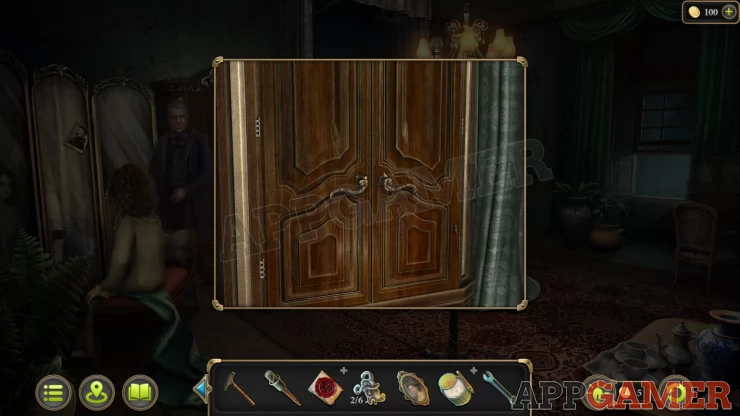
Open the cupboard and move the clothes to find some boots, tap these to get Evidence 5/8 - Dirty Boots.
Next we need to access the cemetery. This is found back in the lower city street by the brothel.

We will continue this guide in Case 2 Part 3
| Case 2 - Improbable Suicide Walkthrough Part 1 | Back to Top | Case 2 - Improbable Suicide Walkthrough Part 3 |
 With 20 years of experience in creating video game content for the internet and over 30 years as a gamer, Mark is now a passionate mobile App Gamer. Loving a challenge, he is always ready to get stuck in to both survival builders and puzzle solving games. He has been providing content for AppGamer since 2014.