Case 3 - Mine Accident Walkthrough Part 2
More Mystery Detective Adventure
Welcome to our Mystery Detective Adventure walkthrough. This is another in the popular line of Mystery escape room and puzzle games from Five-BN.
This is Part 2 of our walkthrough for the third case in the game. Mine Accident is the case of the death of a miner in an apparent accident. But the mine manager is worried that is was not an accident.
In Case 3 Part 1 we investigates the scene of the accident in the mine and found a second miner dead in their house in the town .
Case 3 - Mine Accident Walkthrough Part 2
After finding the second miner dead we now have a new task.
New Task - Get to the Lighthouse
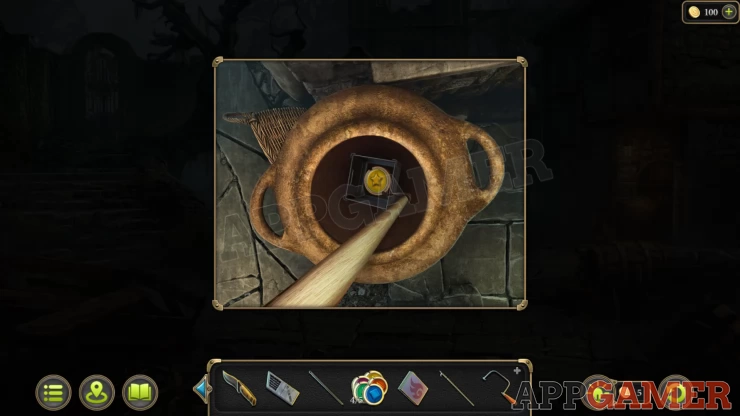
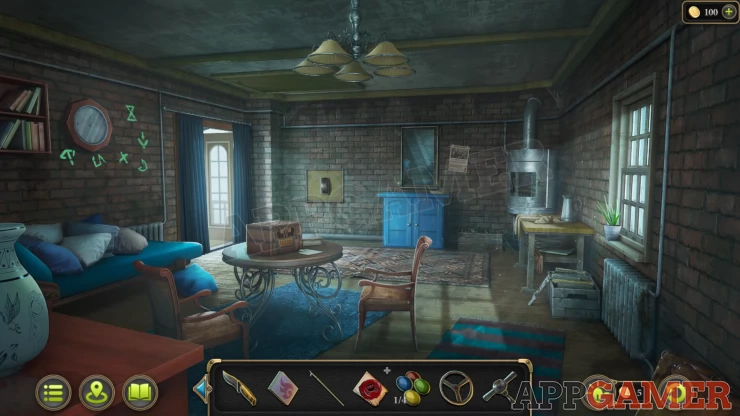
Back up to the town center and view a large urn on the right under a lamp.
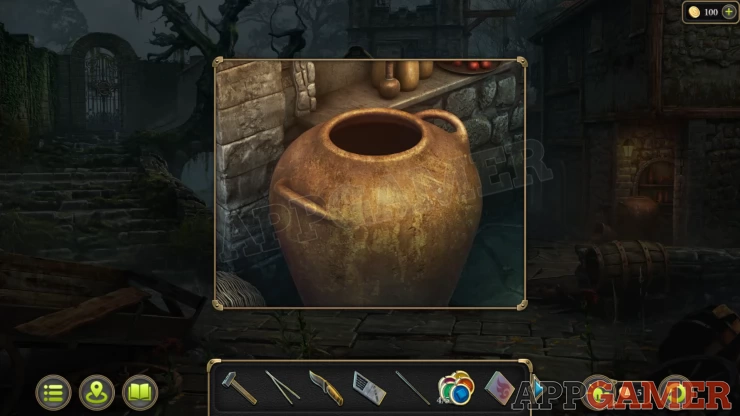
Look inside and use the hook to collect the yellow chip - Chips (5/5).
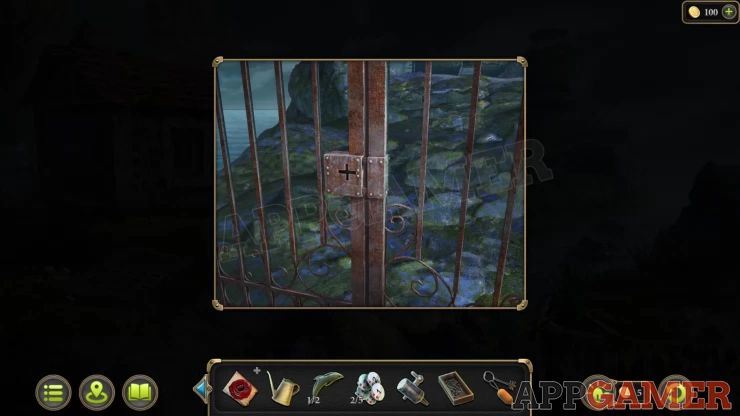
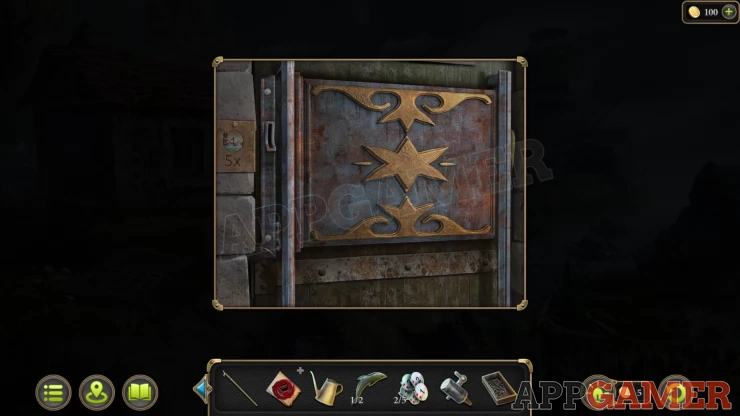
Now view the gate at the top of the steps on the left.
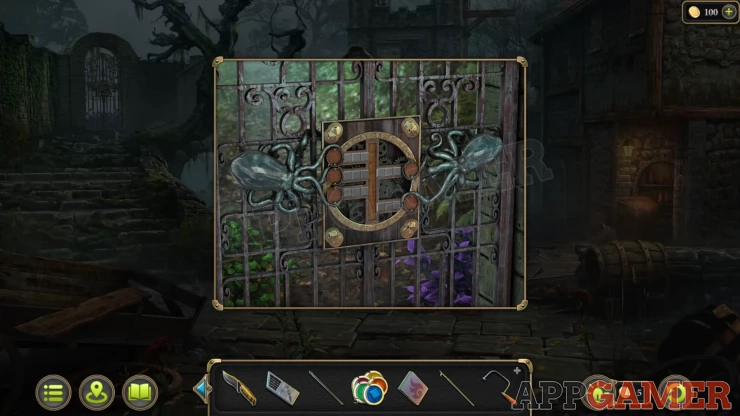
View the puzzle and add the 5 chips to it. You will be told the blue one is wrong.
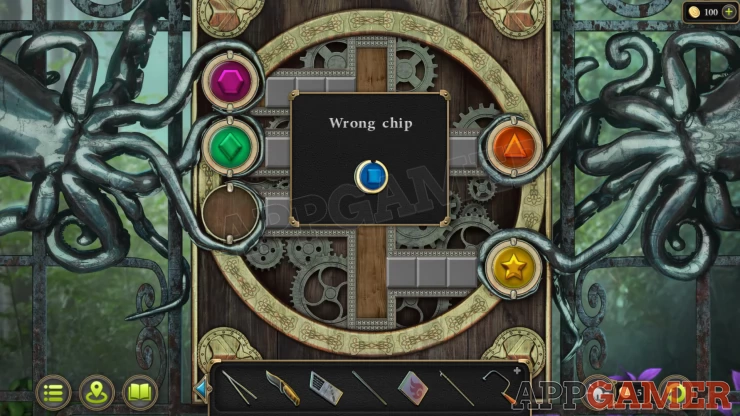
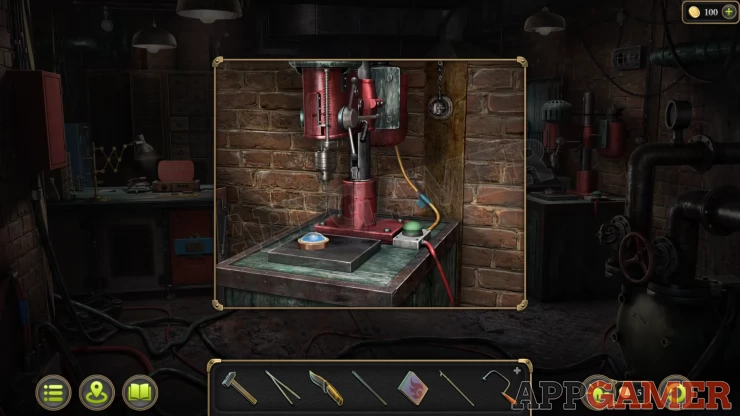
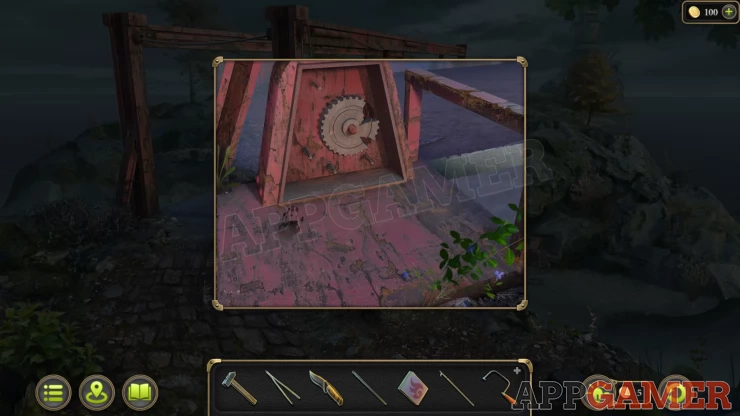
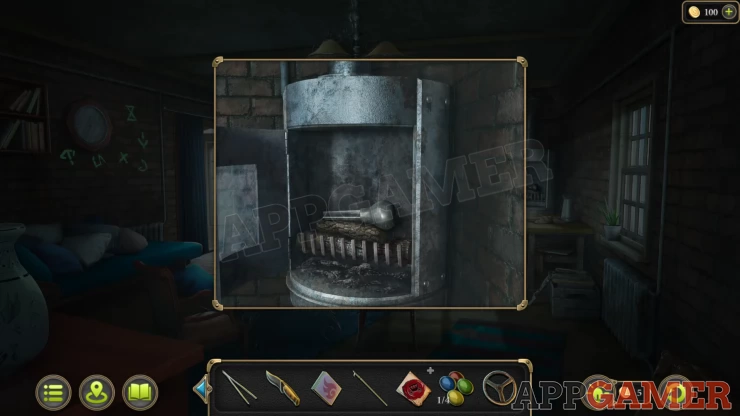
Travel back to the mine workshop and view a pillar drill on the right. Add the blue ship to it and also the set of drills.
Tap the drill to make a new hole and then collect the Chip.
Go back to the game and add the amended chip to start a puzzle
Chip Puzzle
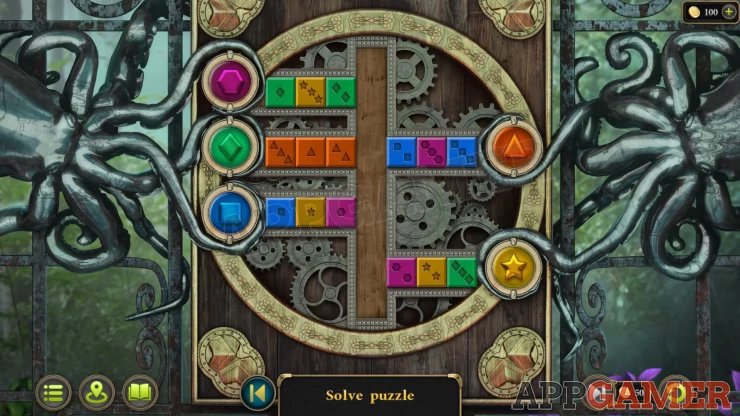
- The puzzle has a number of colored squares with 1, 2 or 3 stars.
- The board has 5 branches, 1 for each colored chip.
- Move the squares around to arrange them in the matching colored branches and in the correct order of 1, 2 and then 3 stars.
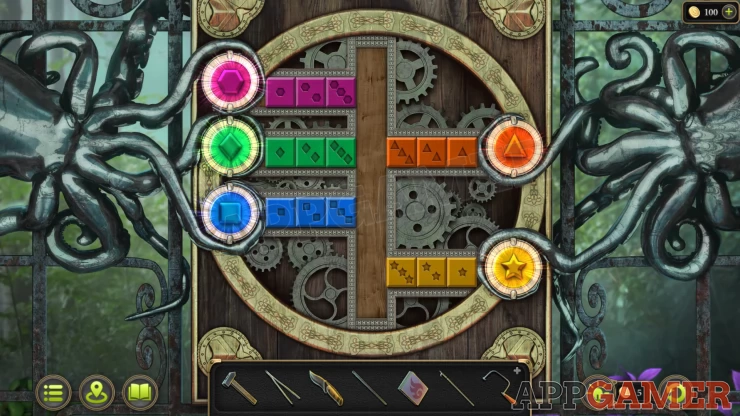
Solution: Show
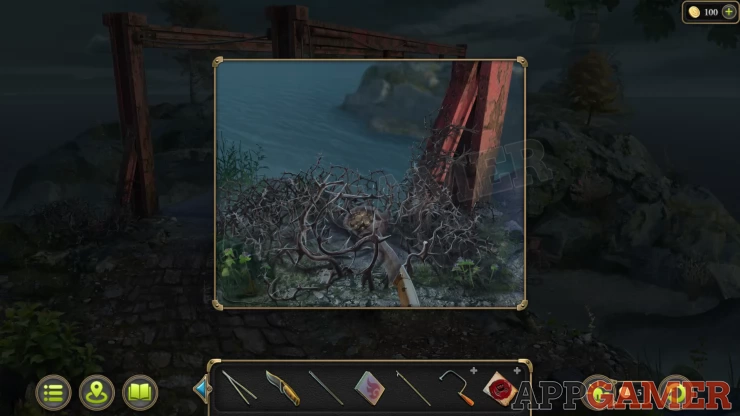
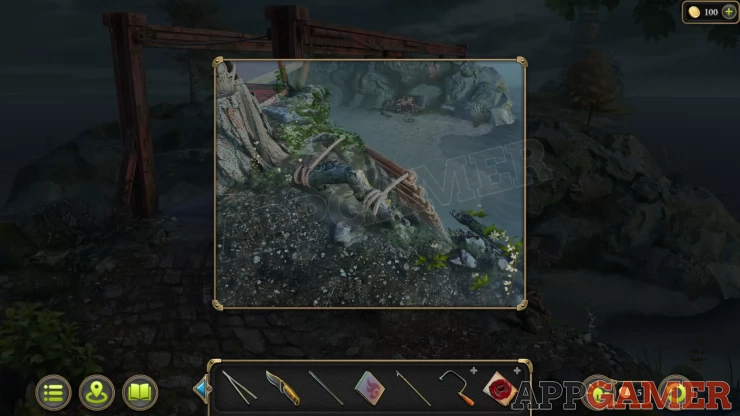
Go through the gate to a road and then on to a bridge. There is another body below the bridge.
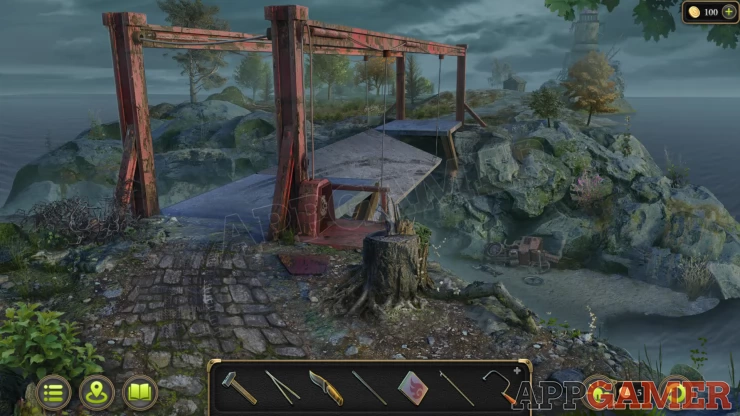
Morphing Object: Tree on the cliff above the fallen vehicle.
View the open panel on the side of the bridge to see a broken gear.
Tap the hand print to get Evidence 1/4 - Handprint. Then you can remove the gear.
Next view the tangled bush on the left side of the bridge. Use the knife here to cut it back then you can collect a Bag.
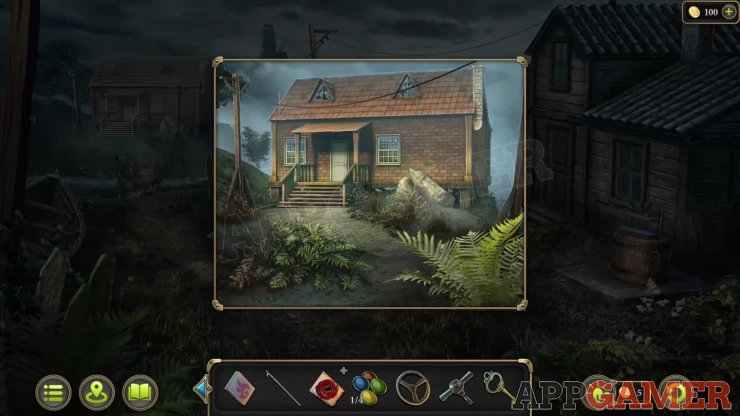
Back up to the town center and then follow the path through the archway under the tree until you reach the houses.
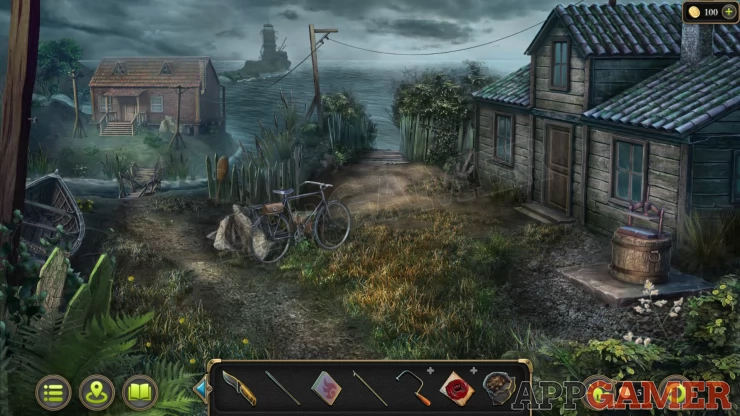
Collection Item: Anchor to the left of the house on the right.
Morphing Object: Broom / Oar by the fence behind the bicycle.
Now follow the path by the house on the right to move down to the Pier.
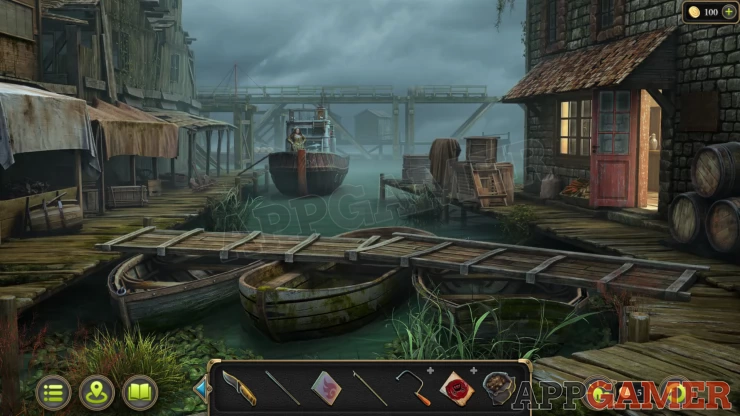
Collection Item: Anchor on the wooden dock on the left of the boat.
Morphing Object: Box on the high pier platform above the boat and to the right.
Tap to talk to the captain on the boat. She requests a bottle of rum in return for the ladder.
Enter the shop on the right. Talk to the shop keeper.
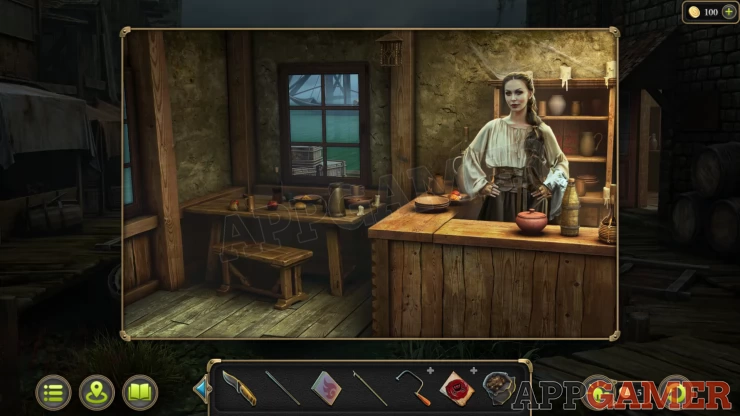
After the conversation give the Bag to her and she will sell you a bottle of rum. Return to the captain of the boat and give her the rum you will then be able to collect the Rope Ladder.
Return to the bridge above the car accident and view the edge of the cliff on the right. Then place the rope ladder there.
You can now view the crash scene.
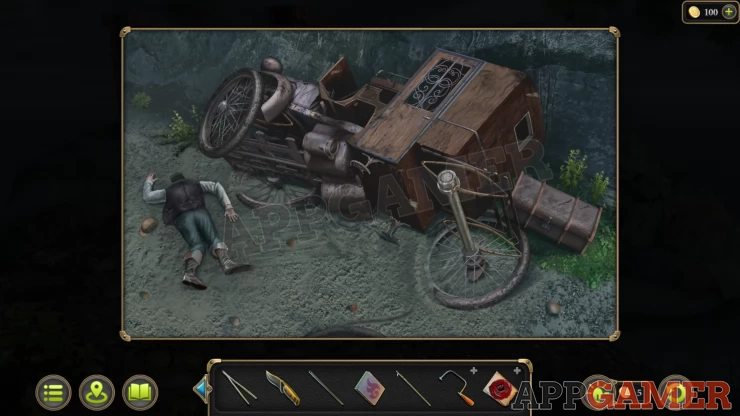
Collection Item: Hard hat on the ground to the left of the body.
View the body and collect a Key from the pocket.
New Task - Inspect Michael's House
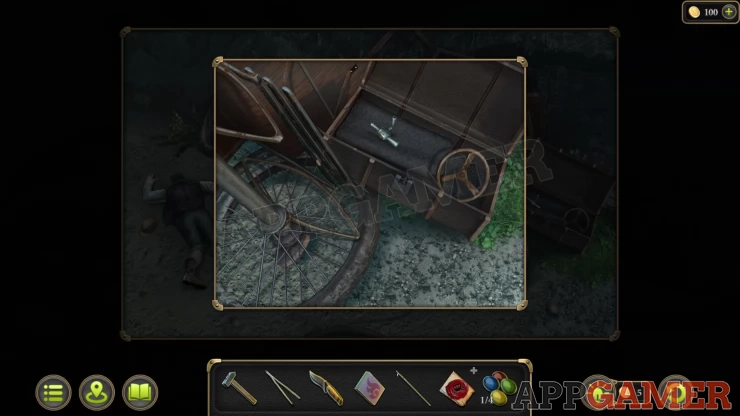
Open the door to the carriage and look inside. Collect the blue stone - Stones (1/4).
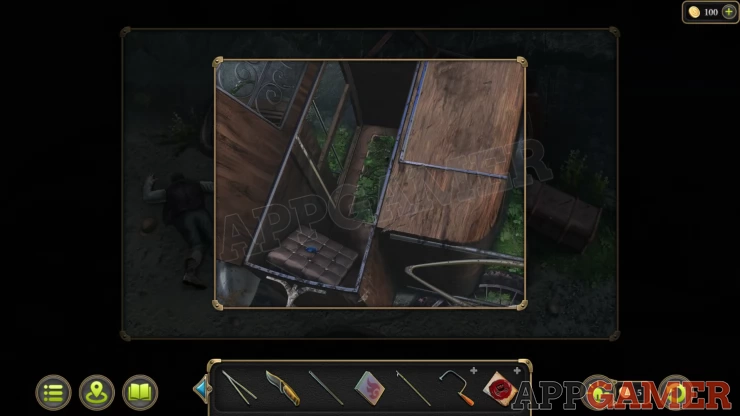
Then view the Trunk that has fallen off the back of the vehicle.
View the Hacksaw frame in your inventory and then add the hacksaw blade to it. Collect the Hacksaw.
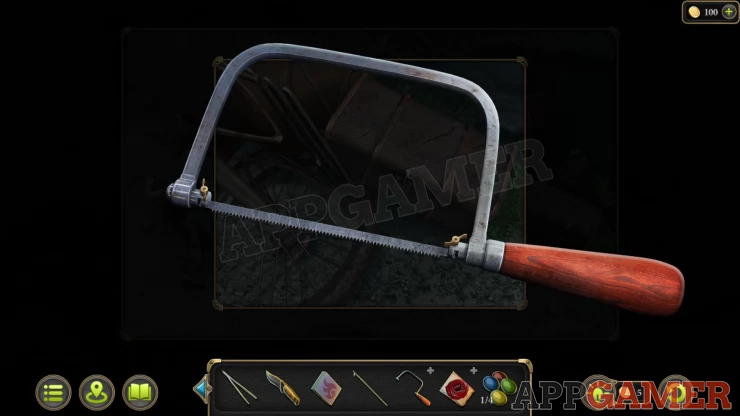
You can then use this to cut open the trunk.
Collect the Handle and the Valve
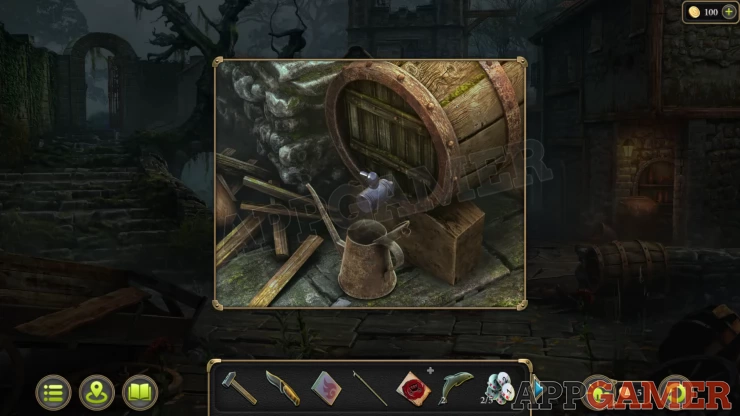
Return to the houses by the pier and use the key on the one on the left to unlock it.
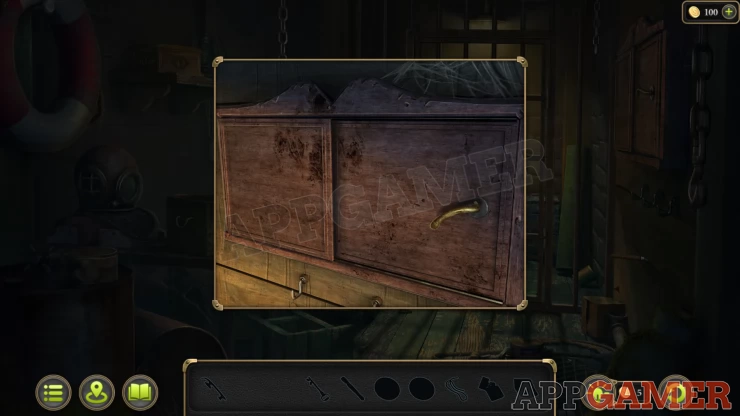
Morphing Object: glove / sock on a shelf under the table on the right wall.
View the wood burner on the back right of the room and use the handle to open it. Collect a Lever.
Then view a panel on the wall near the door, add the lever to it and lower it to bring down a ladder to the attic.

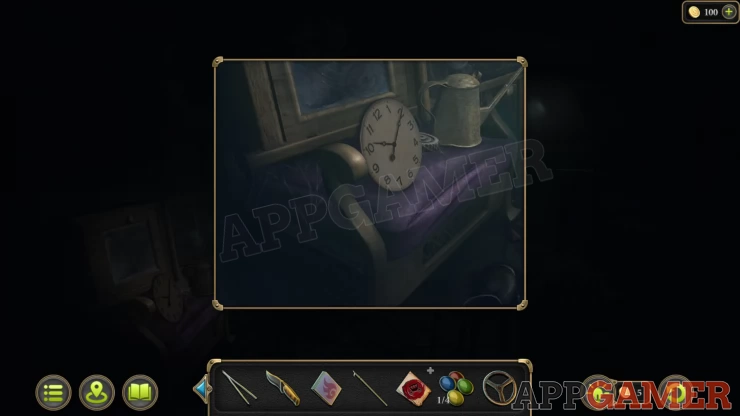
Look up in the attics and collect a Clock Face and an Oiler.
Go back down and view the clock on the wall on the right. Tap on the strange symbols to get Evidence 2/4 - Symbols on the wall.
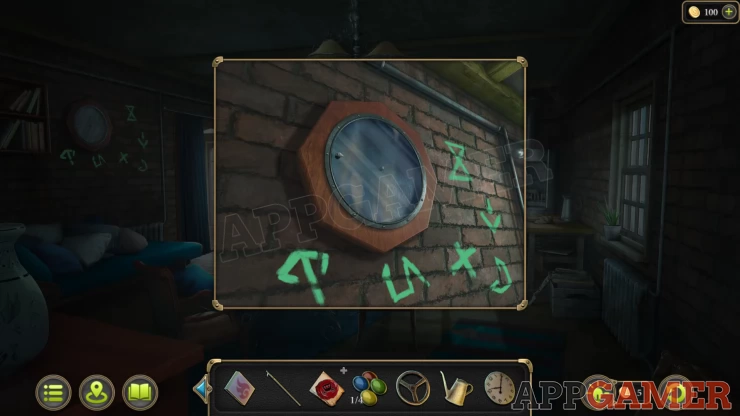
Add the face to the clock and then you can collect Part of the Code and a yellow stone Stones (2/4)
Next view the sofa under the clock and move the cushion to find a green stone Stones (3/4)
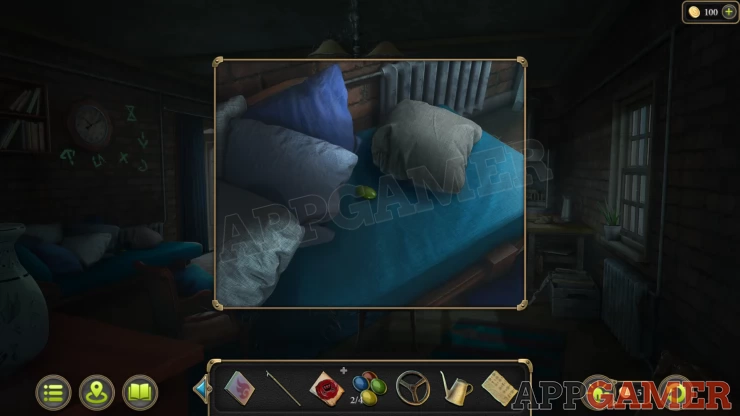
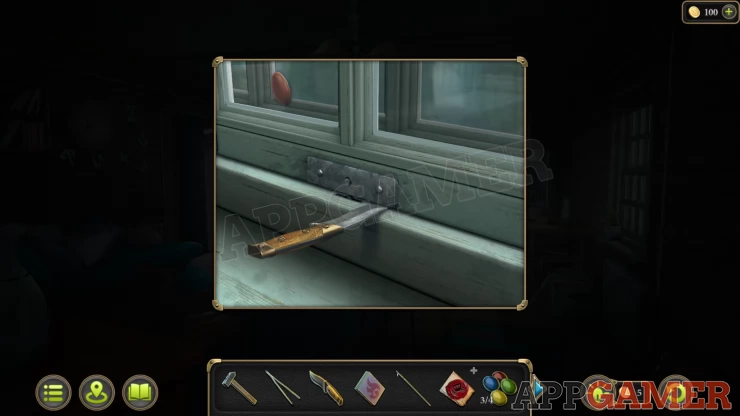
Then view the window on the right, use the knife on the clock and collect a red stone Stones (4/4)
Next view the table in the center
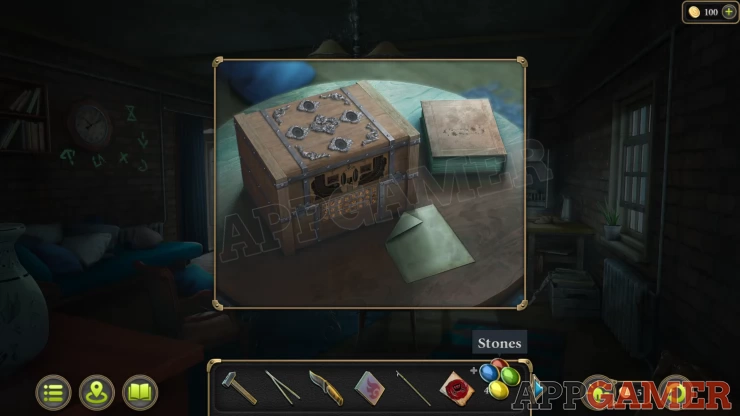
Collection Item: Anchor logo on the book
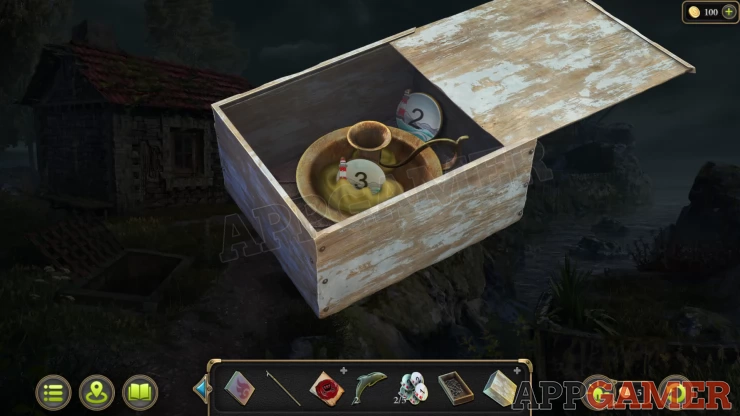
Add the 4 stones to the top of the box and then you can view a puzzle
Stones Box Puzzle
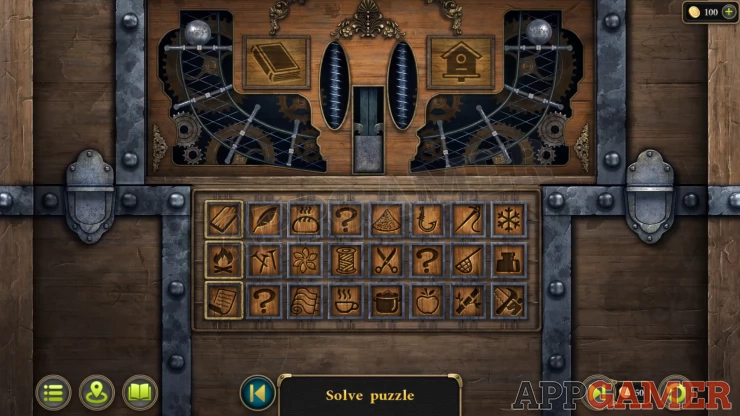
- There are 2 balls on the top left and right that need to be dropped down to the center.
- Each side has 4 gates to open.
- There are 2 symbols shown at the top (left and right)
- For each symbol select 3 items from the board blow (1 from each row) that relate to the symbol above.
- Some of the options begin as question marks and will be revealed as you progress.
- Some of the items seem to be odd choices.
Solution:
Show
Collect the second Part of the code from the box.
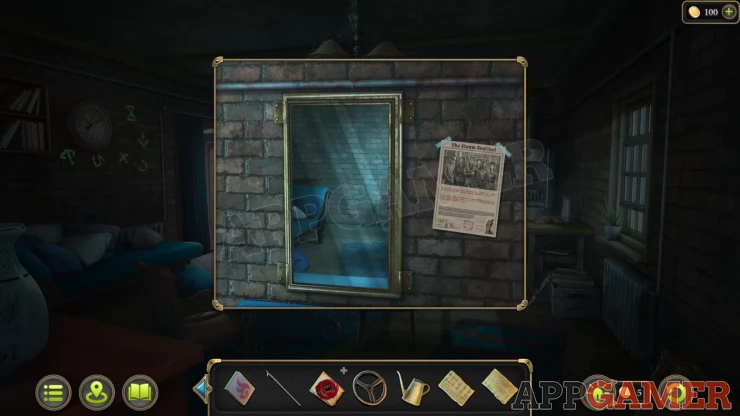
Next view the mirror on the wall. Read the news paper. Then tap the mirror to find a safe behind it.
Wall Safe Puzzle
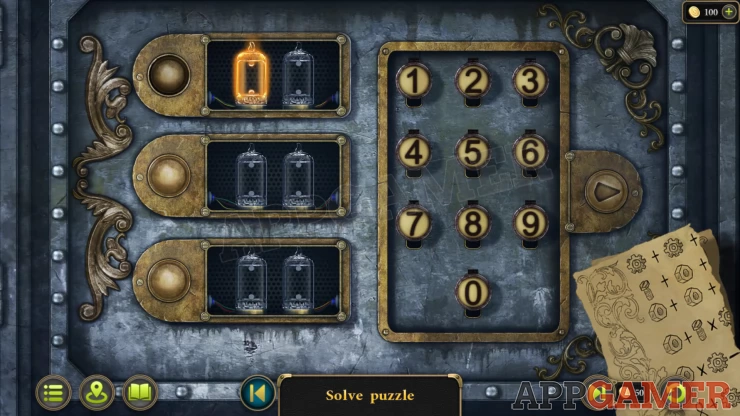
- View the puzzle and add the 2 parts of the code to it.
- You can then view the code to see the clues to getting the numbers.
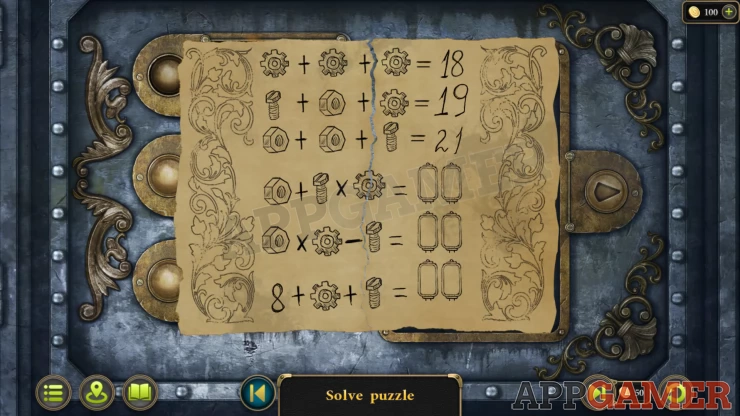
- Solve the item equations to assign the correct values.
Solution: Gear = 6, Bolt = 5, Nut = 8 38 43 19Show
Read the letter in the safe to get Evidence 3/4 Letter about the ghost
Go back up to the attic and tap the small source of light to open the blinds.
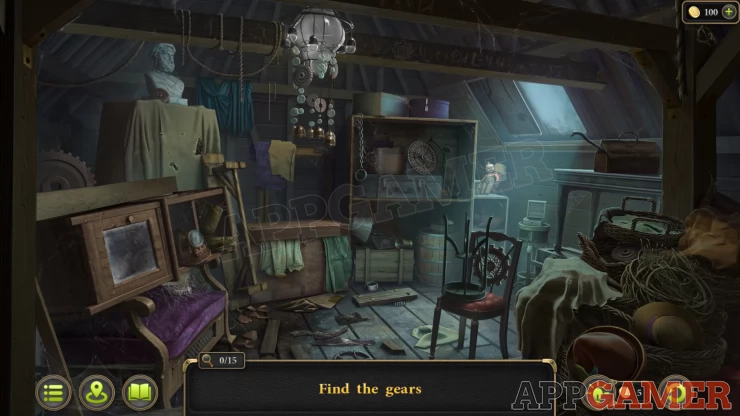
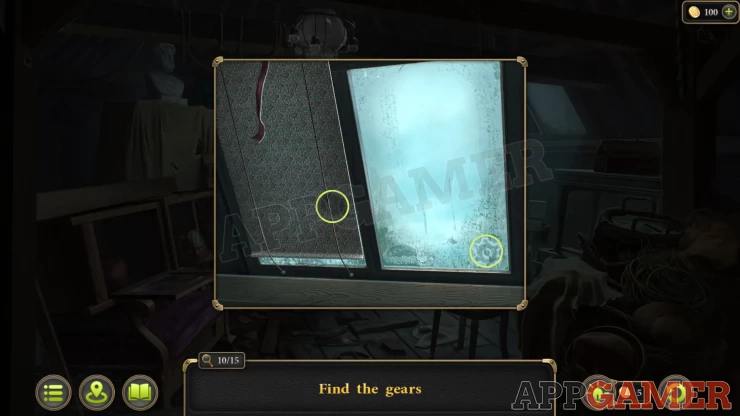
You now need to find 15 gears in the room.
Main scene (10) - You will need to use a crowbar to lift a board from the floor.
Show

Window (2) - Lift the left blind to find one
Show
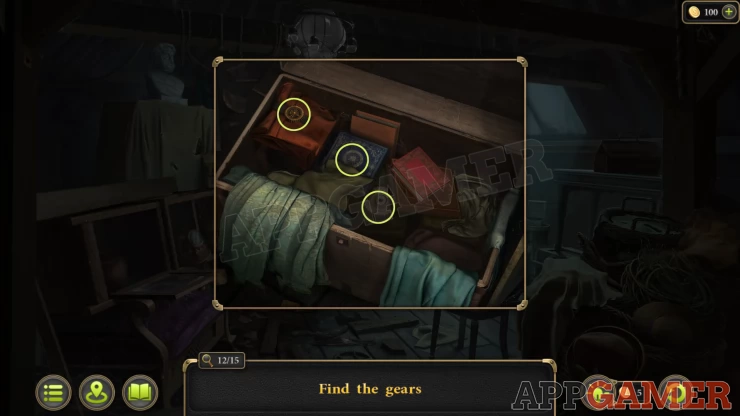
Open the large box back center and look inside (3)
Show
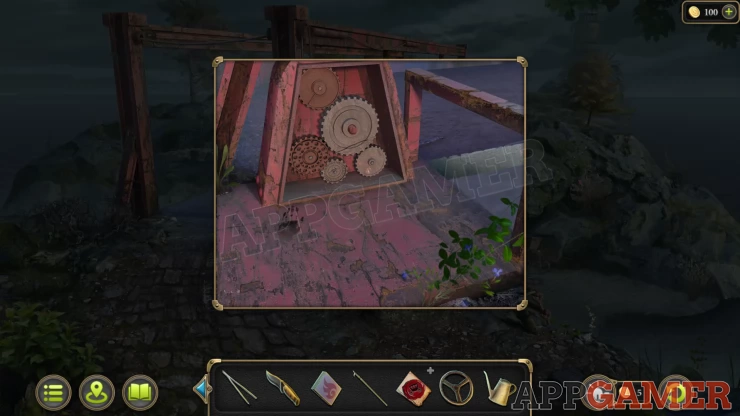
Now that you have collected the gears return to the bridge to the light house.
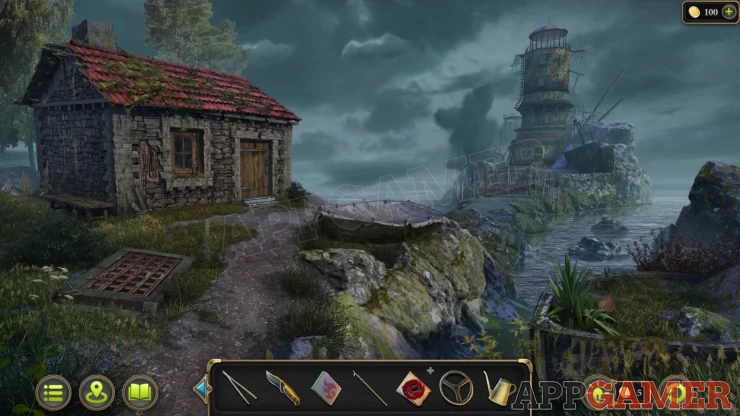
Add the gears to the open panel on the side and the bridge will be repaired.
Pass over to the other side
Collection Item: Anchor on the side of the building on the left.
Morphing Object: Star / shell by the spiky plant on the lower right.
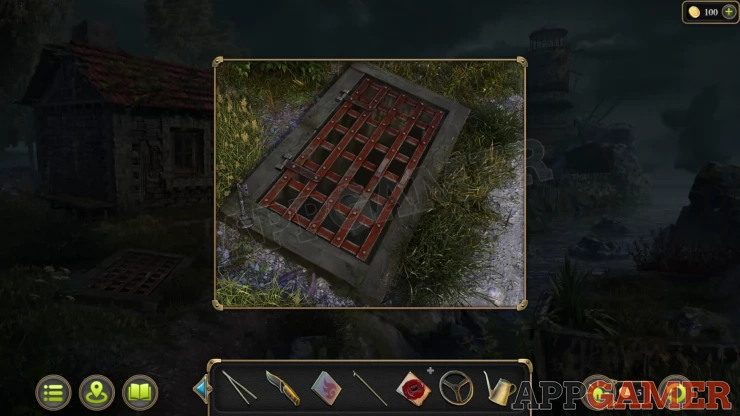
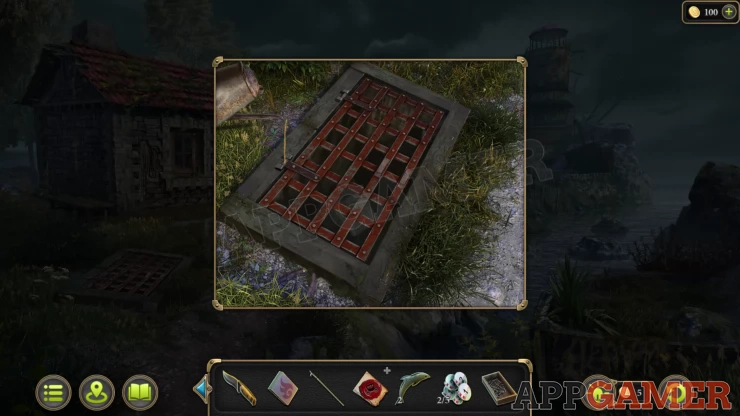
View the red grate in the ground on the left and collect a Key.
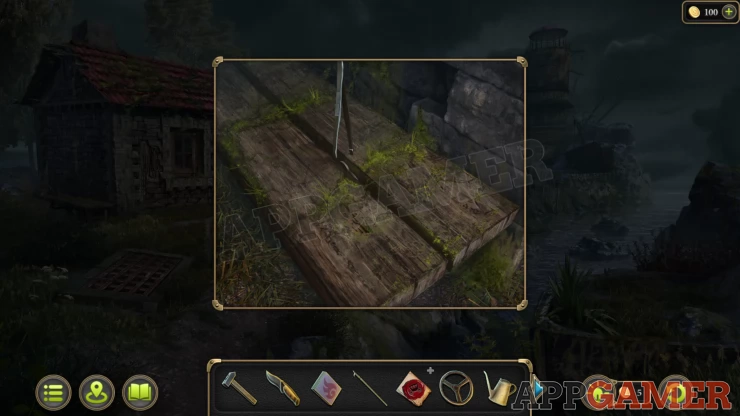
Then view some wood planks at the back of the building on the left. Use the tweezers here to collect a Dolphin (1/2).
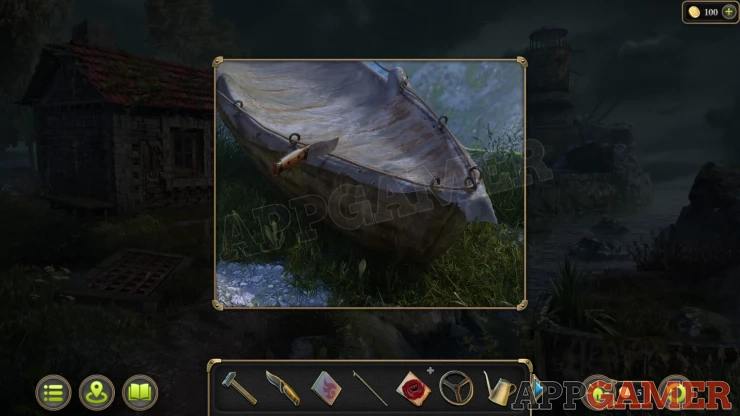
Next view the boat and use the knife to cut the rope and remove the cover. Collect a token - Tokens (1/5)
Now view the door to the building and use the key to open it. Enter the house.
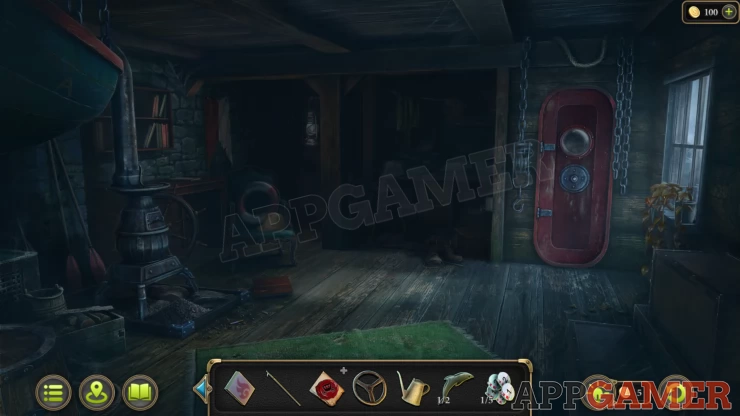
Collection Item: Hard hat on the chair to the left.
Morphing Object: Symbol on the side of the boat hanging on the top left.
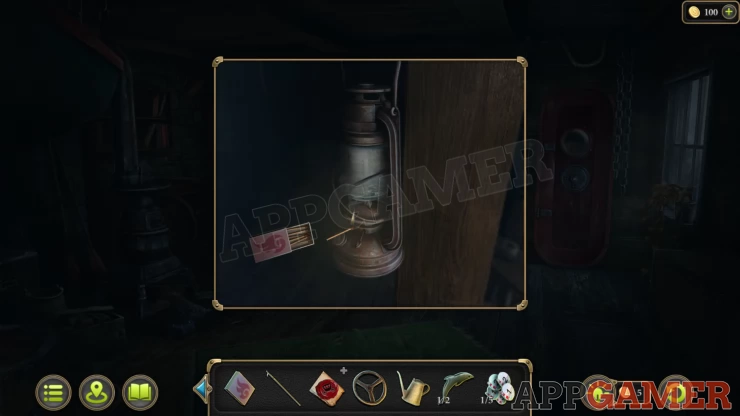
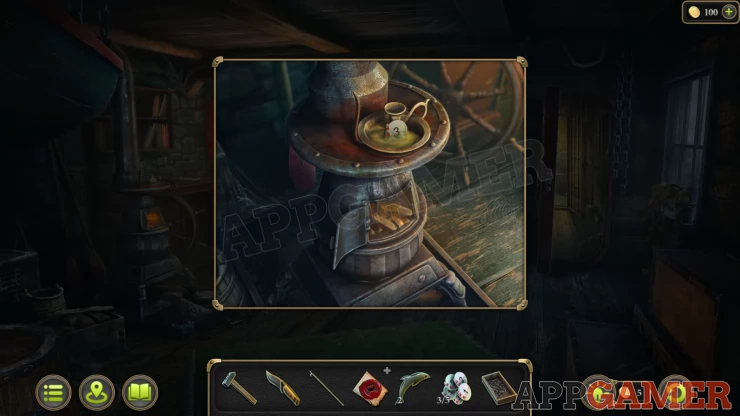
View the lantern hanging at the back and use the matches on it to light it.
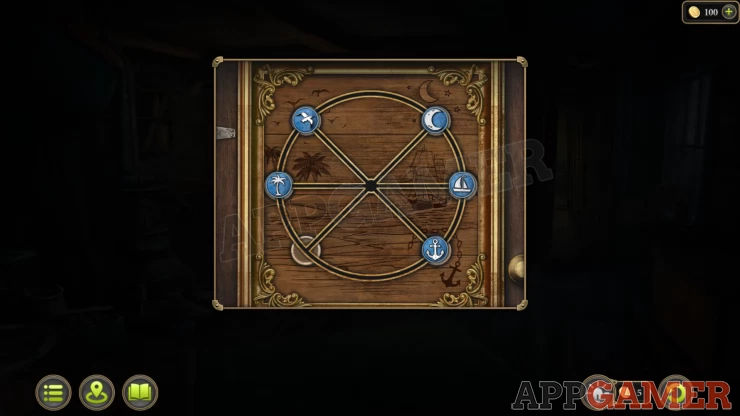
View a table in the back center of the room to see a puzzle on the front.

Symbol puzzle
- There are 5 symbol tokens that you can slide around the puzzle.
- Move them to the correct locations.
- You tap a symbol to move it to the empty slot if it is next to it.
- The symbols need to match the designs on the board of the puzzle.
Solution: Show
Collect a Tap, some Nails and another token - Tokens (2/5)
Next view the red door on the right and add the valve wheel to it. This will open the door. Go through to the back room.
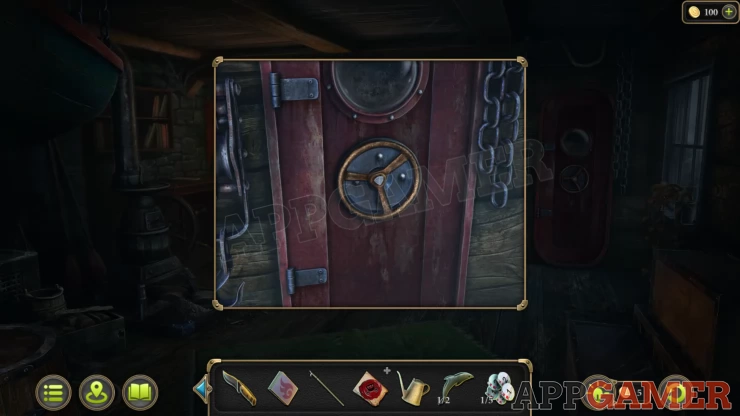
Go through to the back room.
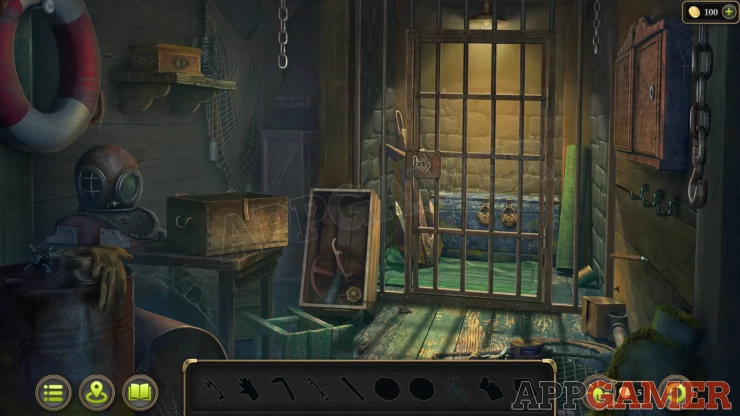
Collect a glove from the barrel on the left.
Then look in the open box on the table on the left to see broken glass, use the glove to move it and collect a handle.
View the cupboard on the wall on the top right. Add the handle to it to open it. Collect a Lighter and a Coin[/strong.
Now collect a Skate Blade from the open box in the center.
View the right wall to see a glass cutter stuck in the wood board. Use the skate blade to let you collect the Glass cutter.

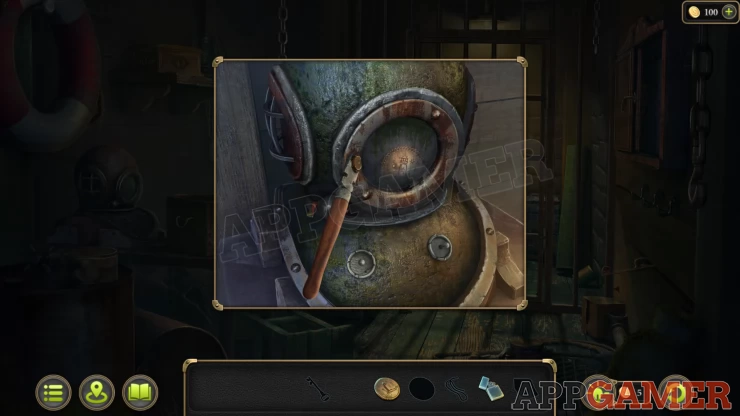
Next view the diving helmet on the left and use the glass cutter to remove the glass and collect another Coin.
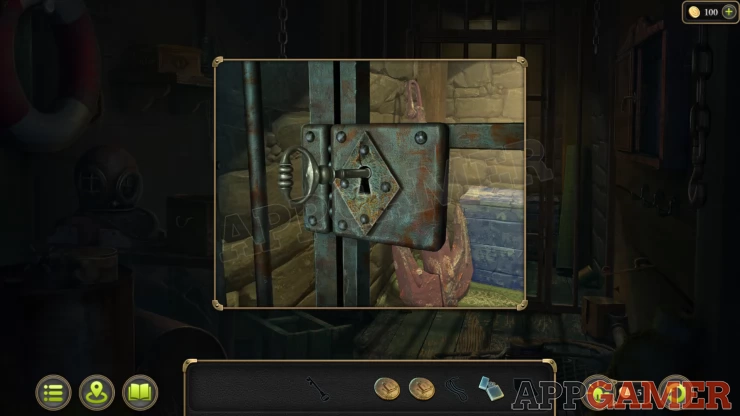
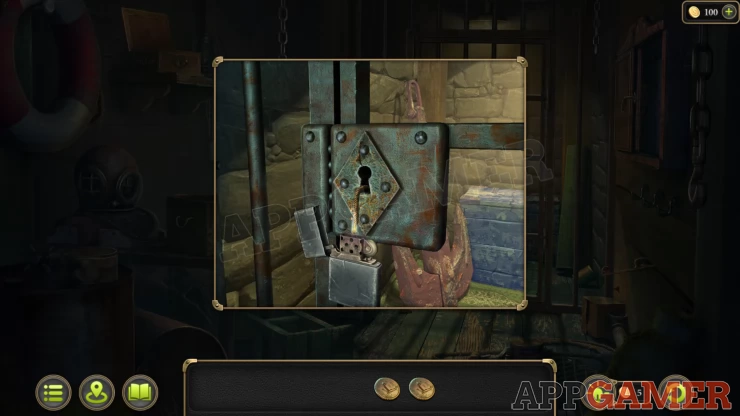
View the lock of the gate at the back and collect the key from it.
Now view a box on the shelf on the left, use the key to open it. Collect Gunpowderand Thread.
View the lock on the gate again and add the gunpowder to it, followed by the thread.
Light the fuse with the lighter to open the door.
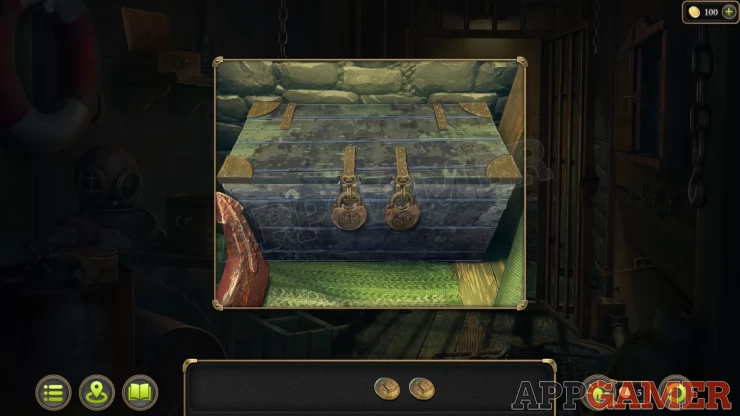
Add the 2 coins to the locks on the box to open it and collect the Key.
Exit the building and view the gate to the light house, use the Key to open it.
View the lighthouse front door and collect a Dolphin (2/2) that is on the lower left.
Go back to the Town center and view a barrel on the lower right. Add the tap to it and then use the hammer to knock it in. Then use the oiler on it to get Oiler with oil.
Return to the lighthouse area and view the red grate in the ground next to the boat house again.
Use the oiler to loosen the hinges and then you can open it.
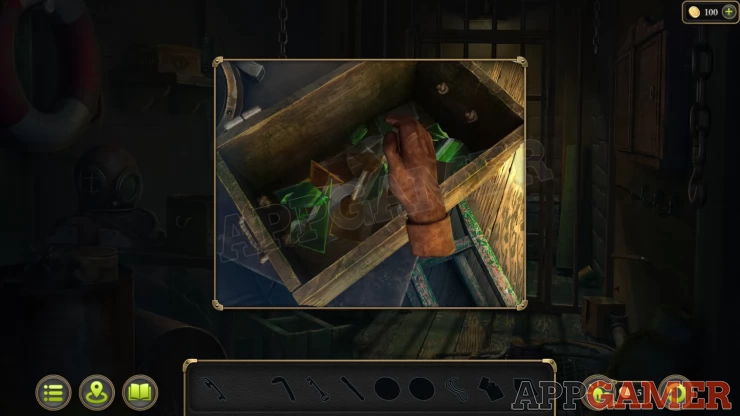
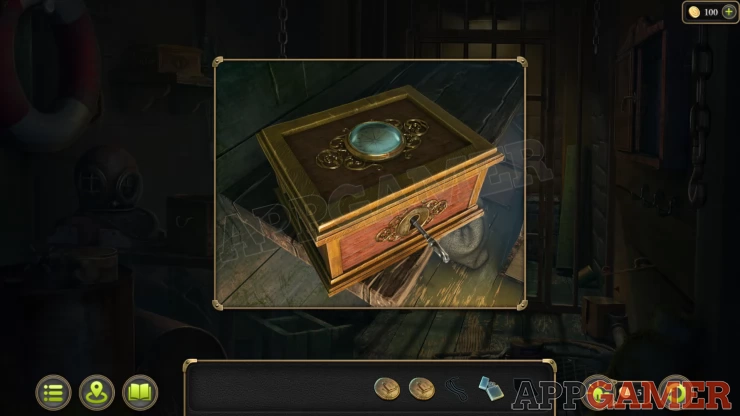
Use the hook inside to collect a Box, then view this in your inventory and open it.
Collect the Candlestick with wax and another Token - Tokens (3/5)
Enter the house again and view the stove on the left, use the matches to light it. Place the Candle stick with wax on top and the wax will melt. Collect another Token - Tokens (4/5)
Now look in the back corner behind the lantern to see a frame on the wall.
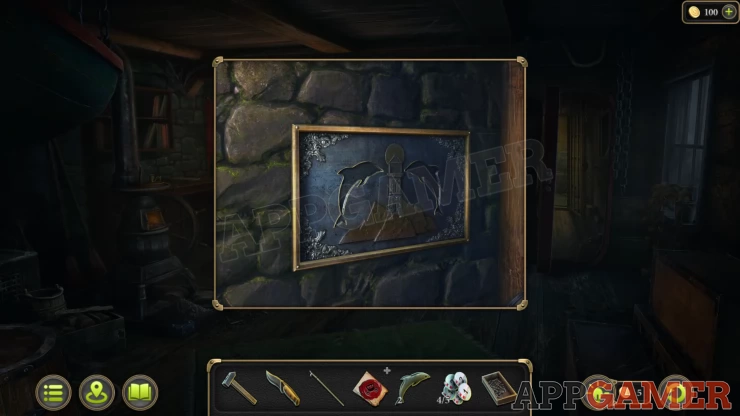
Add the 2 dolphins to it to open a panel.
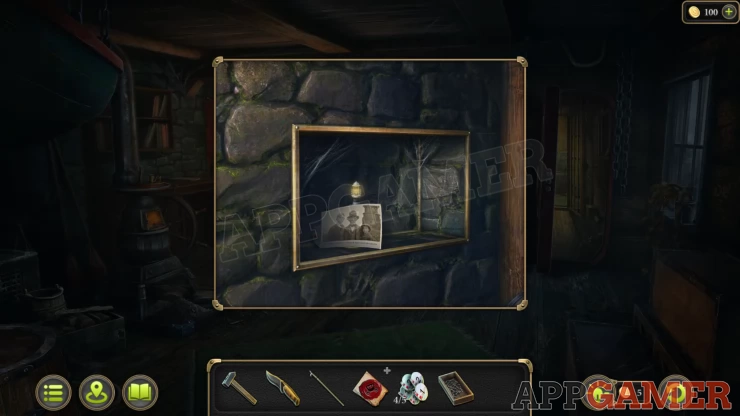
View the photo inside to get Evidence 1/6 - Thank you card. Then collect another Token - Tokens (5/5)
Go back to the door of the lighthouse and add the 5 tokens to the slot on the left.
Lighthouse door puzzle
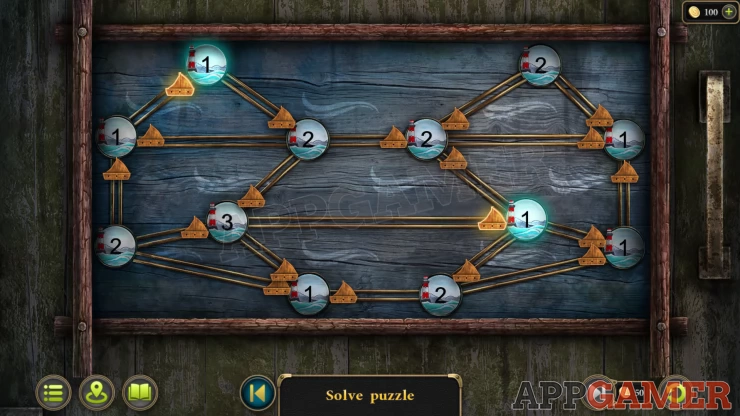
- There are 12 lighthouses on the board that you can tap.
- When you tap them it will move the boats on the connected lines towards or away from the lighthouse.
- Each lighthouse has a number, when the correct number of boats it touching the light house it will light up.
- Get all of the lighthouses illuminated to complete the puzzle
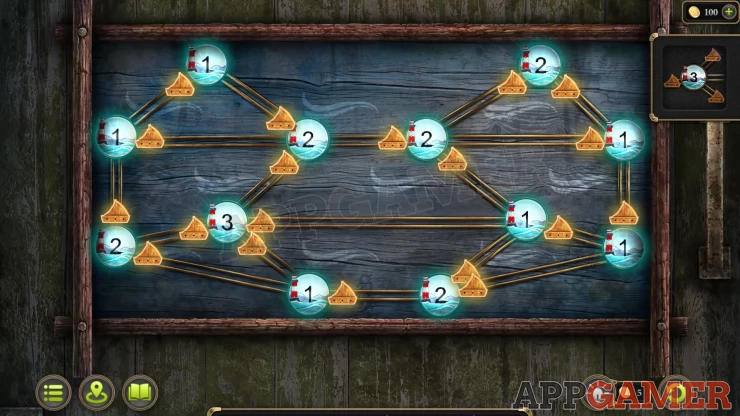
You can now enter the lighthouse.
Continue the guide in Case 3 Part 3
 With 20 years of experience in creating video game content for the internet and over 30 years as a gamer, Mark is now a passionate mobile App Gamer. Loving a challenge, he is always ready to get stuck in to both survival builders and puzzle solving games. He has been providing content for AppGamer since 2014.