Case 2 - Improbable Suicide Walkthrough Part 3
More Mystery Detective Adventure
Welcome to our Mystery Detective Adventure walkthrough. This is another in the popular line of Mystery escape room and puzzle games from Five-BN.
This is Part 3 of our walkthrough for the second case in the game. Improbable Suicide is the case of the death of the son of a brothel owner. It appears to be suicide but the victims mother does not believe that her son would take his own life. In Case 2 Part 2 we discovered the identity of the girlfriend of the victim and then began to investigate the mysterious illness that she has been afflicted with.
Case 2 - Improbable Suicide Walkthrough Part 1
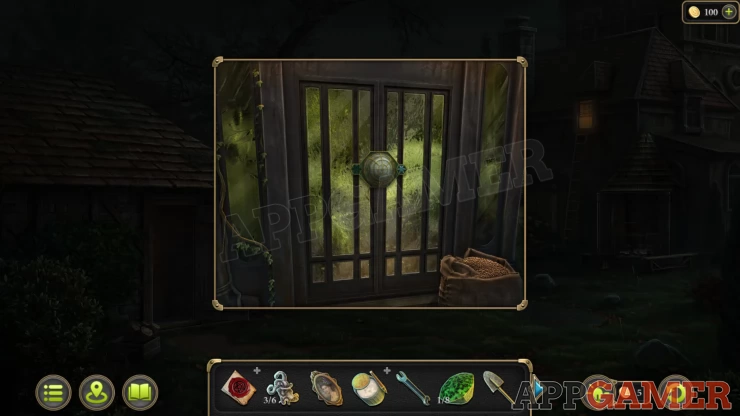
Next we need to access the cemetery. This is found back in the lower city street by the brothel.
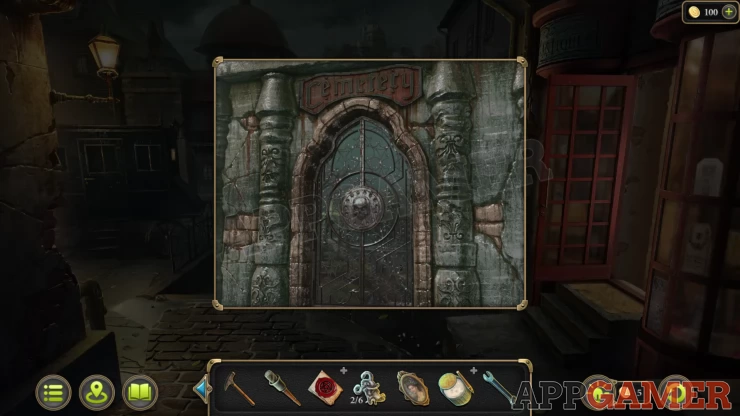
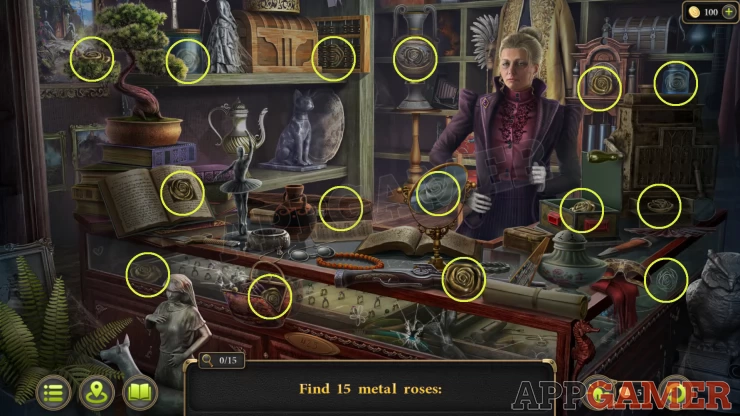
The door is closed and we will need metal roses to open it. First in the lower city enter the shop with the red door, by the steps on the right.
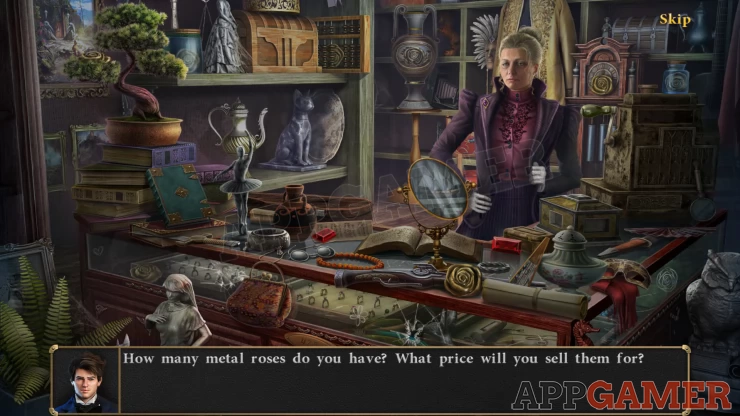
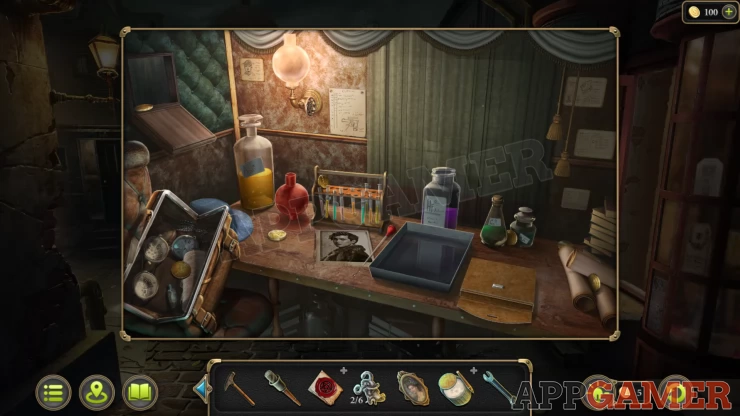
There are 15 metal roses here to find but first you will need 7 coins.
Return to your carriage, there are 7 coins here to find
Solution: Show
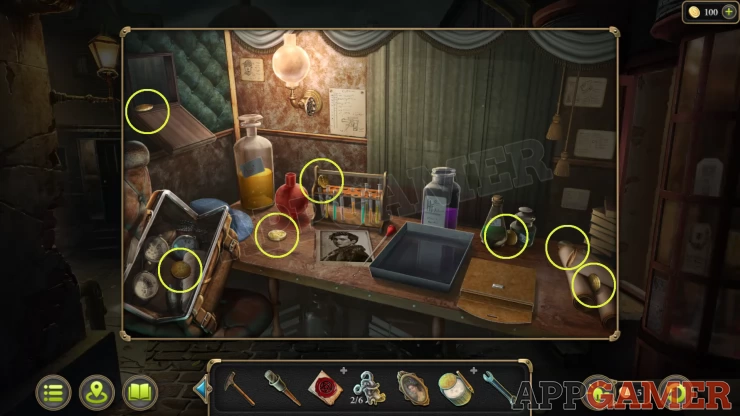
In the shop give the 7 coins to the shopkeeper and then you can find the 15 metal roses.
Solution: Show
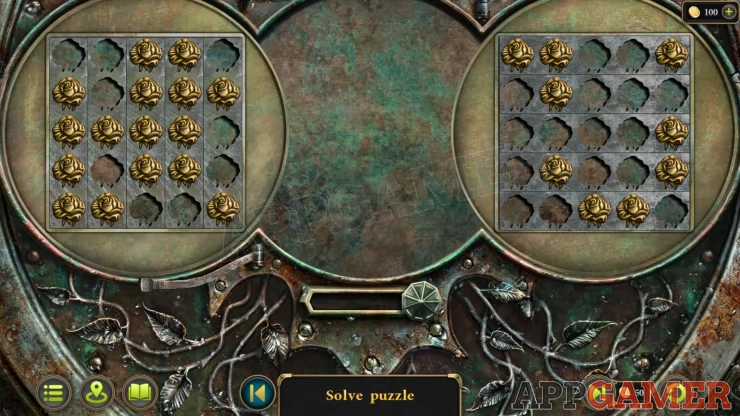
Now place the roses onto the cemetery door this will reveal a puzzle lock.
Cemetery Door Puzzle

- There are 2 boards with roses on them.
- You can swap the rows or columns on the 2 boards to rearrange them.
- Move the slider at the bottom to bring the boards together.
- You need to arrange the roses so that when they are together all of the holes are filled.
Solution: Show
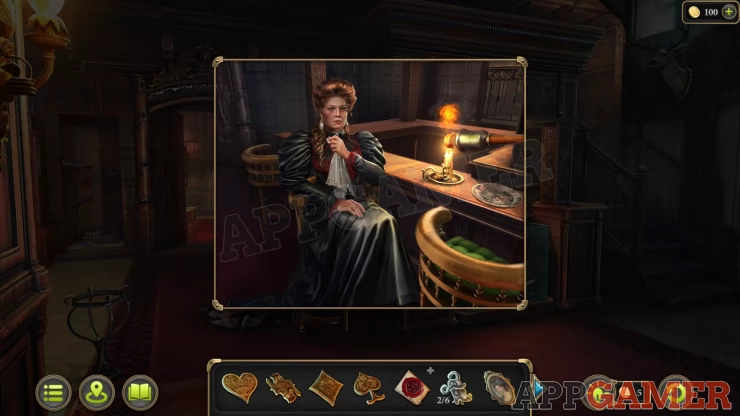
Before entering the cemetery return to the brothel where the mother is sitting. Use the torch on the candle to light it. You get the Burning Torch
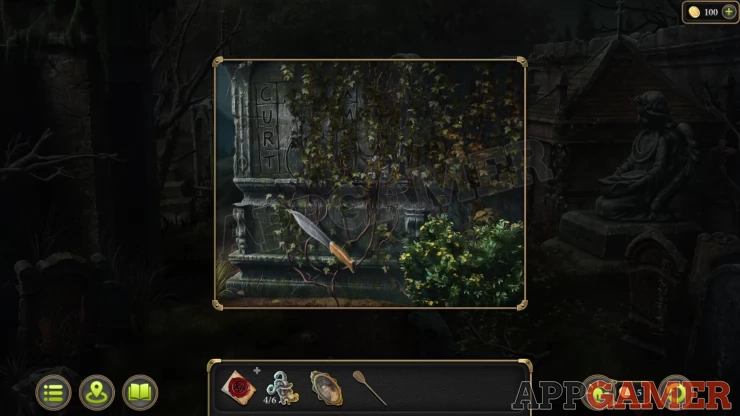
Enter the Cemetery
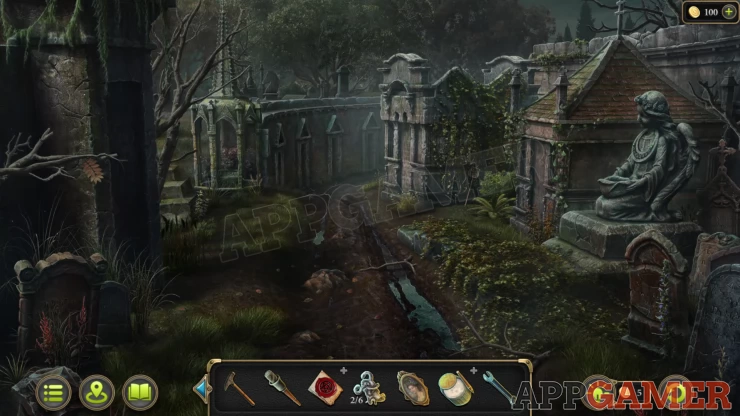
Morphing Object: leaf on a branch on the far left.
Collection Item:Chess piece on top of the curved wall above the path ahead.
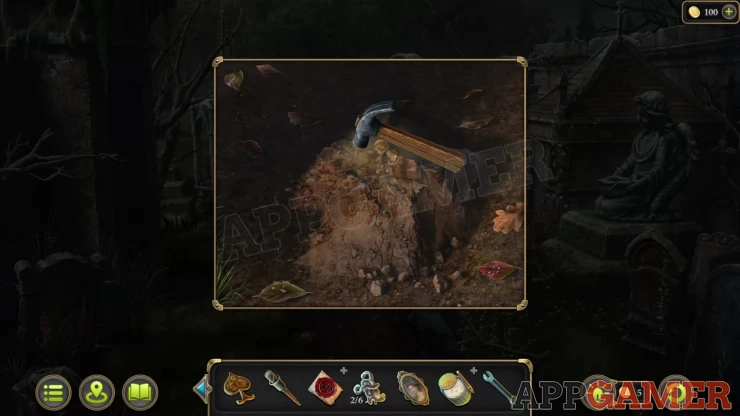
View a stone in the path, use the hammer on this to break it and then collect a Dirty Park of the box.
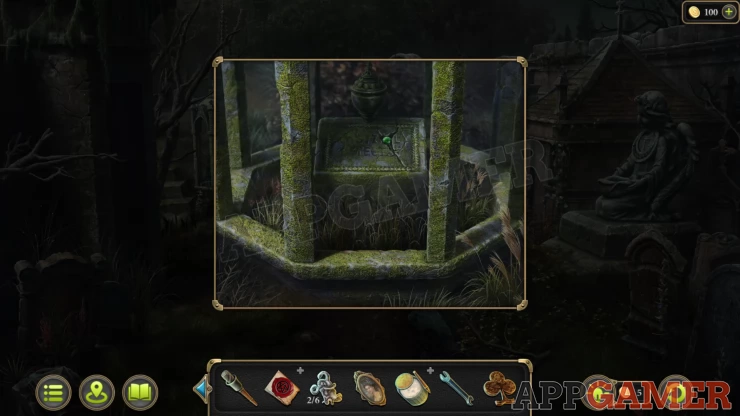
Next view an engraved stone on the left under a spire. Collect an Emerald (1 of 8) from it.
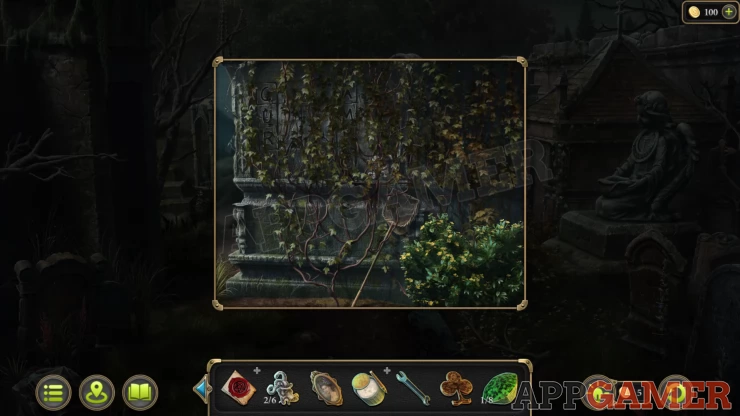
Now look on the right side by some overgrown branches. Collect the Hand Net.
Tap the path ahead to move to the next area, by a lake.
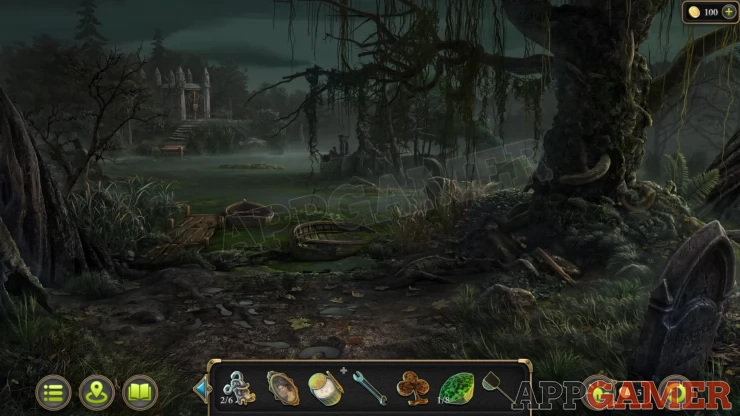
Collection Item: Chess Piece on a rock to the left of the large tree on the right.
Morphing Object: Snake / Horn on the ground to the right of the large tree.
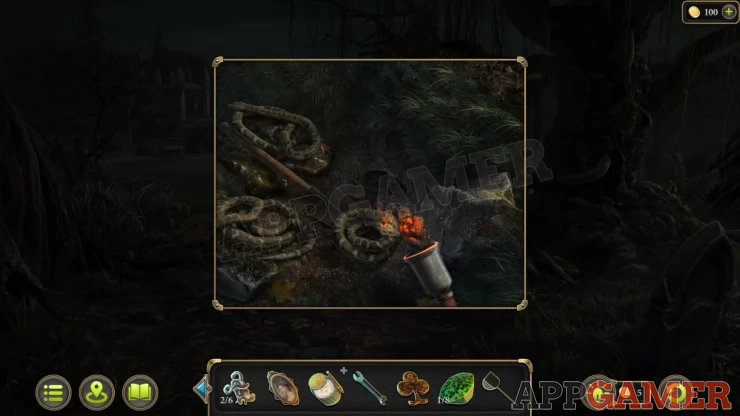
Tap below the tree on the right to see a small pit with snakes. Use the burning torch to remove the snakes. Then you can collect the Shovel
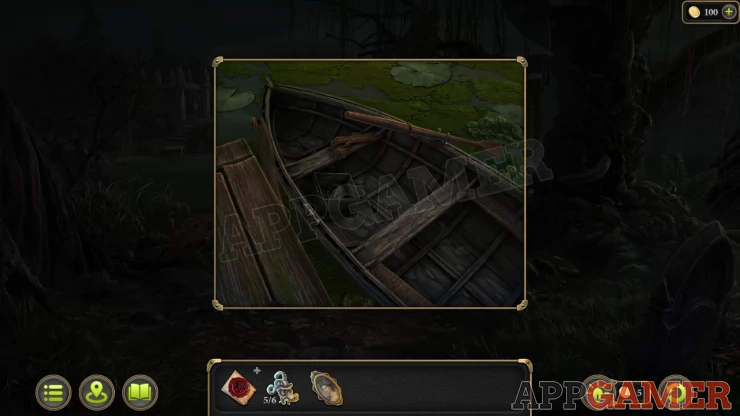
Tap the boats in the water and you will be prompted about an Oar. Collect the Colander from the boat.
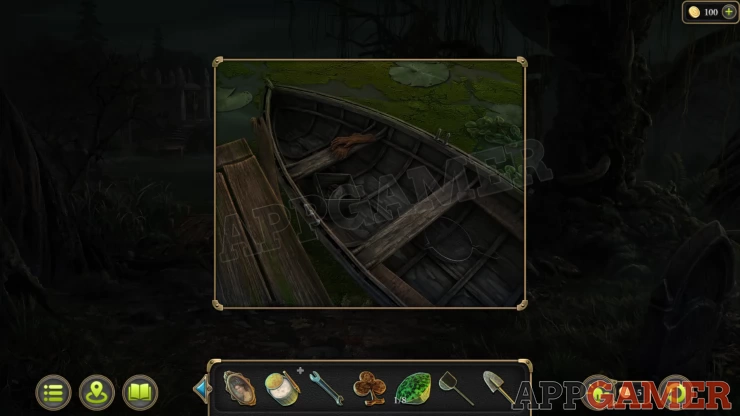
Return to the estate and enter the small outbuilding where you found the ladder. Collect an Oar from the back wall.
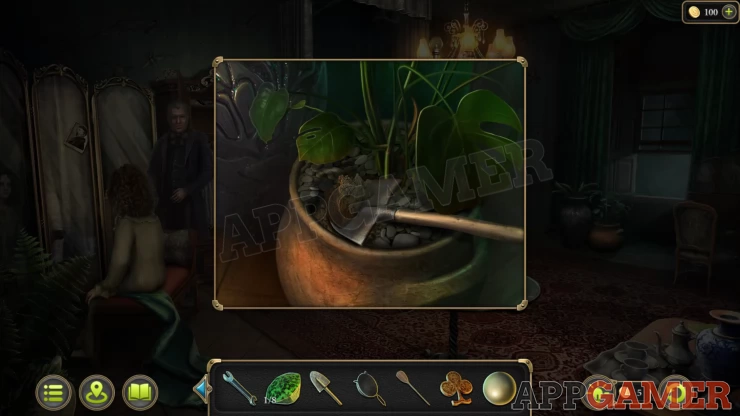
Enter the bedroom of the house again and view a large plant pot by the window. Use the shovel on this to collect a Broken Star (1/2).
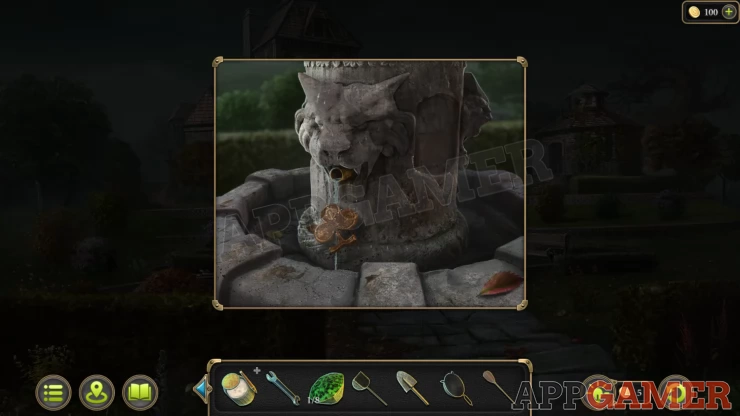
Move to the front of the estate and view the fountain that you remove the cork from earlier. Use the cork screw to remove the cork from the pipe if you did not already do that.
Use the dirty part of the box on this running water to clean it and collect Part of box.
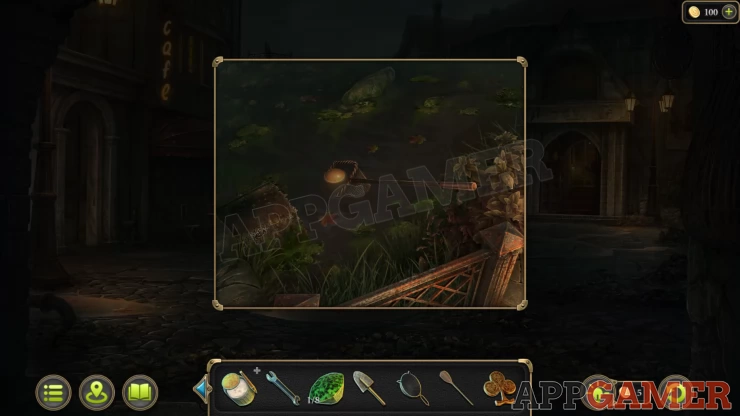
Now go back to the town square in the lower city with the Cafe. Tap to the left of the path ahead, behind the lamp post. You will see a ball in a pond. Use the hand net to collect the Ball.
Now go back to the play room in the brothel. Tap on the billiard table to view the pocket.
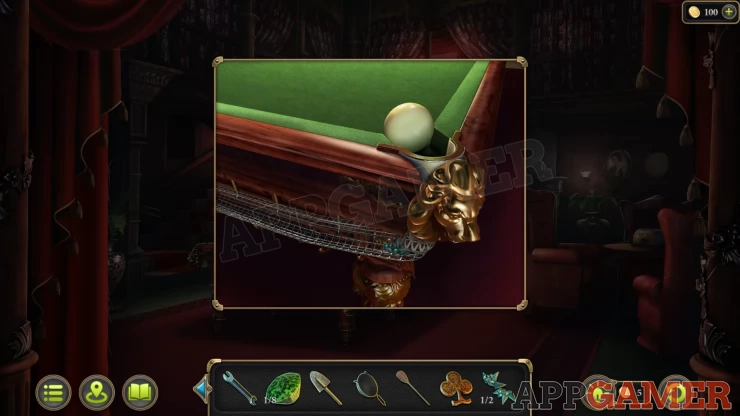
Place the ball and then tap it and you will collect the second broken star (2/2)
Then view the balcony area again and view the box on the lower left.
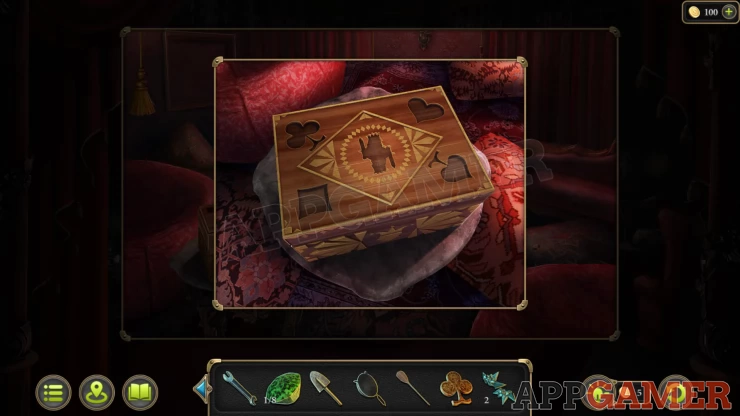
Add the 5 Parts of the box to this to open it.
Part of Box Puzzle
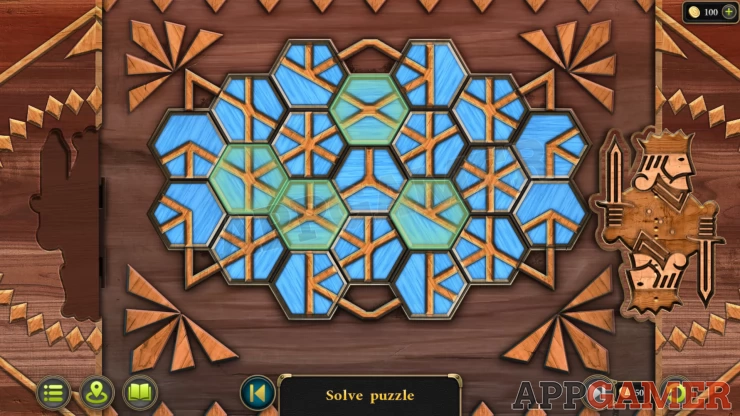
- Tap on the hexagonal tiles to rotate them.
- Arrange them to connect all of the lines
- There should be no broken lines across the box.
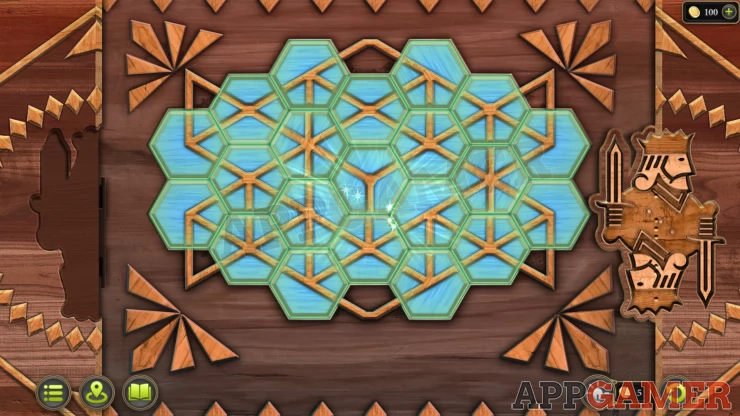
Solution: Show
Collect the Bas-relief (3 of 6).
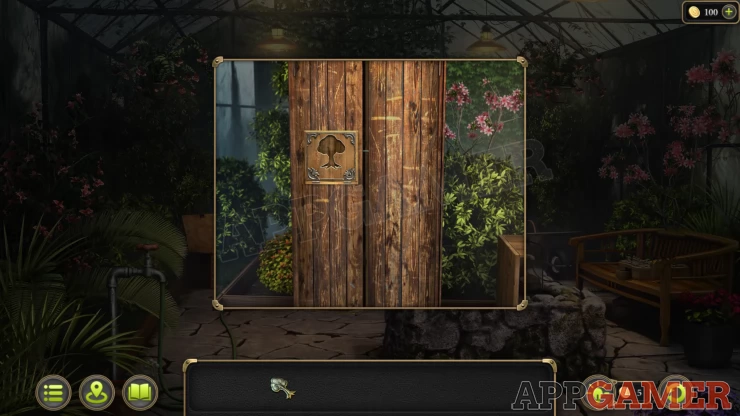
Now return to the Estate and view the door to the greenhouse at the back. You need a star to open this.
View the glue in your inventory and then add the 2 broken star parts to it.
Tap the glue to stick the parts together and collect the Star.
Place the star on the door and you will find a puzzle
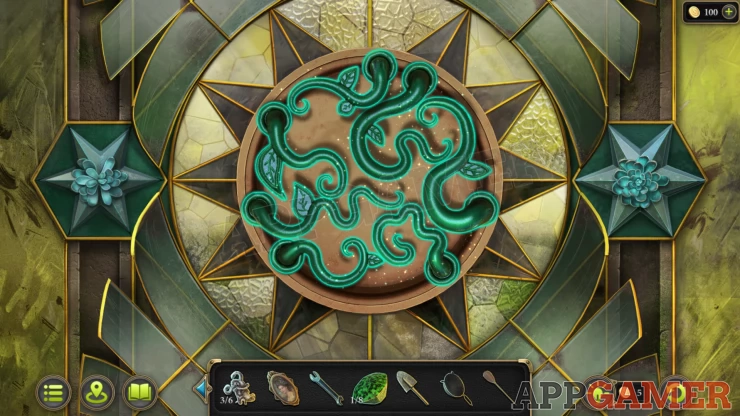
Greenhouse door puzzle
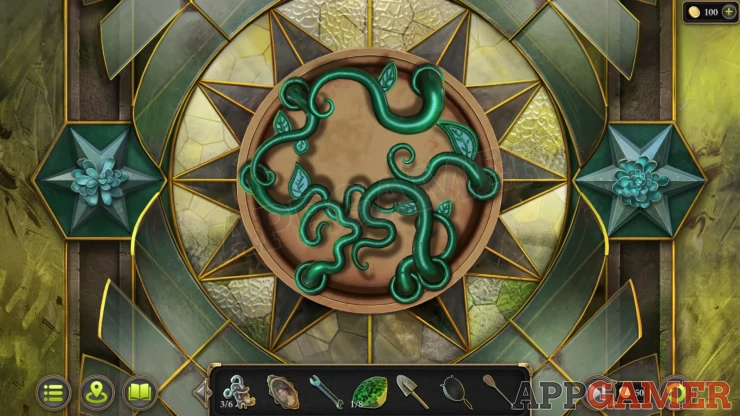
- There are 7 ornamental vines around a circle
- You can slide these around the circle to change their positions.
- Arrange them all so they none of them are crossing over any others.
Solution: Show
Enter the greenhouse and then you need to find something to cut branches.
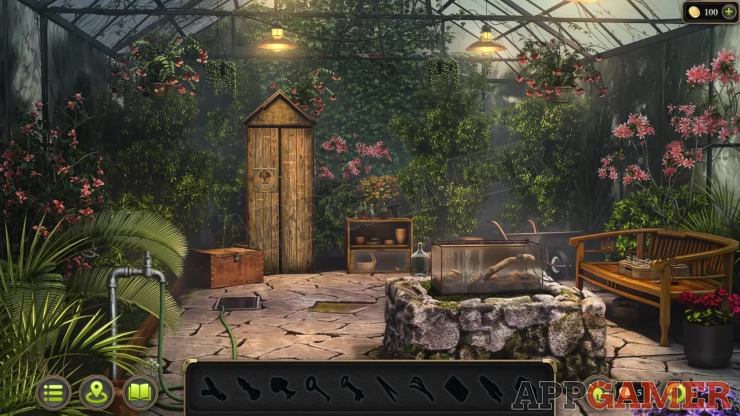
- View the bench on the right and collect the Slingshot.
- Use the slingshot on the roof beam between the 2 lights to collect Pliers
- Move the fern leaves on the left side and collect the Insecticide.
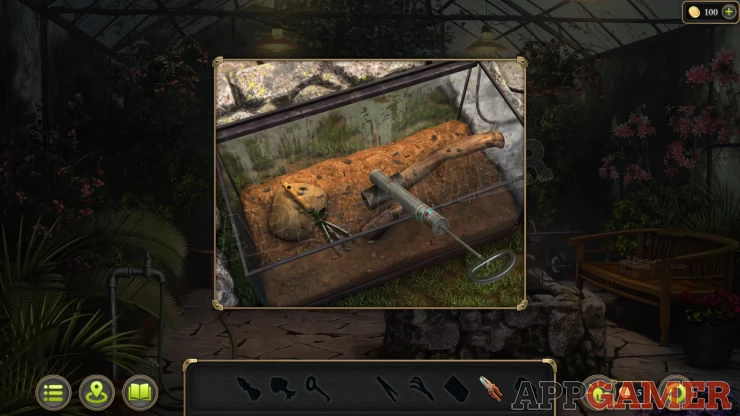
- View the glass tank in the center.
- Use the insecticide here to kill the insects and then collect the Rake.
- View the odd colored stone on the ground and use the rake to lift it.
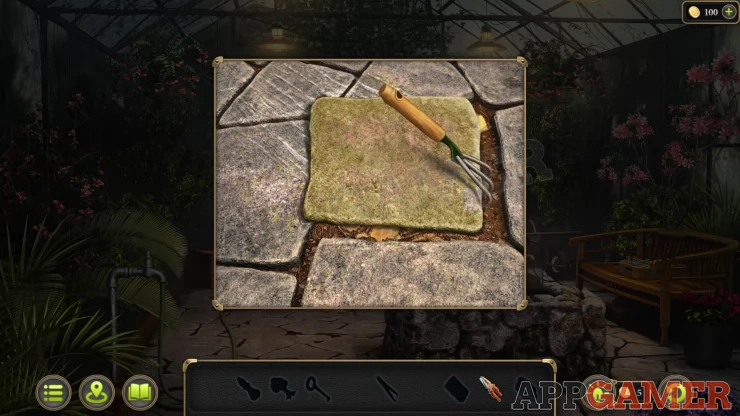
- Collect the Soap
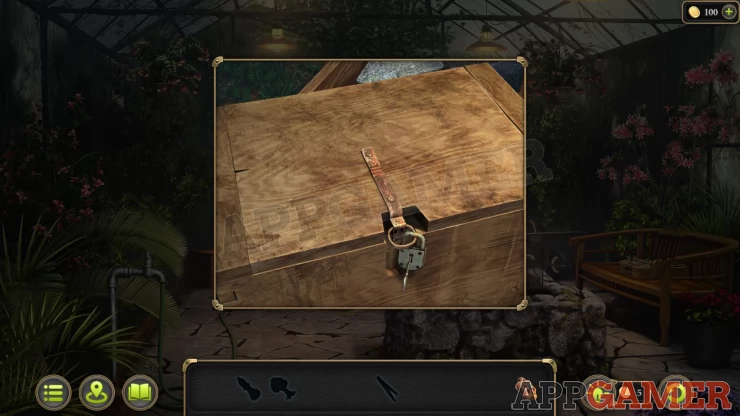
- View a small set of shelves at the back.
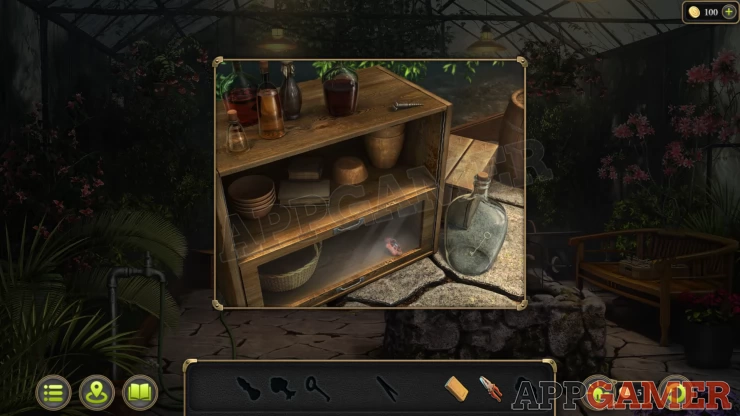
- Tap the screw to place it in the bottle and then use the pliers on the screw to remove the cork.
- Collect the Key
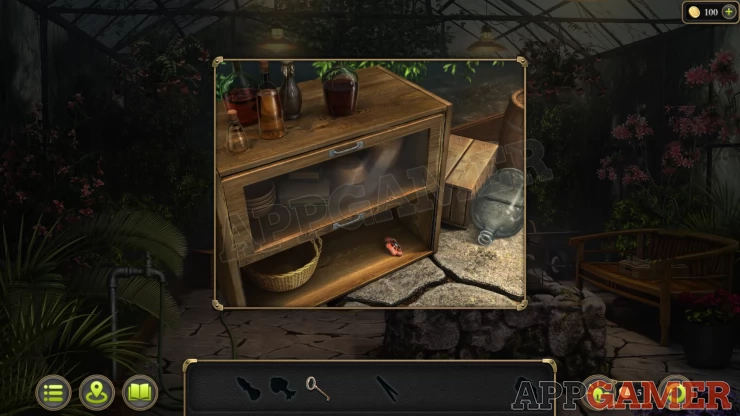
- Next use the soap on the sides of the shelves, you can then slide up the glass cover and collect the Valve.
- View the locked box on the floor on the left. Use the key to open it and collect the Tweezers
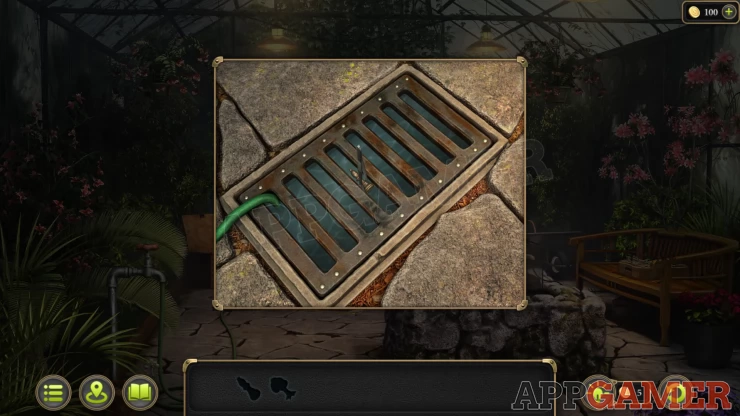
- Add the valve to the tap on the left, and use it to open the water.
- You can then view the drain on the left that is now full of water. Use the tweezers to collect the Bishop.
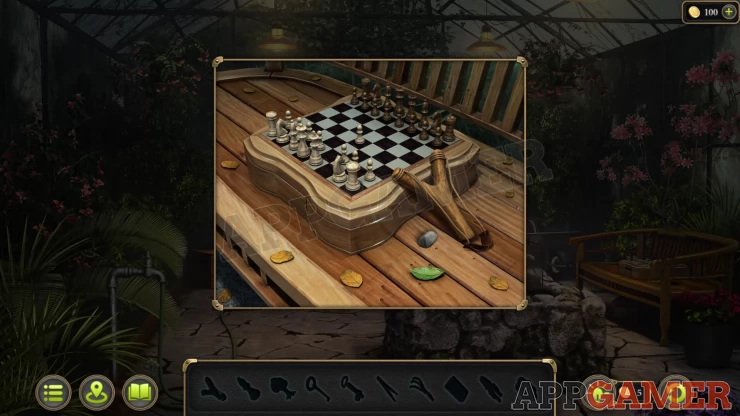
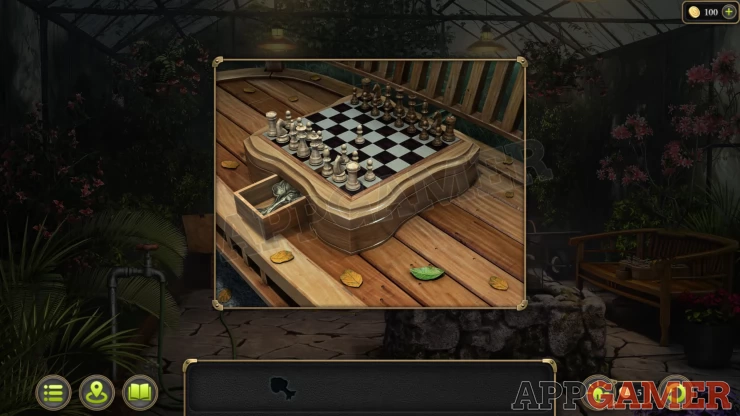
- View the bench on the left again and add the bishop to the chess board. Collect the Tree.
- Now view the tall cupboard at the back and use the tree to open a panel to find a puzzle.
- Tap pairs of the outer sections to swap their positions and assemble the full tree image.
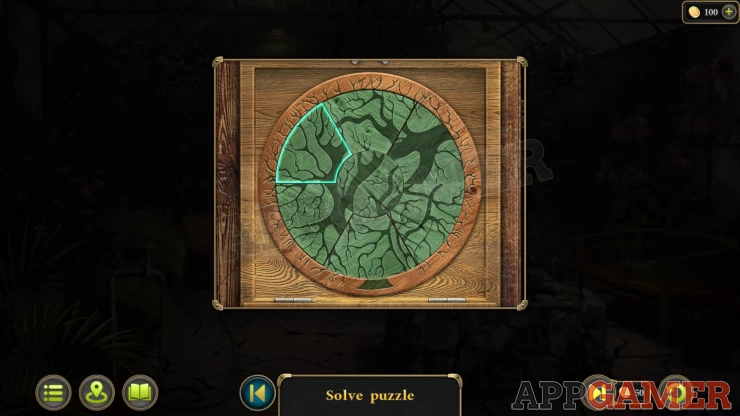
Solution: Show
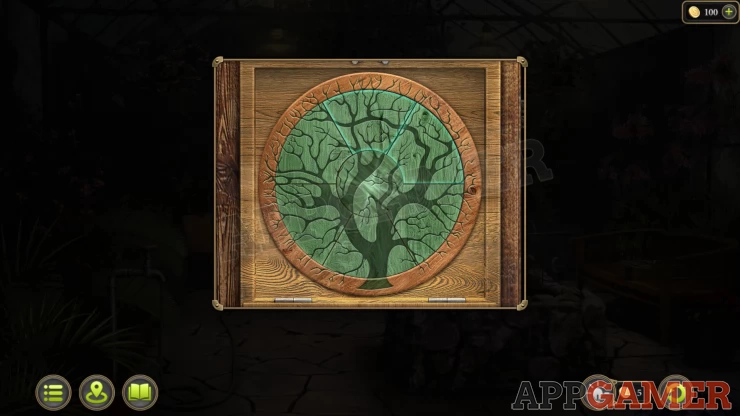
Collect the Machete from the Cupboard.
Next return to the crime scene in the lower city. View a device that is at the top of some steps on the right.
Use the wrench on this and collect a Gear.
Return to the Estate and enter the bedroom. On the wall between the window and the door is a panel.
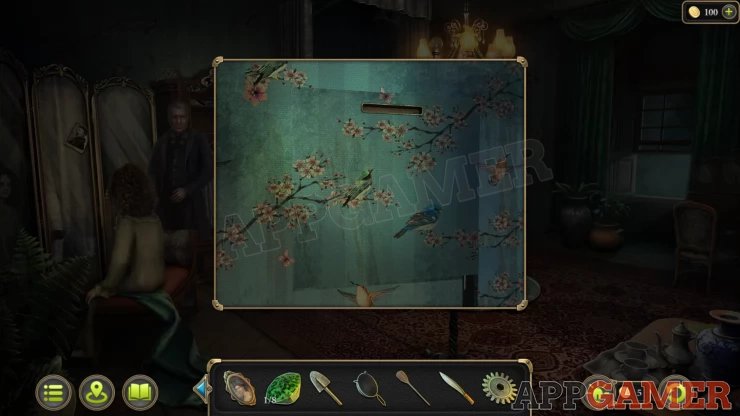
Open this to find a mechanism and place the gear in it, then turn the handle.
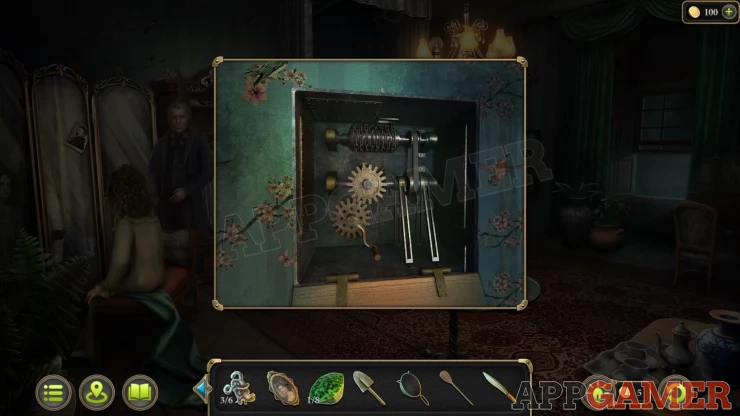
This will lower the lamp from the ceiling. View it and collect the odd Lamp.
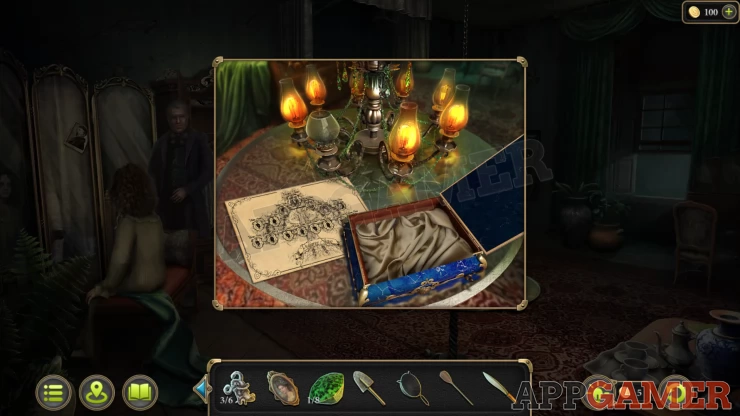
Go back down the stairs to the library area. View the end of the stairs with the two statues.
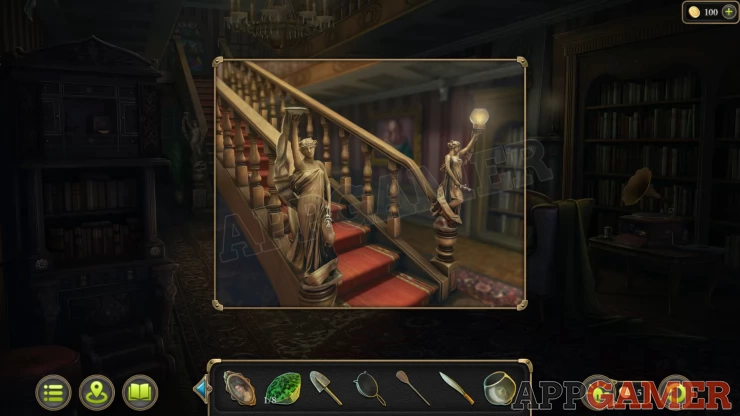
Place the lamp on the left statue and a secret area will open.
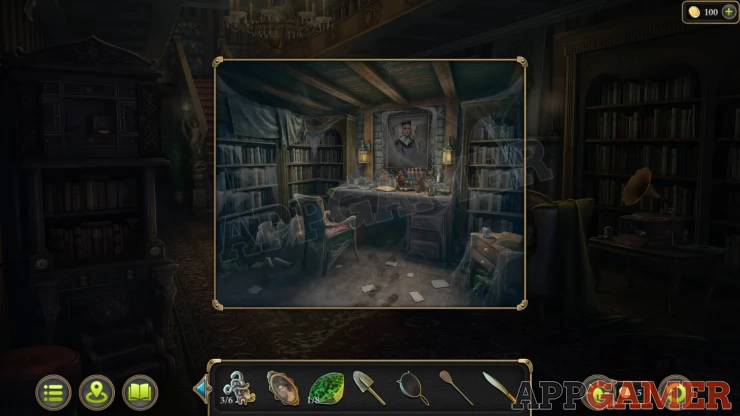
View the desk and collect a Bell. Then tap on the papers to get Evidence 6/8 - Grandma's notes on poisons.
Then tap on the rack of bottles to get Evidence 7/8 - Poison rack.

Back out and now view the large family crest above the fire place.
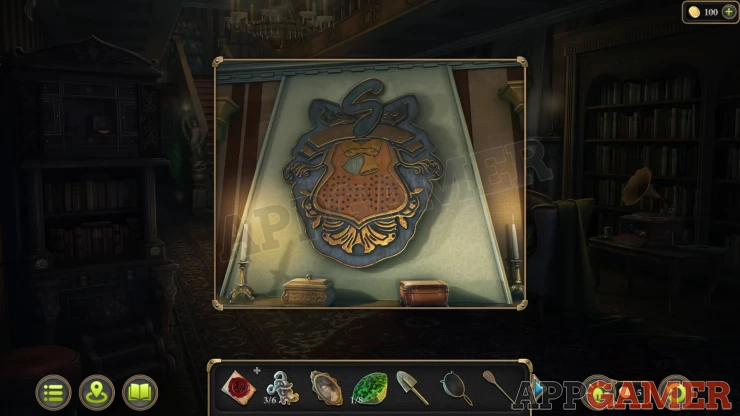
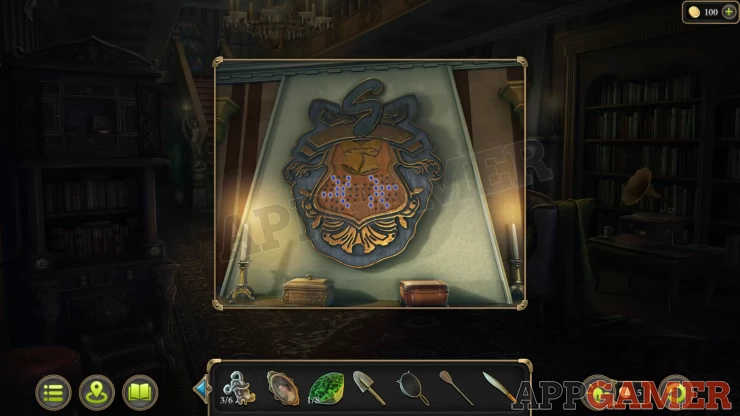
Add the bell to it and some lights will appear to highlight a pattern below, this is a clue.
Show
Return to the town square in the lower city and tap to the right of the path ahead to find a small flower bed.

Place the colander here and then use the shovel to dig and you will collect Emeralds (7/8). You now have 8 in total.

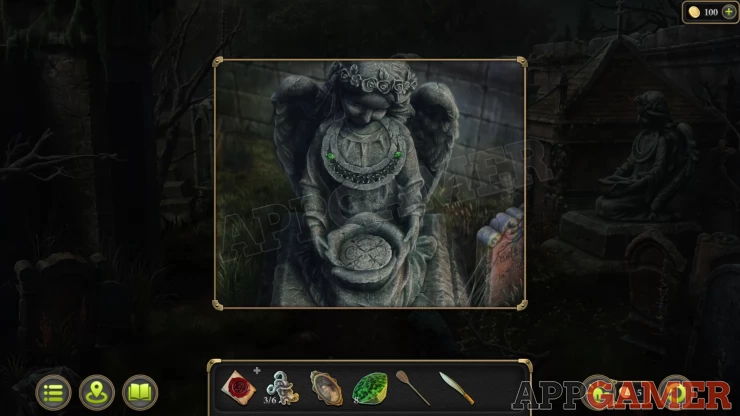
Go back to the cemetery and first view the angel statue on the right. Place the emeralds on the bowl and then you can collect another Bas-relief (4 of 6)
Then view the area of overgrown branches again, you can now use the machete to clear them.
View the clue that is revealed and collect another Bas-relief (5 of 6)
Head along the path to the lake and place the oar into the boat.
You can now tap the crypt on the far side to travel to it and view the doors.
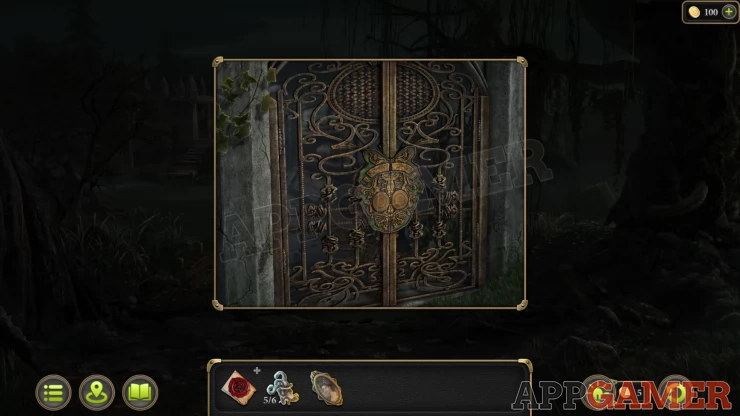
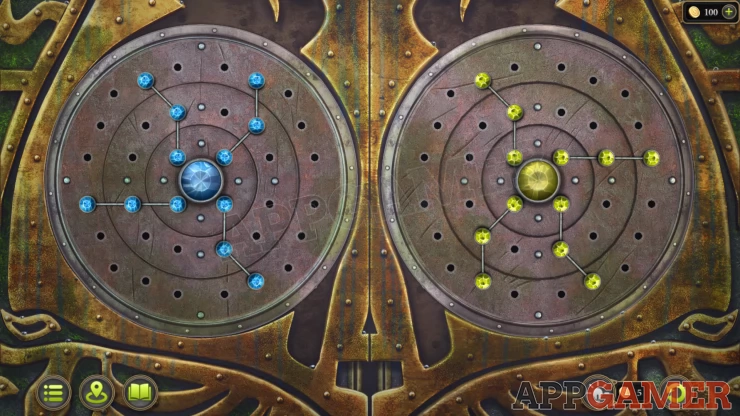
Crypt door puzzle
- Tap the branches of blue and green gems to change their positions.
- Adjust the gems to place them into the positions shown in a clue found previously.
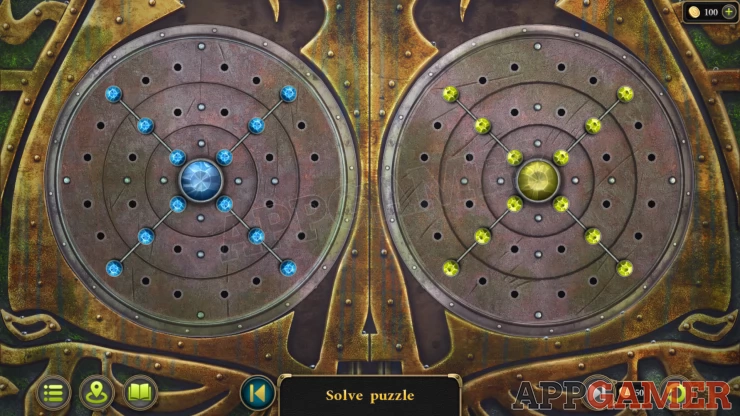
Clue: this is from the family crest in the library.Show
Solution: Show
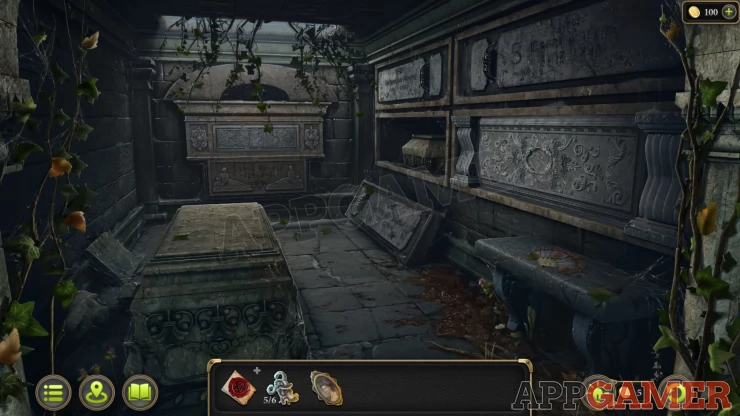
Now you can enter the crypt
Collection Item: fan on the bench on the right.
Morphing object: number 3/5 on the stone above the bench.
First view the wall at the back to see an engraving in the stone.
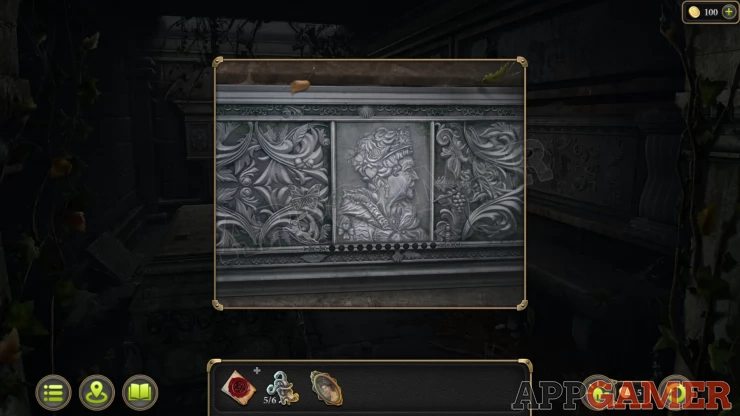
Place the portrait her to start a puzzle
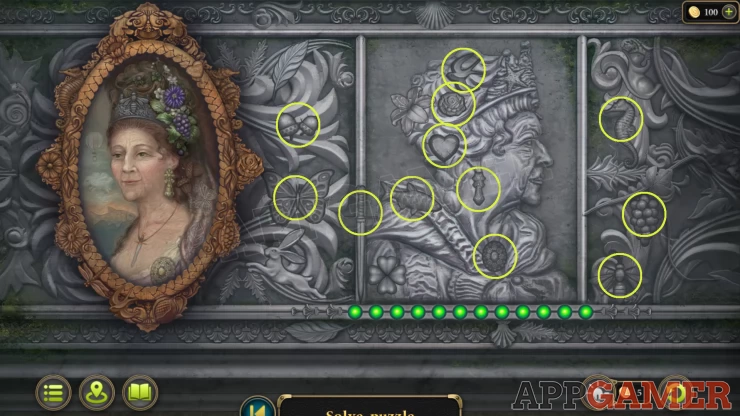
Portrait Puzzle
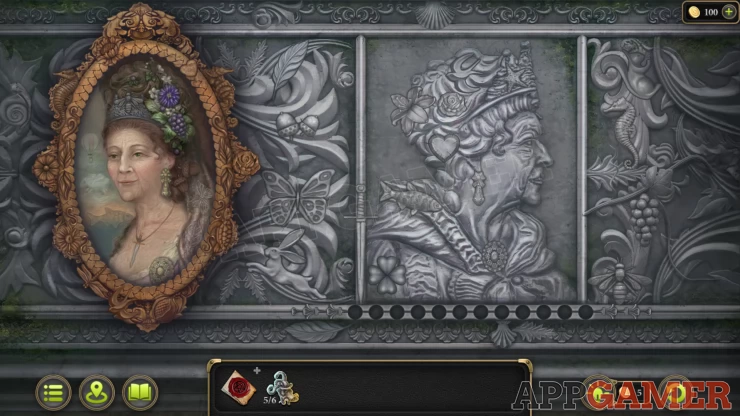
- Find elements in the stone engraving that appear in the portrait. Tap on these.
- The items might appear in the picture or on the frame of the portrait.
- Each item will light up a green light.
- If you tap an incorrect element on the engraving then you will have to start again.
- There are 12 to find in total
Solution: Show
A panel opens and you can collect another Bas-relief (6/6)
Now view the front of the stone wall chamber on the right above the bench.
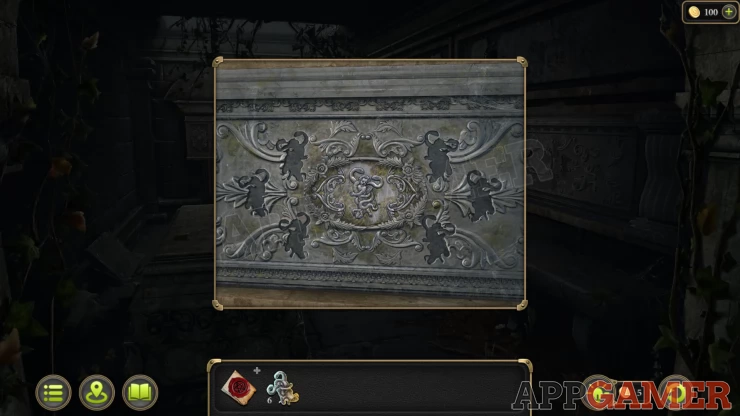
Add the Bas-relief items to it to find another puzzle.
Crypt Names Puzzle
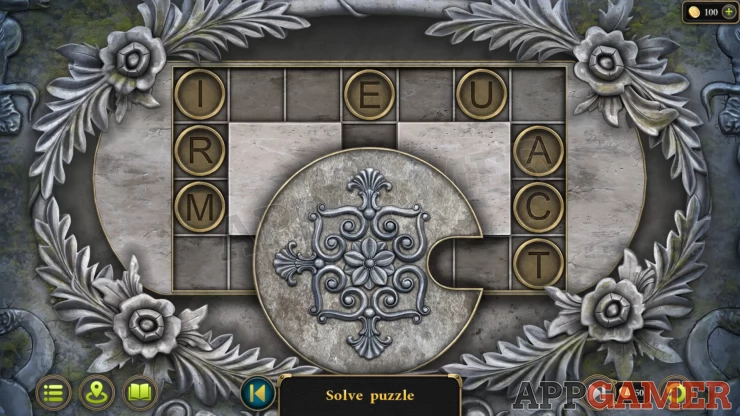
- Follow a clue seen earlier to arrange the letters on the board to make 2 names.
- One name on the far let and one on the far right.
- Use the wheel in the center to move them around. This will also turn them.
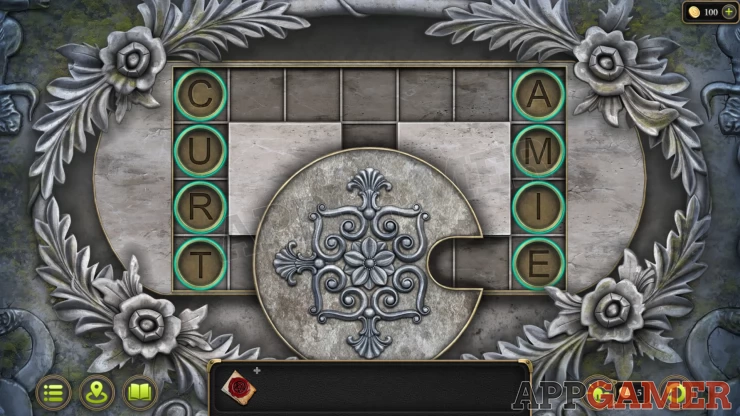
- The letters need to be in the correct positions and the correct way up to complete the puzzle.
Show
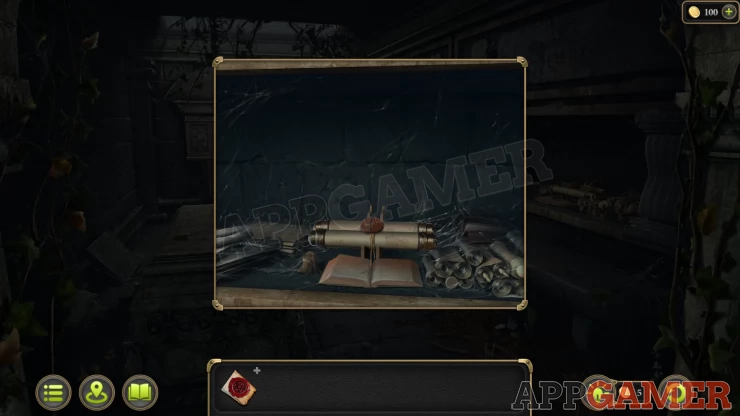
Read the scroll inside to get Evidence 8/8 - Occult Scroll
New Task - Perform the Banishing Ritual
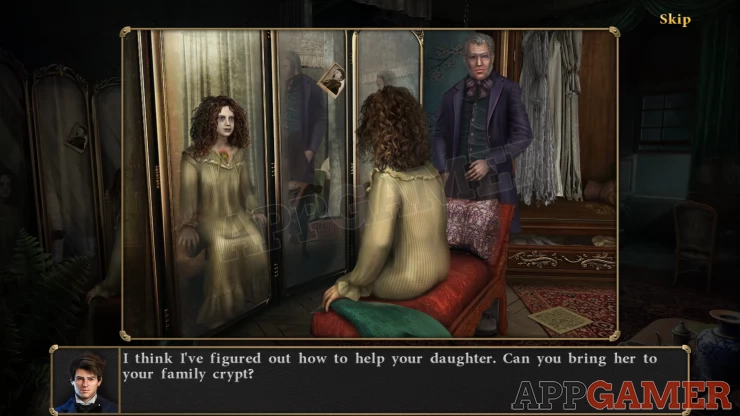
Return to the bedroom in the estate and talk to the Lord, you explain about the possession of his daughter. He agrees to take his daughter to the crypt.
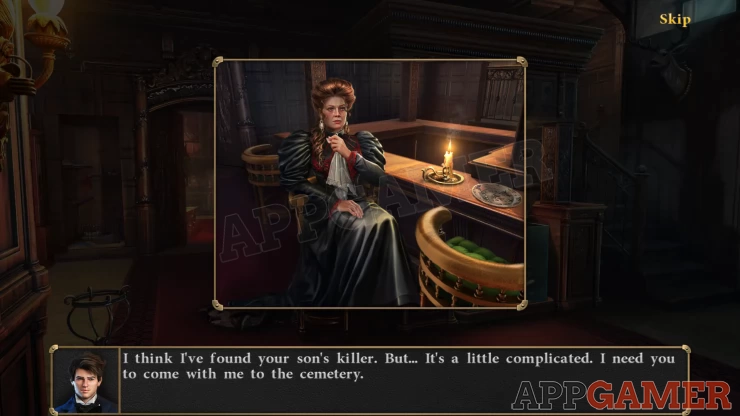
Then go to the brothel and talk to the mother of the deceased.
Now return to the crypt and watch the final scenes as the ritual is performed.
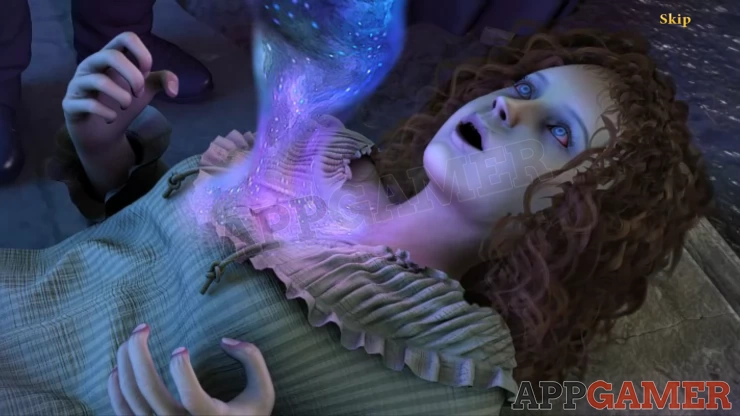
You have solved the second case of the game. Continue on to Case 3.
 With 20 years of experience in creating video game content for the internet and over 30 years as a gamer, Mark is now a passionate mobile App Gamer. Loving a challenge, he is always ready to get stuck in to both survival builders and puzzle solving games. He has been providing content for AppGamer since 2014.