Case 2 - Improbable Suicide Walkthrough Part 1
More Mystery Detective Adventure
Welcome to our Mystery Detective Adventure walkthrough. This is another in the popular line of Mystery escape room and puzzle games from Five-BN.
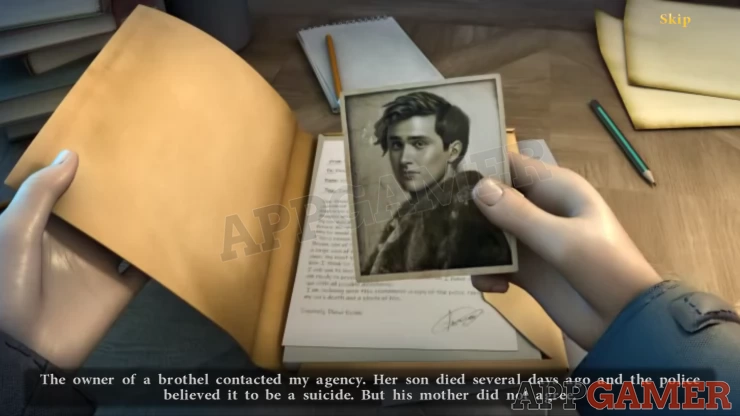
This is Part 1 of our walkthrough for the second case in the game. Improbable Suicide is the case of the death of the son of a brothel owner. It appears to be suicide but the victims mother does not believe that her son would take his own life. So we travel to the town to investigate.
Case 2 - Improbabe Suicide Walkthrough Part 1
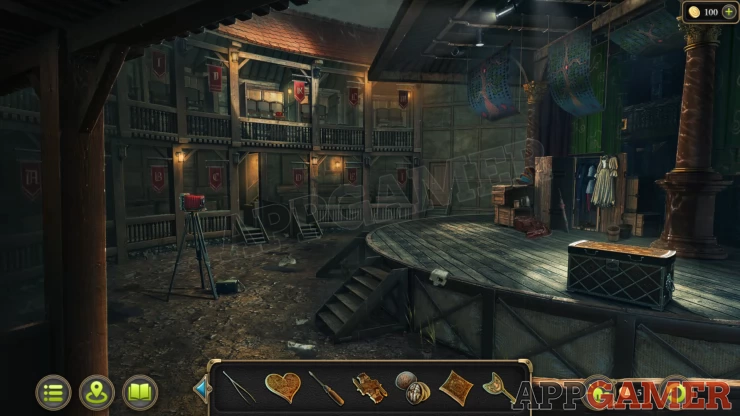
You arrive in town and park your carriage. We will return to this later.
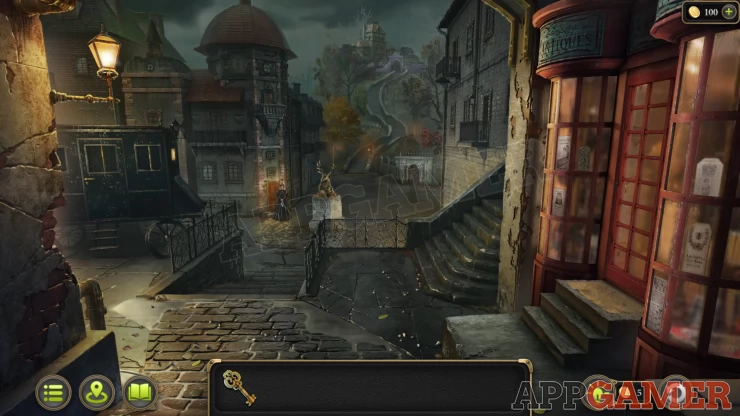
New Task - Get information about the deceased.
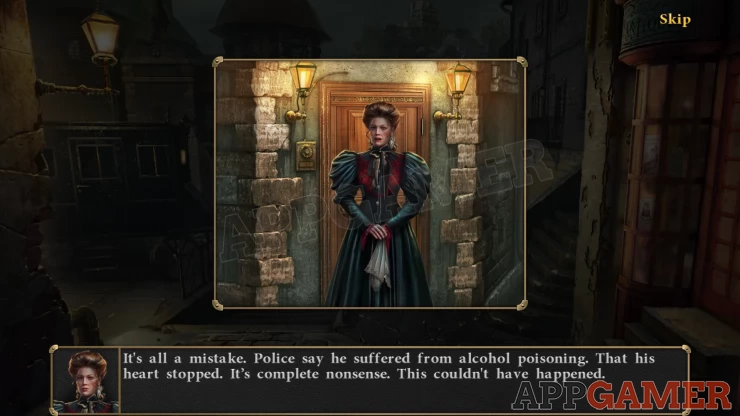
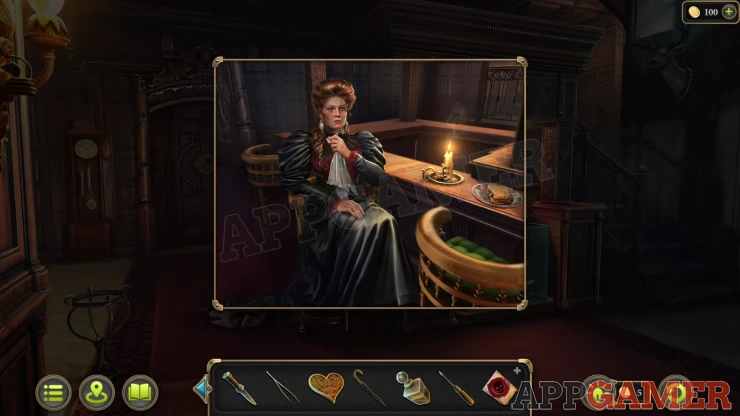
Tap to talk to the Mother standing by the door to the large building. You now need your tools.
Morphing Object: Clock at the top of the domed tower that the mother is standing in front of.
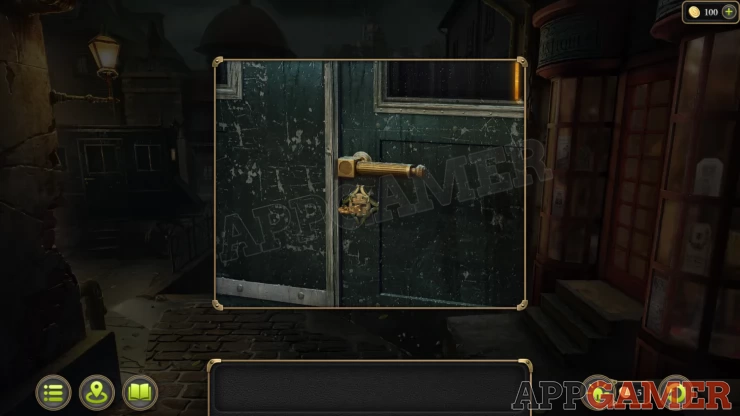
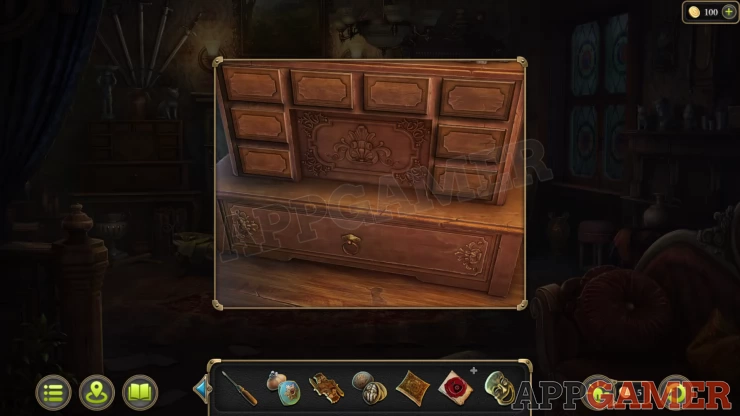
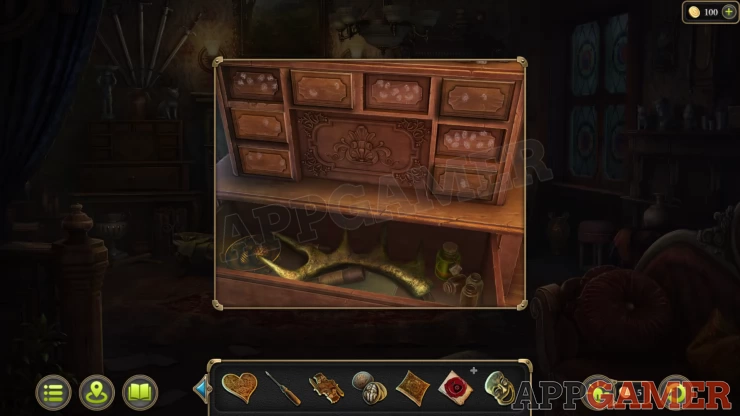
Tap your carriage on the left and use the key to open it.
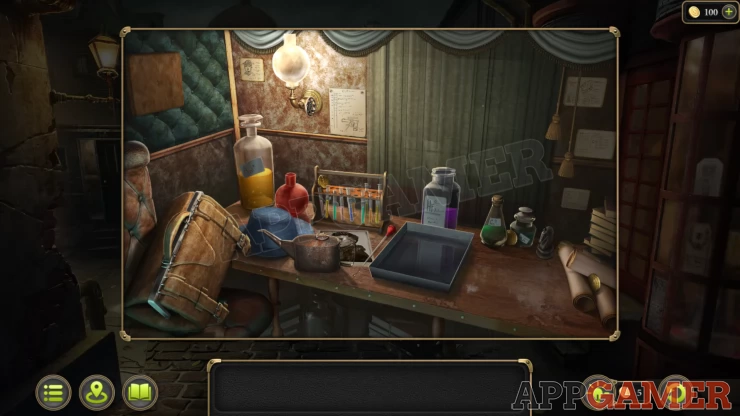
Collection Item: Chess piece on the desk top on the right.
Collect the Oiler from the desk top.
Open the bag on the left and collect the Tweezers and a Knife.
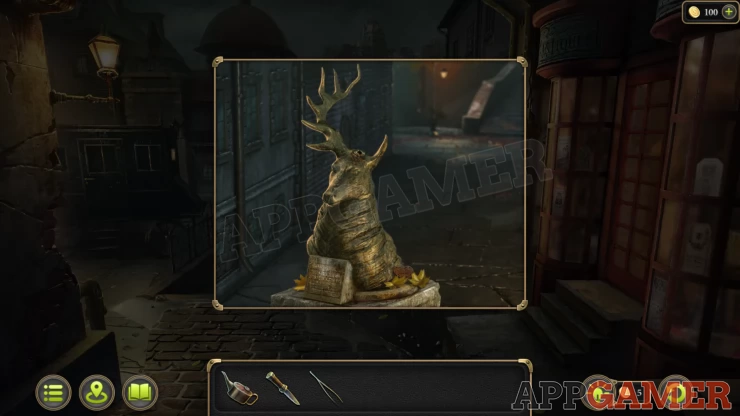
Exit the carriage and view the Dear statue in the square. Collect Part of a box (heart shape).
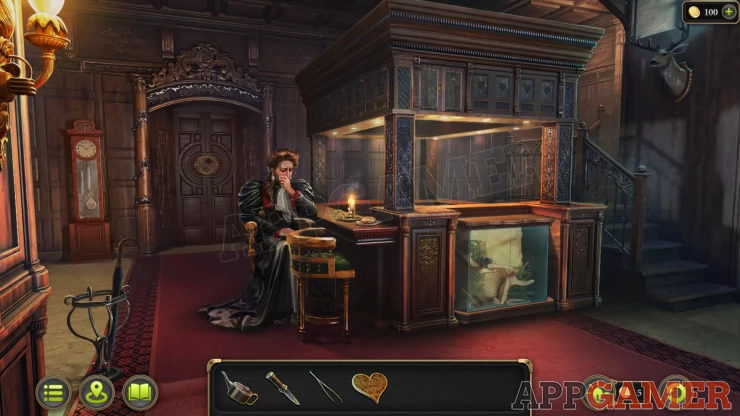
Now enter the brothel building.
Morphing Object: Flower Carving in the wood above the doors.
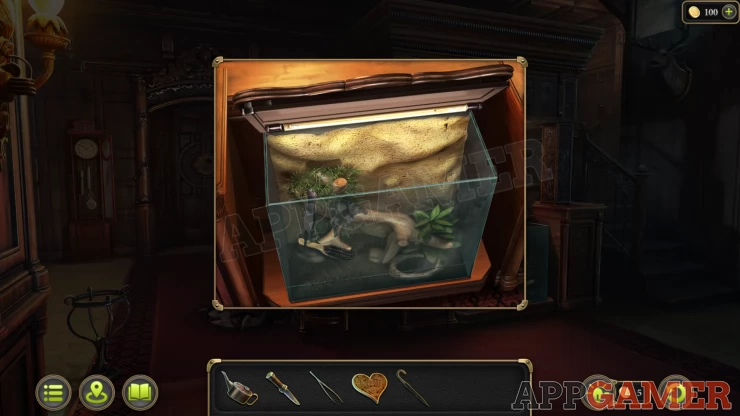
Collect the Umbrella from the lower left and then view the glass tank by the reception desk. Open the top an use the tweezers to collect a Brush
Next open a cabinet at the top above the glass tank, collect a bottle of Alcohol.
Exit to the street and then tap on the steps on the right, behind the red fronted shop. This will take you to the central square.
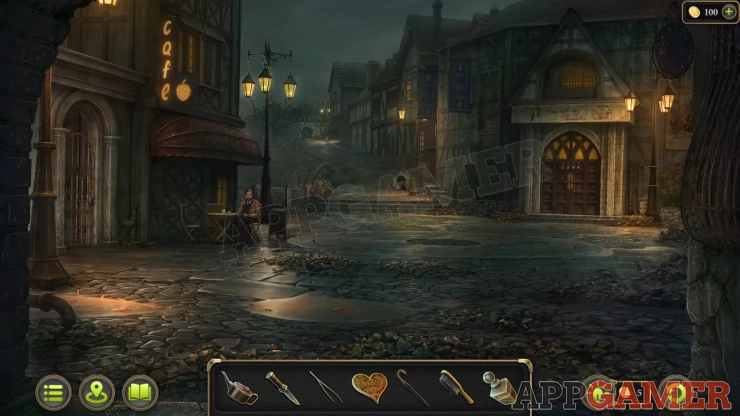
Morphing Object: Logo on the Cafe sign on the left
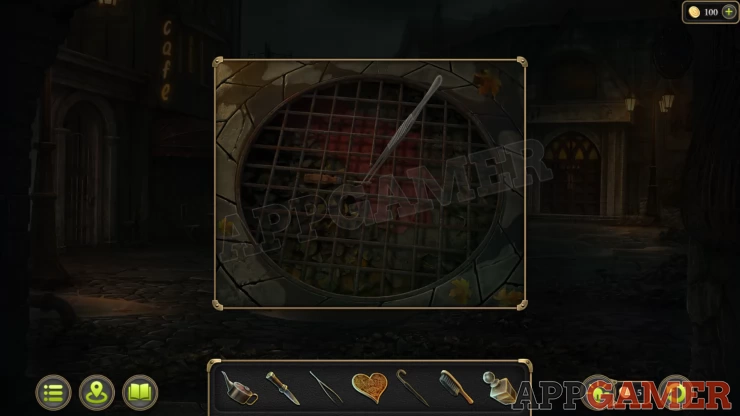
Tap on a drain cover in the center of the square. Use the tweezers again here to collect a Screwdriver.
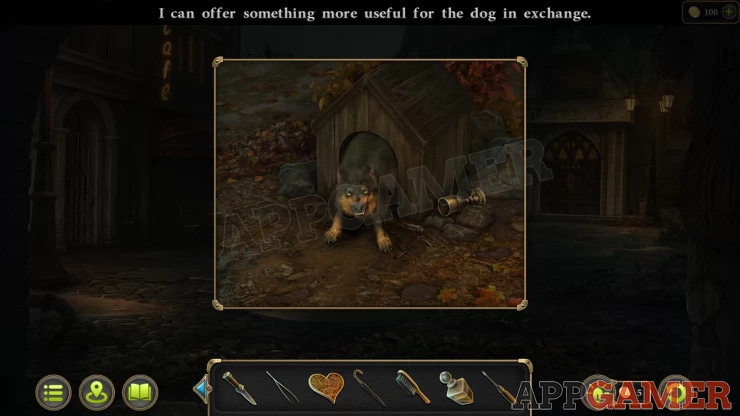
Tap the path that leads ahead to see a dog in a kennel with a Goblet. Tap the goblet but the dog will stop you from taking it.
Then tap again at the far end of the path to reach a small courtyard that is the scene of the death. Notice the chalk outline on the ground.
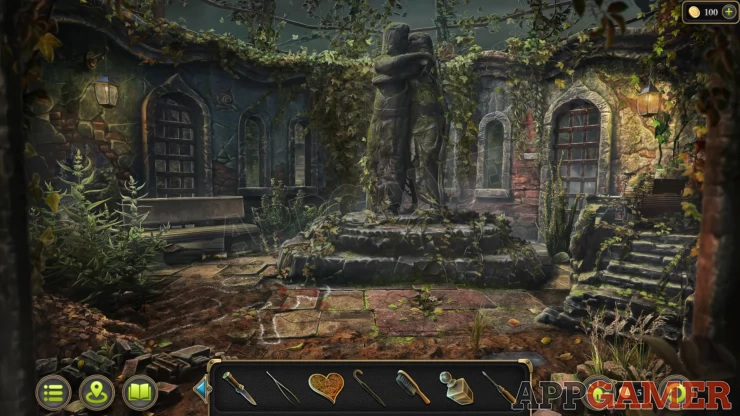
Morphing Object: Bat / Snail image on the wall on the left between 2 windows
Tap the stone bench on the left to see a goblet underneath. Tap this to highlight it.

Then tap to view the bush to the right of the stone bench.
Collection Item: Chess Piece on the window ledge on the top left.
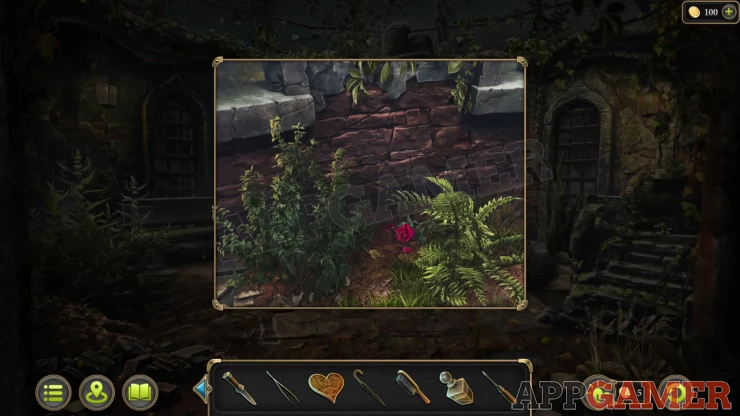
Move the bushes to see a red flower to also tap on.
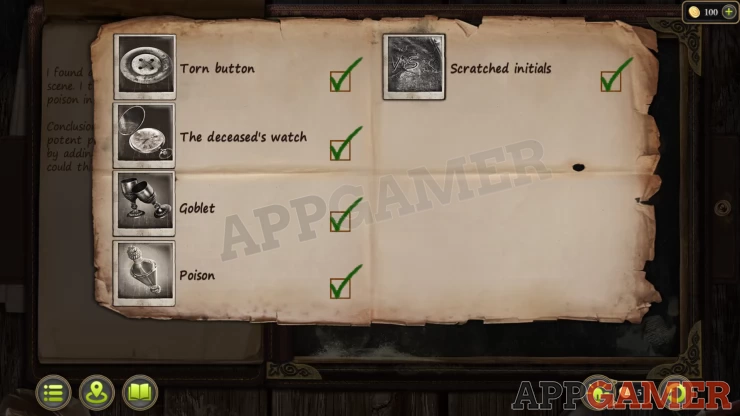
Next view the bush to the left of the stone bench. Use the Knife on this to cut it away and find a pocket watch. Tap this to get Evidence 1/5 - The deceased's watch.
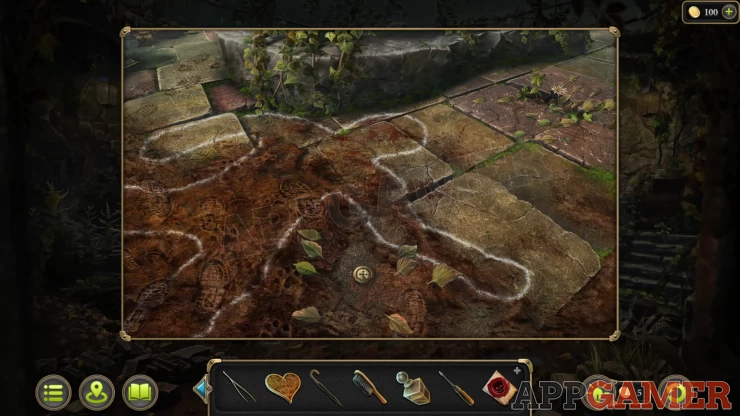
View the chalk outline on the floor. Move some leaves to find a button. Tap this to get Evidence 2/5 - Torn Button.
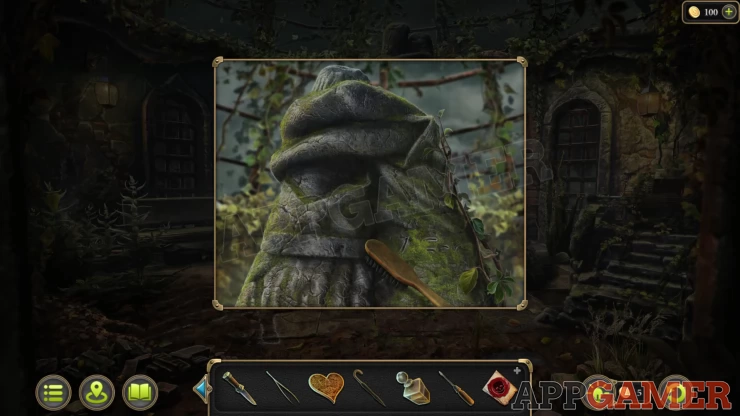
Now view the Statue in the center, use the brush on the right side to clean it and reveal another evidence. Evidence 3/5 - Scratched Initials.
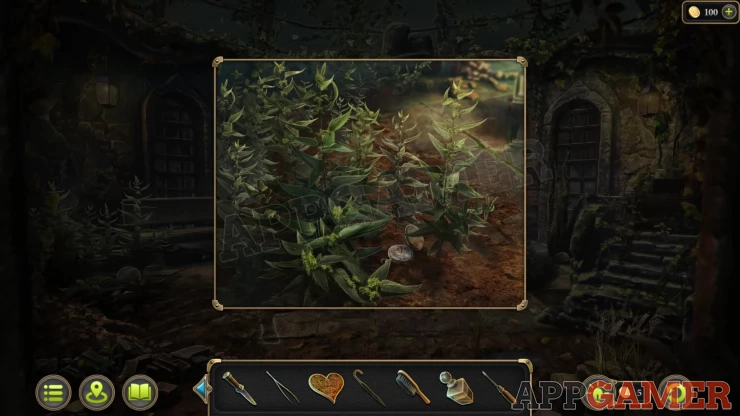
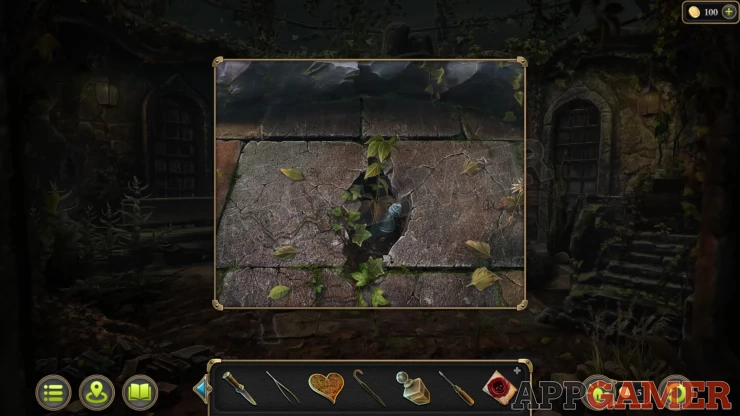
Finally view a crack in the ground just below the statue. Tap the weeds growing there to reveal an item and then use the tweezers again to collect the Bottle.
New Task - Test the Bottle
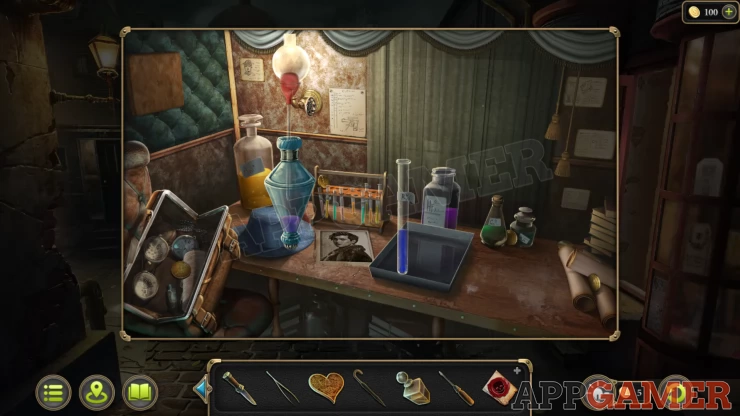
Back up to the initial street and enter your carriage again. Place the bottle on the desk and it will be analysed.
Evidenced 4/5 - Poison.
Next enter the brothel and tap on the mother. Collect the Sandwich from the plate.
Now go back to the dog in the kennel. Give the sandwich to the dog. You can then tap on the goblet to get Evidence 5/5 - Goblet.
You have completed the first file.
Return to the brothel and talk to the mother. You will collect a Piece.
New task - Investigate Oscar Brown's involvement
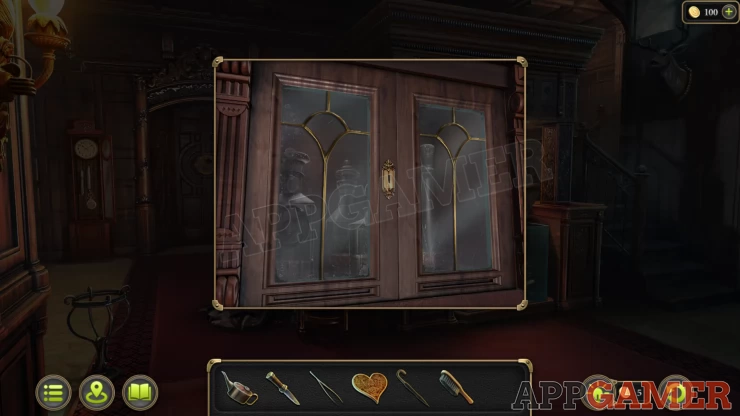
View the door at the back of the room and place the Piece into the slot on the front.
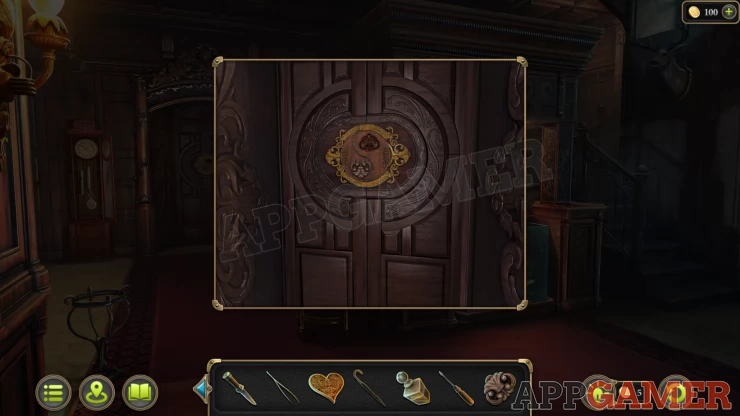
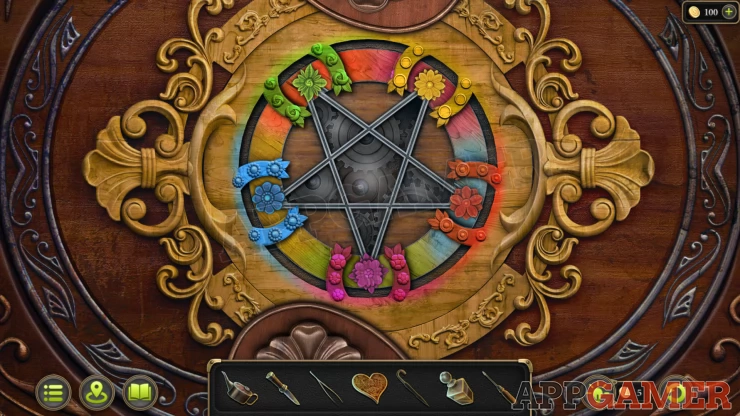
Playroom Door Puzzle
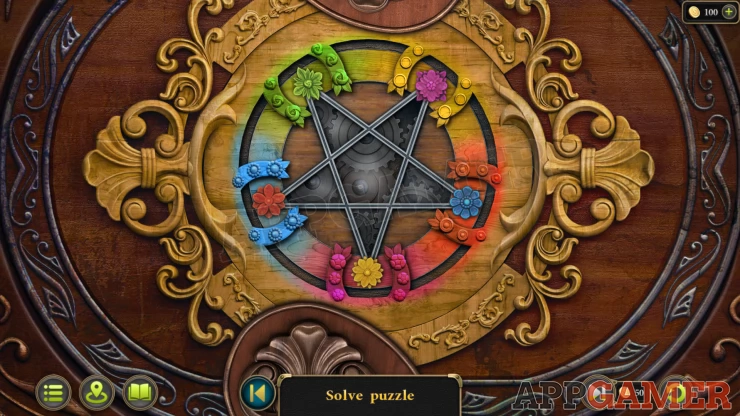
- There are 5 colored flowers on a star shape
- These are arranged in 5 colored slots.
- Tap any 2 connected flowers to swap their positions.
- After every swap move all of the flowers rotate anticlockwise by 1 position.
- Arrange them so that all the flowers are in the matching colored slots.
Hint: concentrate on getting the flowers int the same circular order as the slots
Enter the Play room

Morphing Object: picture of a boot on the back wall on the right.
View the Balcony at the top with the pink curtains.
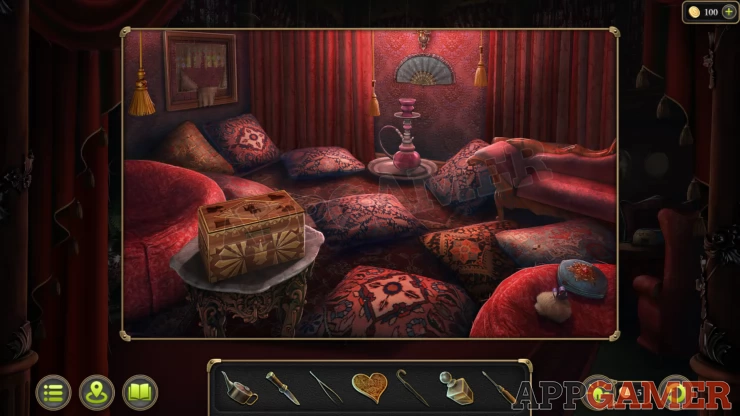
Collection Item: Fan on the back wall.
Collect the Powder from the lower right
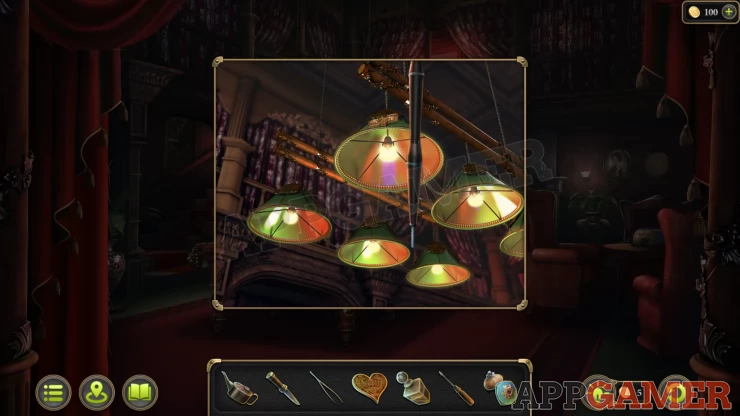
Now view the lamps above the billiard table. Use the umbrella here to collect another Part of Box from them.
Now back out to the street and go to the Town square again, talk to the man drinking coffee. Oscar Brown.
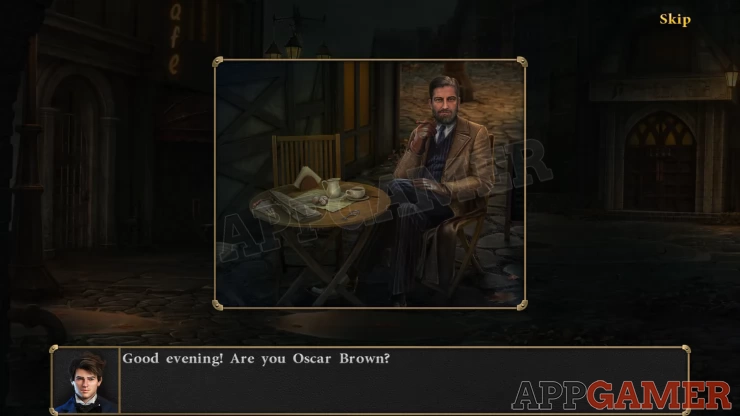
After the conversation Collect the Key from the table, and also some Nuts.
Collection Item: Fan on the table.
Now view the gate to the left of the table and use the key to open it.
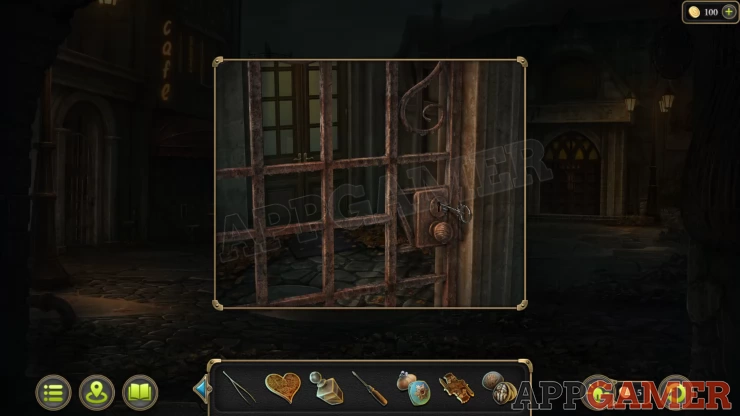
Enter the Apartment
Collection Item: Chess Piece on the shelf on the far right
Morphing Object: Noose / tie next to a jug on the right above the sofa.
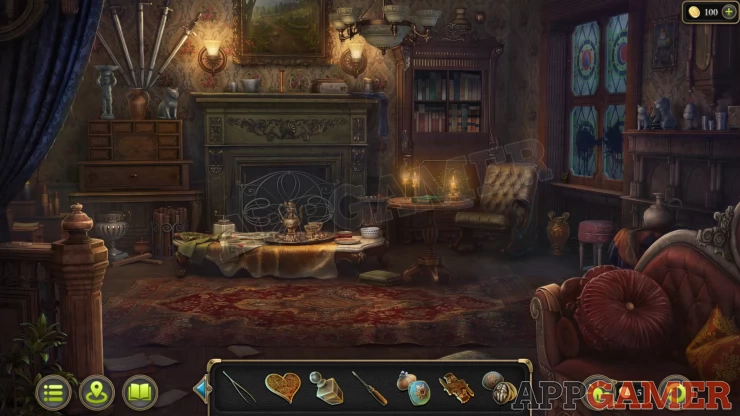
View the window on the right, it is stained with ink.
Collect the Part of Box on the lower left corner. Te add the Alcohol to the window and it will be cleaned. Notice the 4 symbols as a clue.
Show
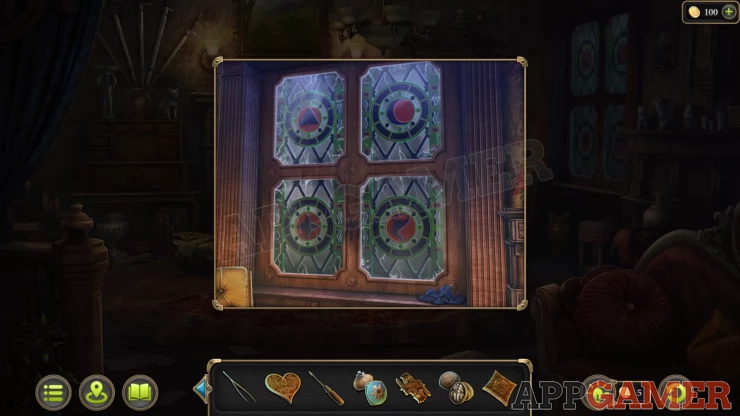
Next view the low table in the center, view the poster to get Evidence 1/4 - Poster with the autograph of the theater prima. You can then collect a Comedy Mask from under it.
Next view the drawers on the left side. You are prompted to look for a secret compartment.
Use the Powder on the drawers to reveal fingerprints. This will show you which 3 drawers to tap to ope the secret area.
Solution: Show
Collect the Antler. and then view a glass bottle to get Evidence 2/4 - Medicine for the liver.
View the mantle above the fireplace, then tap on the tickets on the right side to get Evidence 3/4 - Businessman's personalized tickets. then you can collect a Tragedy Mask.
Back out the the initial street and view the dear statue on the center. Try adding the Antler to the head of the statue, it does not work.
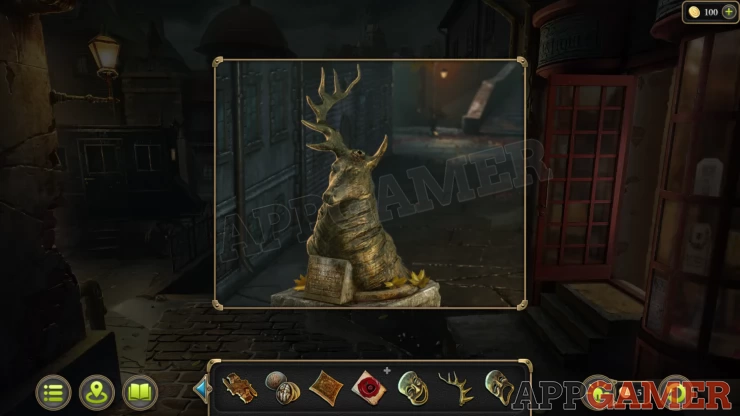
Then use the oiler on the hole for the antler, after this you can add the antler successfully.

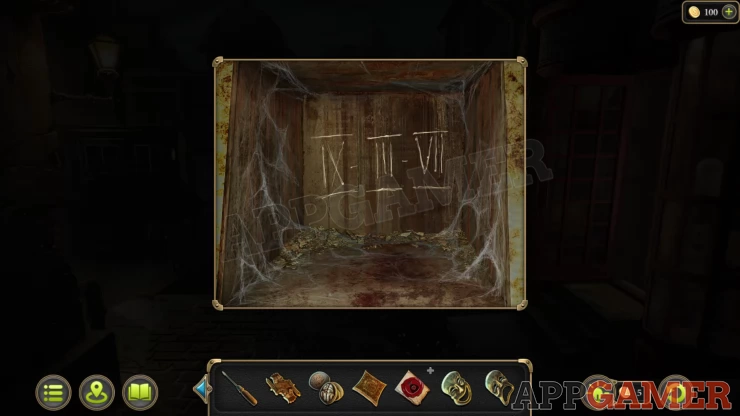
Look inside the opened box at the bottom to see a clue.
Show
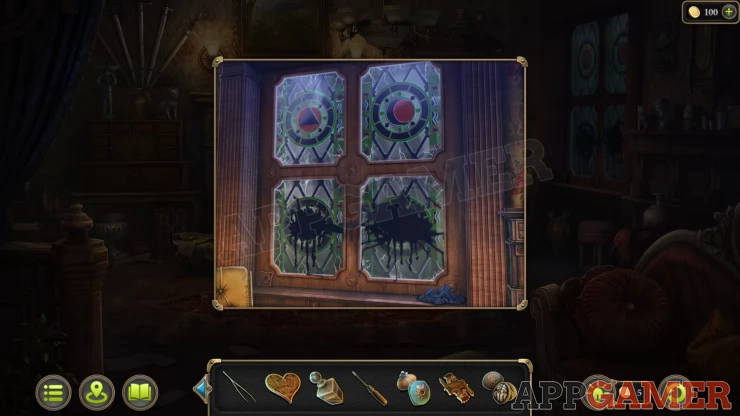
Return to the apartment room and view the book case on the right. Notice that some books have symbols on the spines.
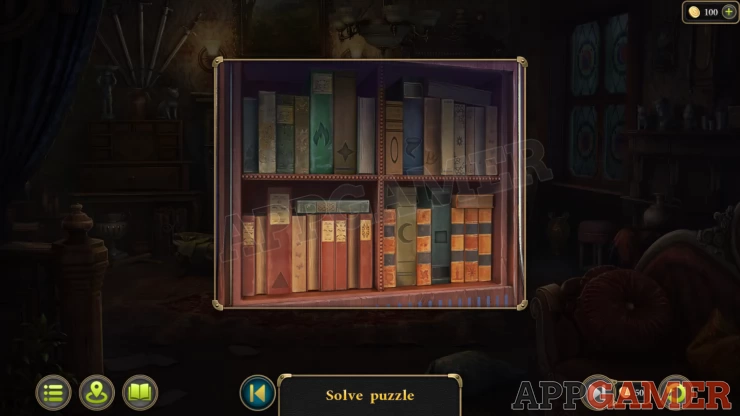
Tap the 4 books with symbols that match those on the window glass. This will reveal a safe.
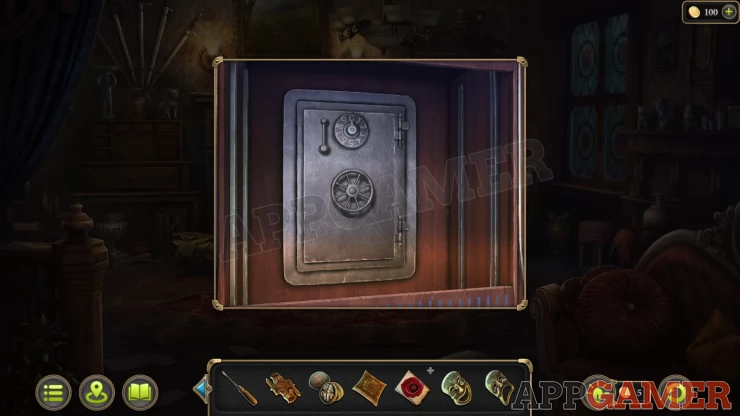
You can now ope this with the code from the clue in the dear statue.
Code: 937Show
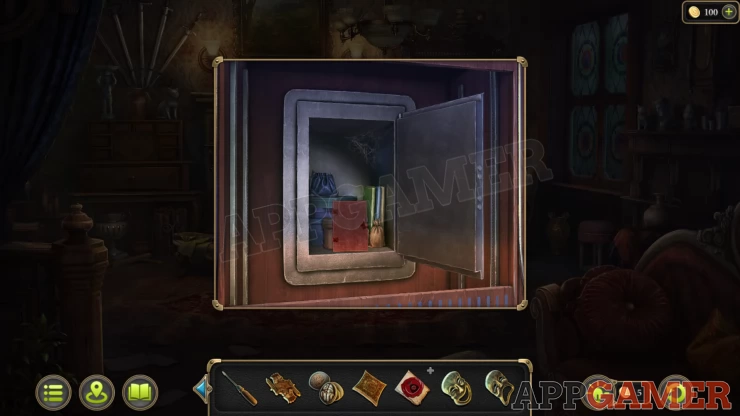
Read the receipt in the red folder inside the safe to get Evidence 4/4 - Director's Cash receipt.
New Task - Visit the Theater
Collect a brown Case from the safe. Then you can exit to the square.
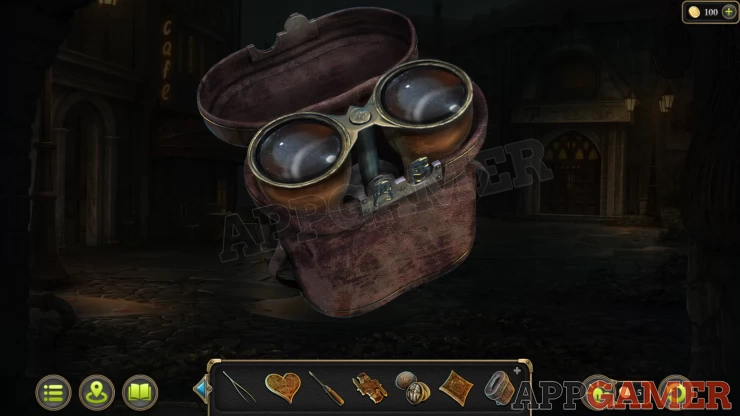
View the Case in your inventory and add the 2 mask items to the front to open it. Collect the Binoculars.
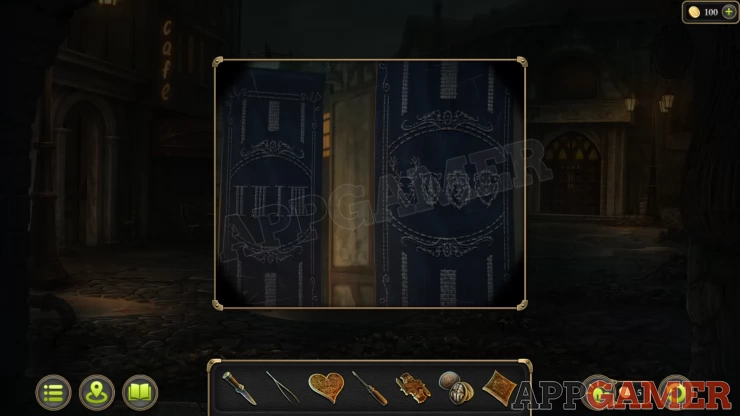
In the square use the binoculars on the Hanging banners to the left of the theater door (the large building across the square).
You will see a clue.
Now view the door of the theater to see 4 animal head knockers. Tap these in the correct order
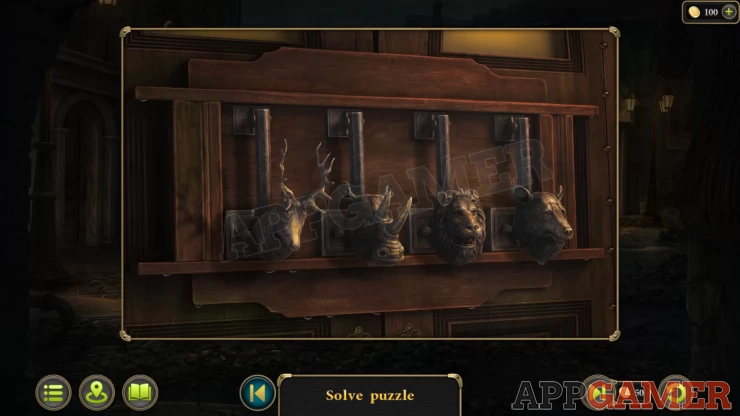
Solution: From the banners get the order by matching the numbers on the left to the animals on the right.Show
Code: Lion (3), Dear (1), Rhino (2) Bear (4)Show
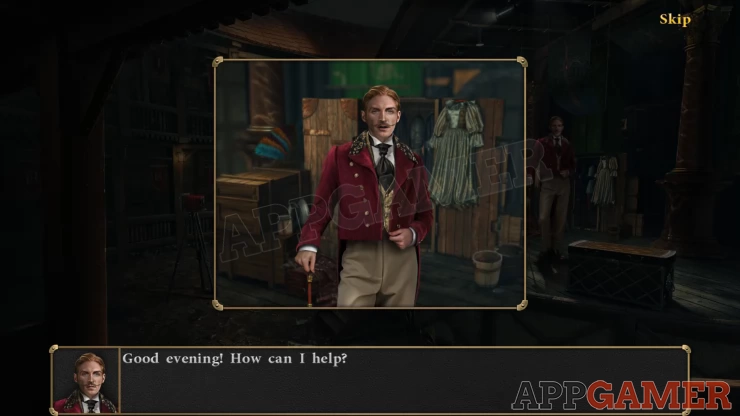
Enter the theater and talk to the director. You will get a Key.
New Task - Develop the Photo
Morphing Object: Red banner 'J' on the upper tier of the seating on the left.
View the closed door at the back behind the stage. Use the key to open it.
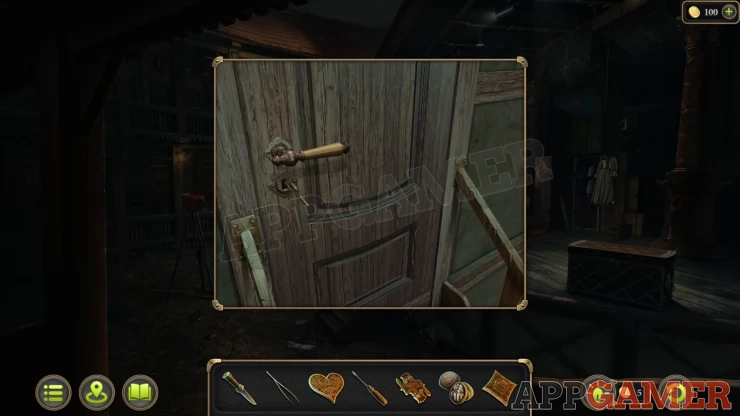
Go up to the dressing room.
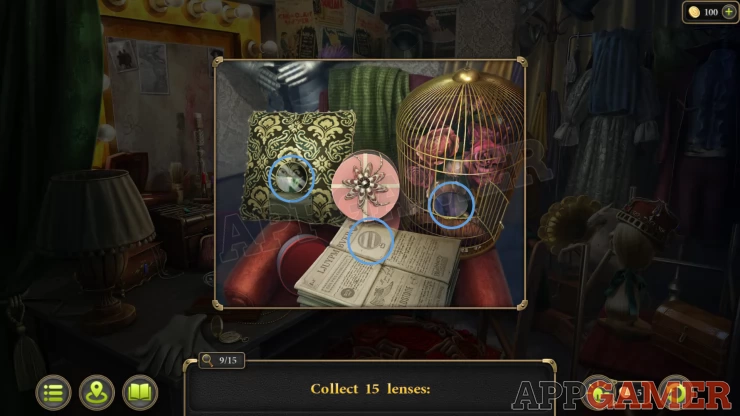
Dressing room Hidden object Puzzle
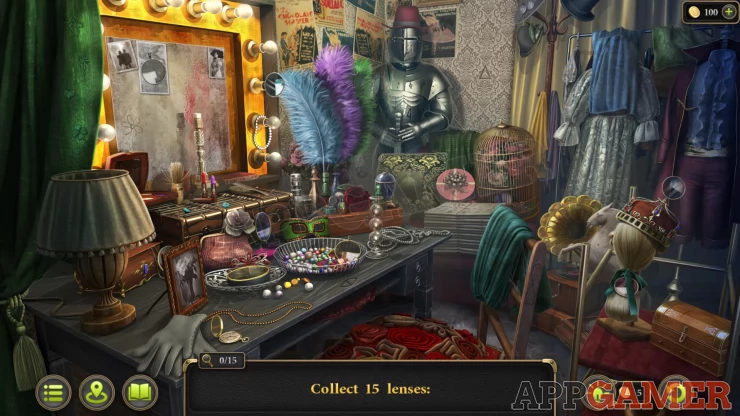
- You need to find 15 lenses, these are hidden around the scene.
- Some are in view while others are inside containers or under other items.
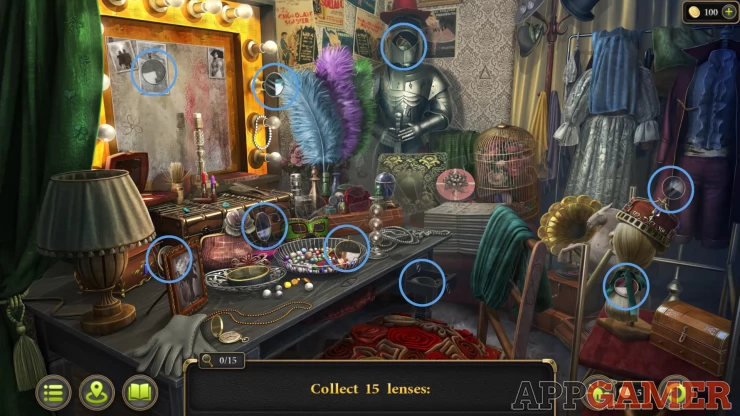
Main scene (9)
Show
View the bird cage at the back (3)
Show
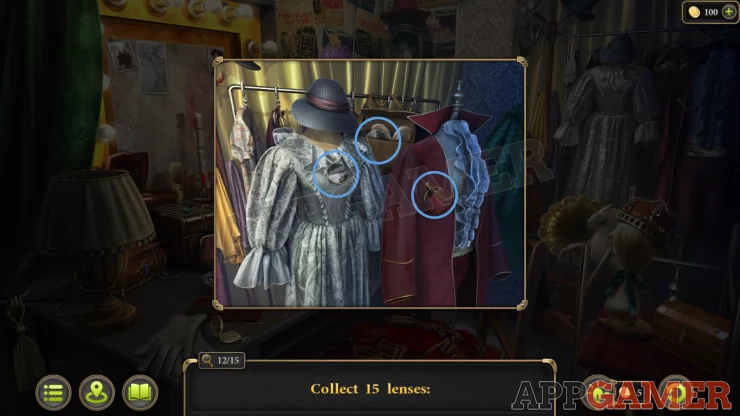
View the clothes on the top right. (3)
Show
Now that you have the lenses view the large box on the stage, add the lenses to it.
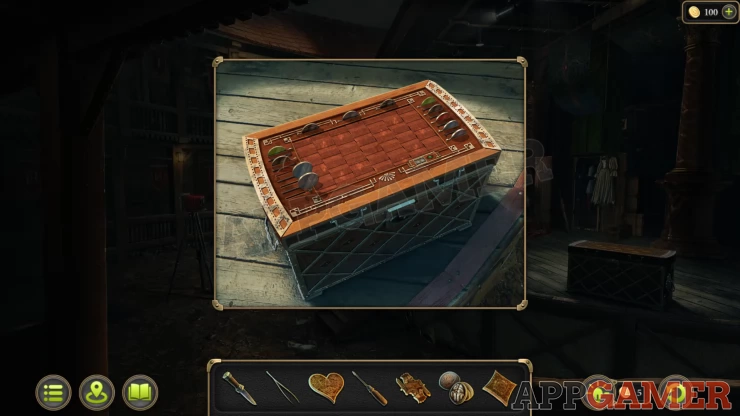
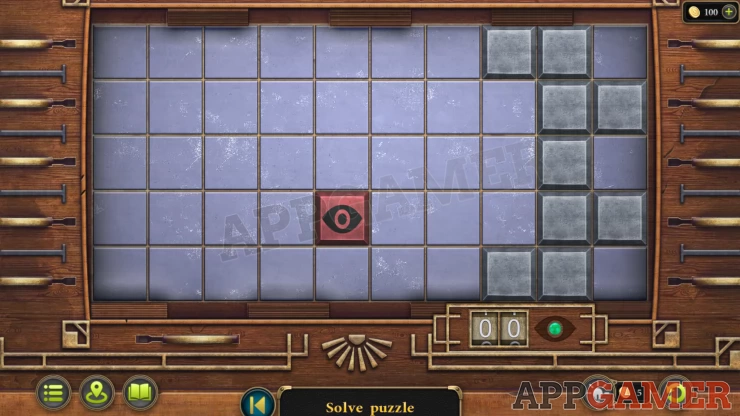
Case Puzzle
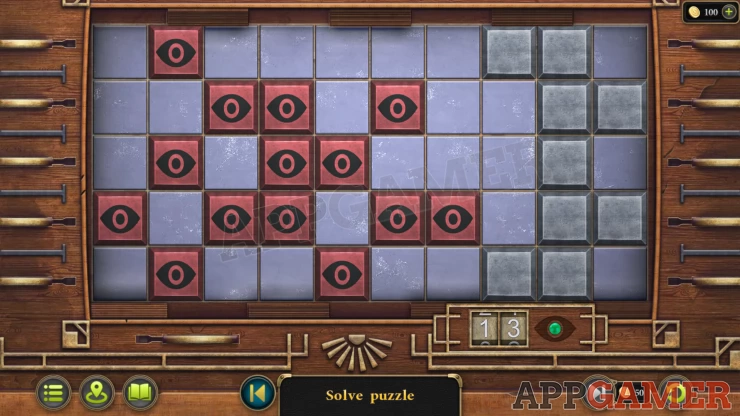
- This is a solitaire style puzzle
- Tap an eye tile and then one next to it to jump the first tile over and remove the second one.
- Continue like this to remove the tiles from the board.
- You need to end up with 1 tile left to complete the puzzle.
Collect the Needle and thread and a Case from the opened box.
Now view the camera that is on the left.
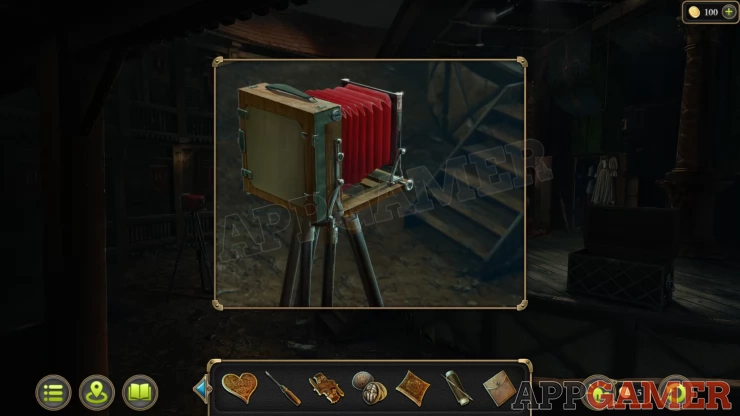
Use the screwdriver to open the side and then use the Case on it to collect the Film.
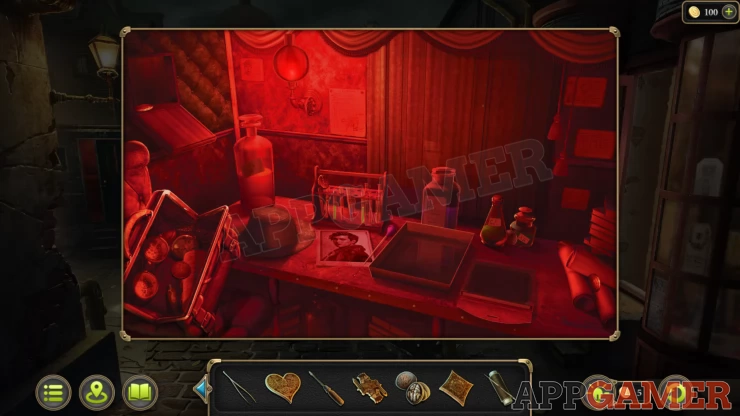
Now return to your carriage in the street to develop it.
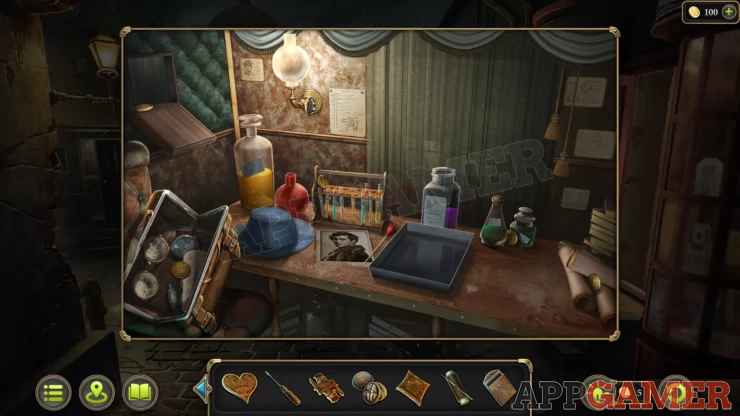
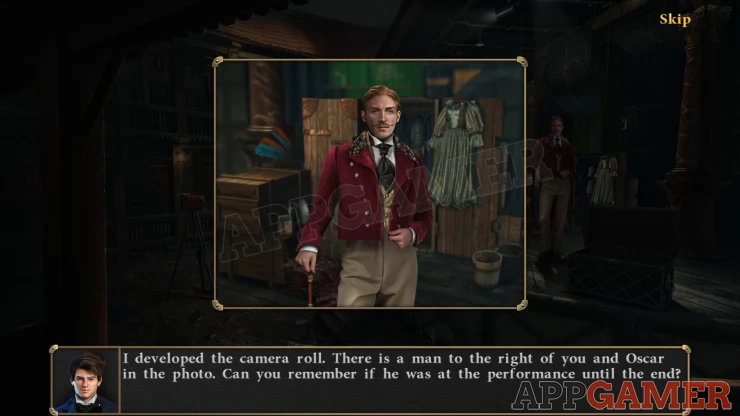
Tap the red bulb on the left to replace the white one and then place the film on the table. Add the film to the developing tray and then you can view it to get Evidence 1/5 - Photo from the premier. Collect the Photo.
Go back to the theater and show the photo to the Director.
Now look in the balcony stall on the left (K banner).
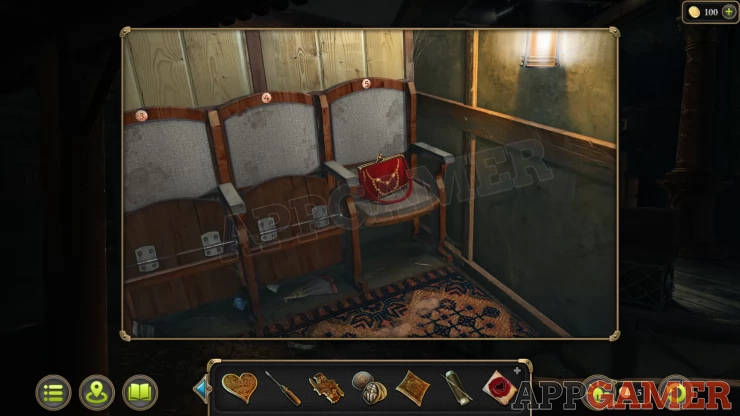
Collection Item: Fan on the floor under the middle seat.
Tap the red bag to get Evidence 2/5 - Women's Clutch.
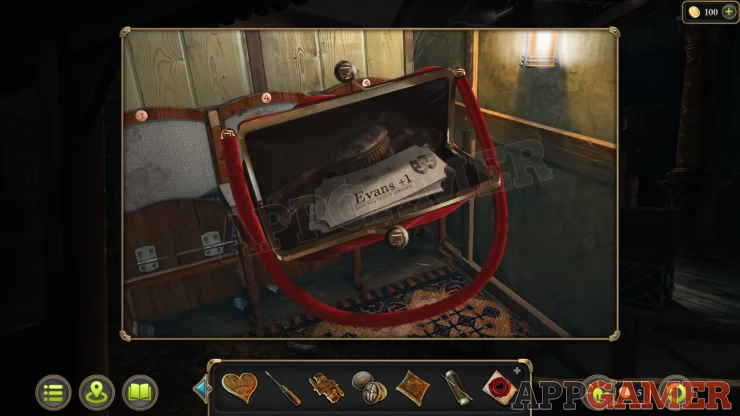
Then view the tickets that are inside to get Evidence 3/5 Personalized tickets of the deceased +1.
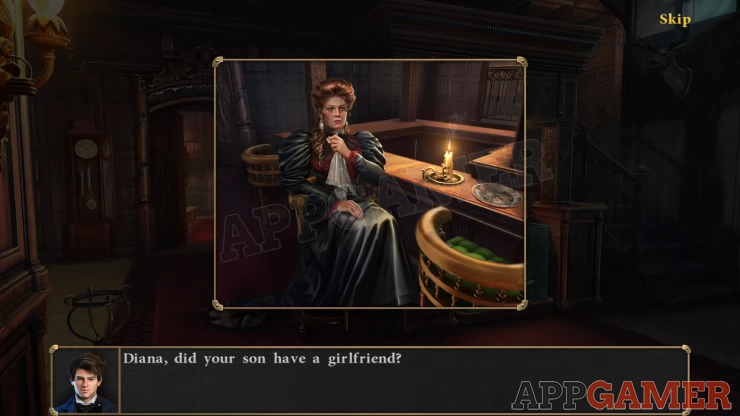
Head back to the Brothel and talk to the mother again. She will give you a key.
Continue the guide in Case 2 Part 2
| Case 1 - Troubles on the Farm Walkthrough Part 3 | Back to Top | Case 2 - Improbable Suicide Walkthrough Part 2 |
 With 20 years of experience in creating video game content for the internet and over 30 years as a gamer, Mark is now a passionate mobile App Gamer. Loving a challenge, he is always ready to get stuck in to both survival builders and puzzle solving games. He has been providing content for AppGamer since 2014.