Case 1 - Troubles on the Farm Walkthrough Part 3
More Mystery Detective Adventure
Welcome to our Mystery Detective Adventure walkthrough. This is another in the popular line of Mystery escape room and puzzle games from Five-BN.
This is Part 3 of our walkthrough for the first case Troubles on the Farm. In Case 1 Part 2 we have visited Count Babington to learn abut the demon dog and found the passage to the secret room in the library.
Case 1 - Troubles on the Farm Walkthrough Part 3
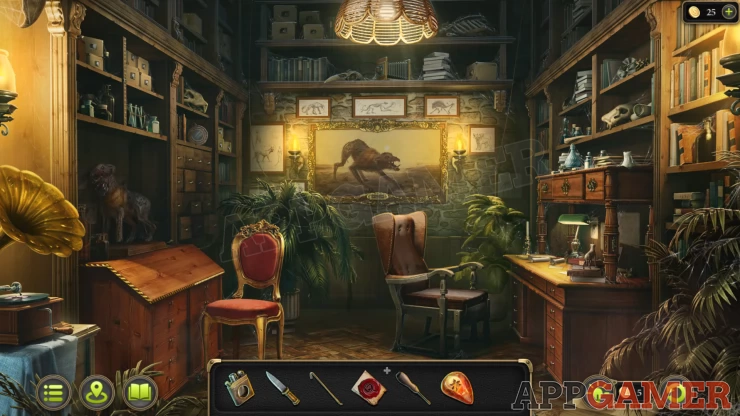
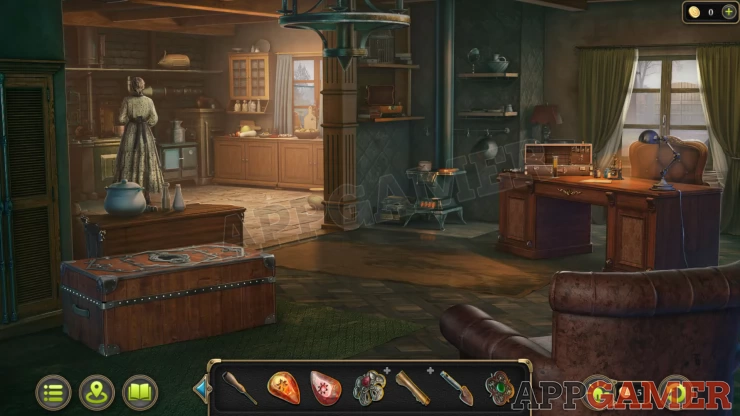
After opening the secret passage in the library you can now enter the secret room.
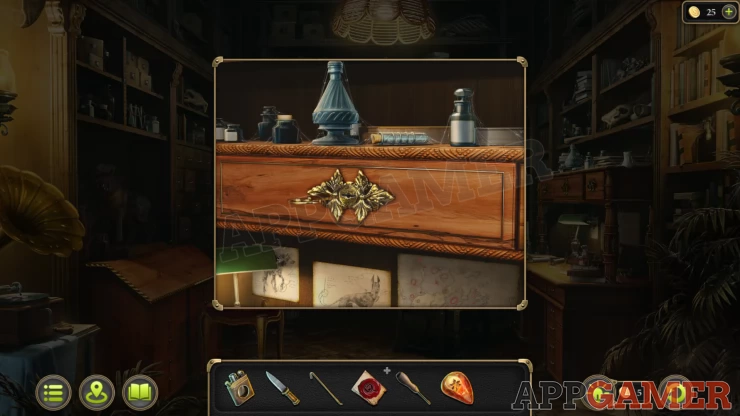
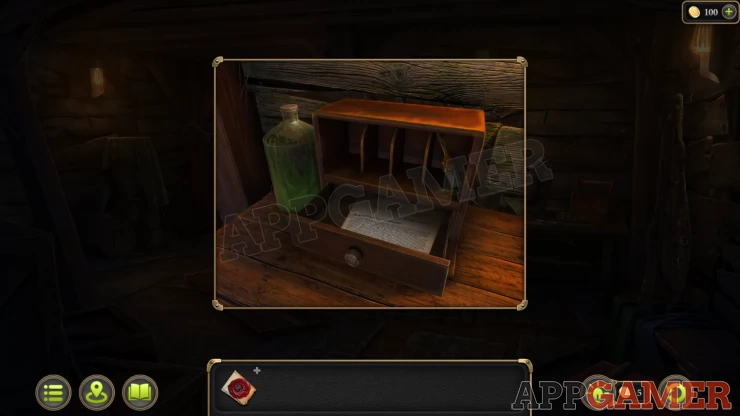
Morphing Object: round item on a shelf above some small drawers on the left of the room.
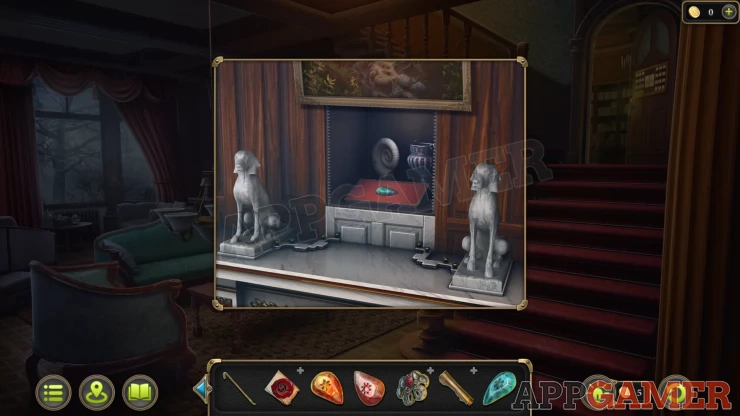
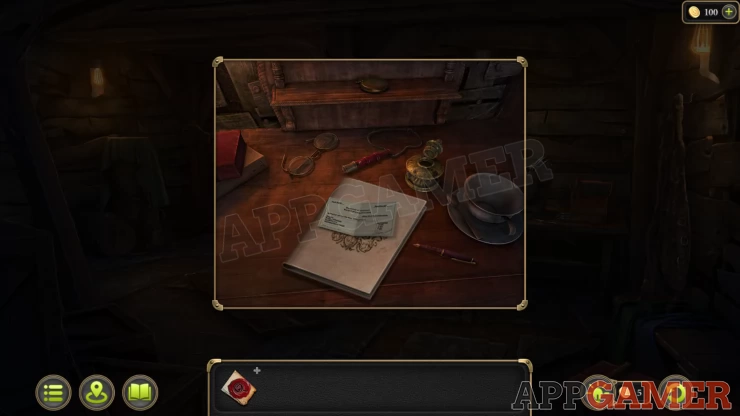
Tap on the desk on the right side, then tap the dog figure on the square base to turn it, then collect the Key.
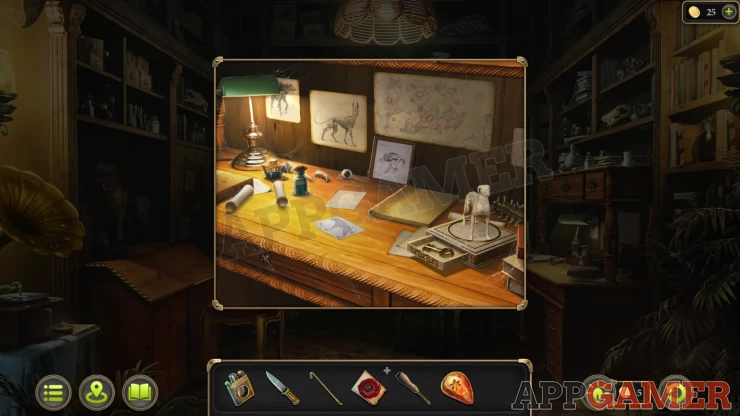
Then view the drawer on the upper section of the desk and use the key to open it.
Collection Item: a Pocket watch inside.
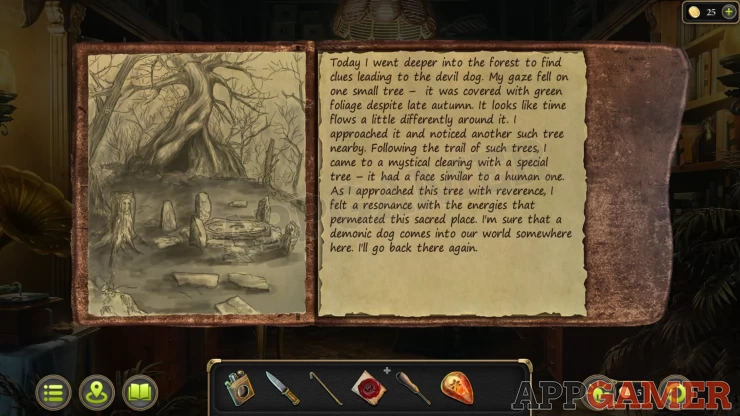
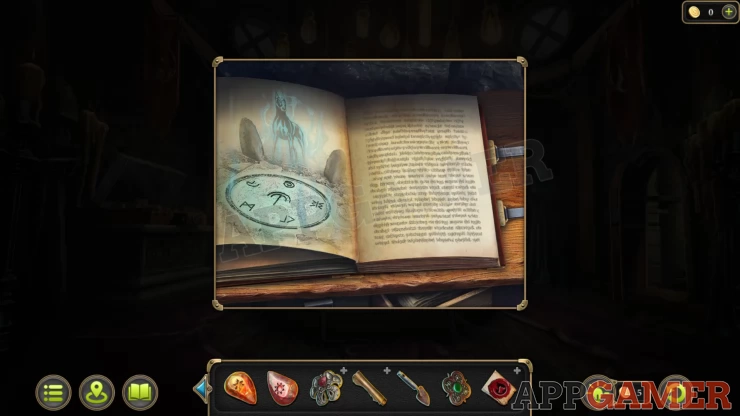
Then read the journal that is in side to learn about a mystical location in the forest following a path of green trees.
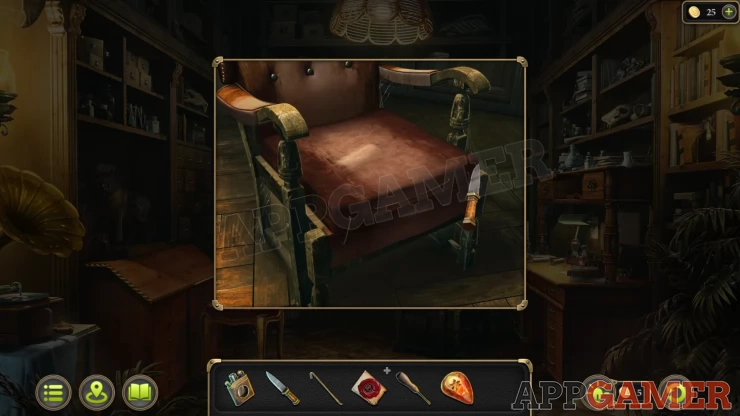
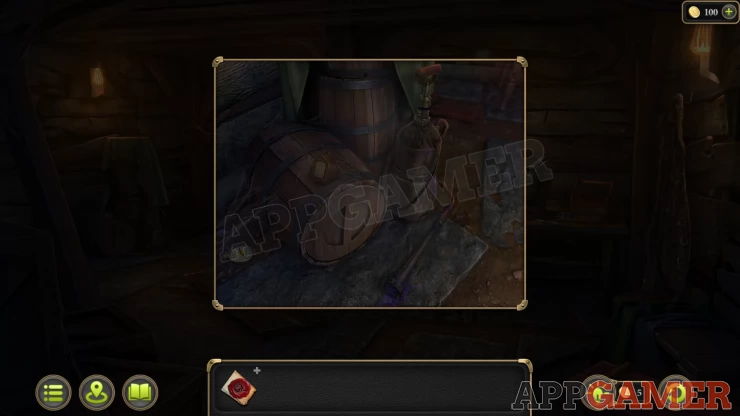
After this view the armchair by the desk. Use the knife on it to cut away the seat and find a container with a Red Stone to collect.
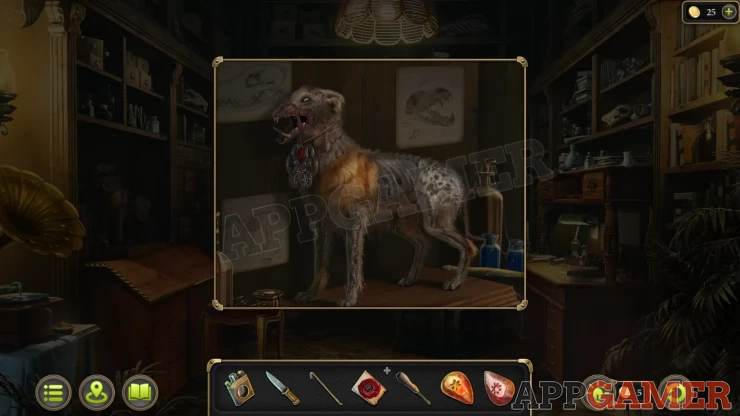
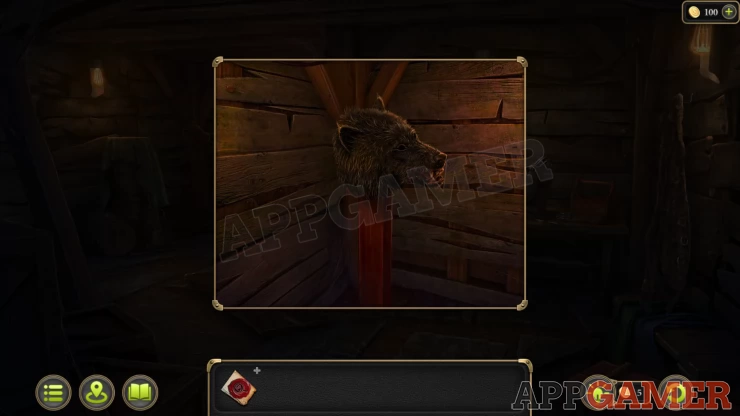
Then view the stuffed dog on the left side of the room, use the knife on this as well to collect a Pendant.
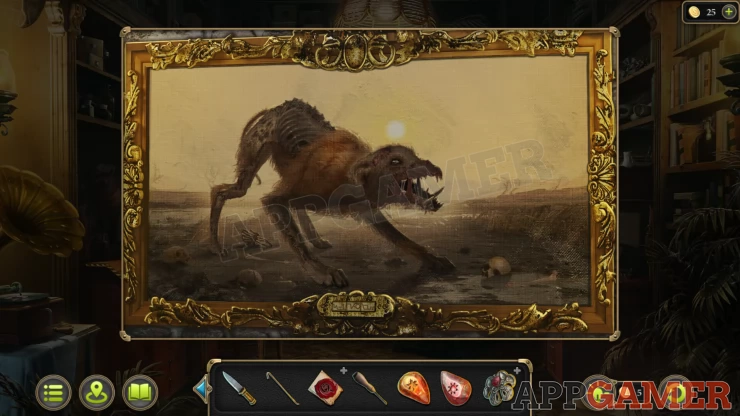
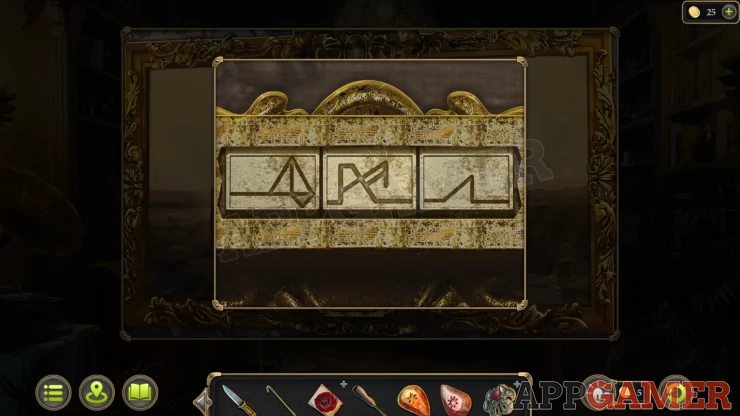
Next view the Painting on the wall, at the bottom of the frame is a small plate with 3 symbols. This is a puzzle.
Picture frame puzzle
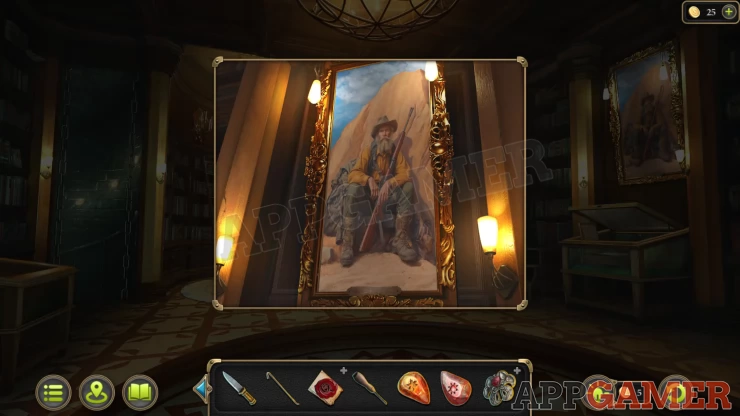
To find the solution for this return to the library and view the large paiting of the Elder Babington. Look at the bottom of this frame.
Solution: Show
The frame opens to reveal a safe, you cannot open it yet but collect the Clue paper.
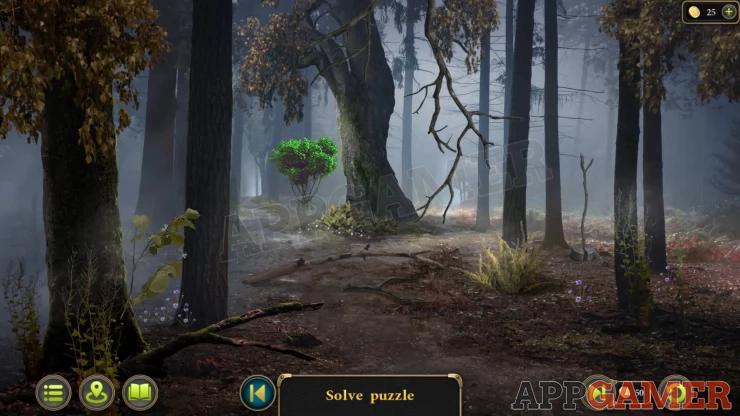
Now head back to the mysterious forest, then tap the path to the right of the center tree.

Tap the broken tree to continue on this path and you will find a suspiciously green tree.
Tap the green tree to move through the forest, then continue to follow the trail of green tress until you reach a bridge. Move stones to make a path where needed.
Bridge Puzzle
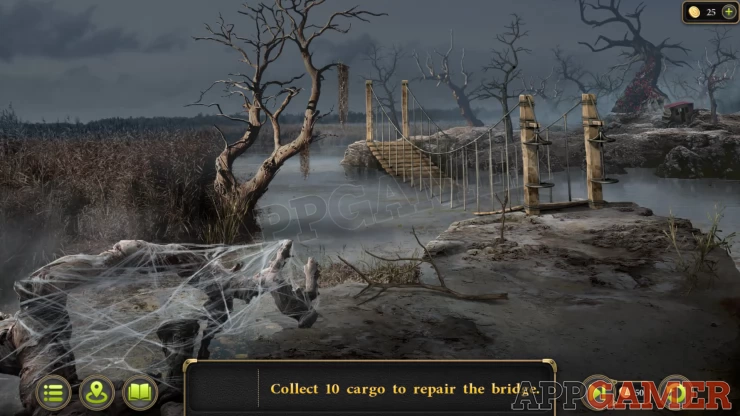
- The bridge needs to be repaired, for this you need to collect 10 cargo, these are weights.
- The weights are found around the forest, explore the scenes of the forest and look for other paths through it by moving branches and rocks to access them.
- The weights are buried in the ground or below roots and other items. Search through until you find them all.
- The first is in the ground near the start of the bridge.
- There are a lot of paths to check in the forest and the weights are in random places.
- In one scene you may need to use a stick to knock the weight down from a tree. In another location you might need to select rocks from the ground to throw at the weight in the tree.

Once you have all 10 return to the bridge and place the weights on the end.
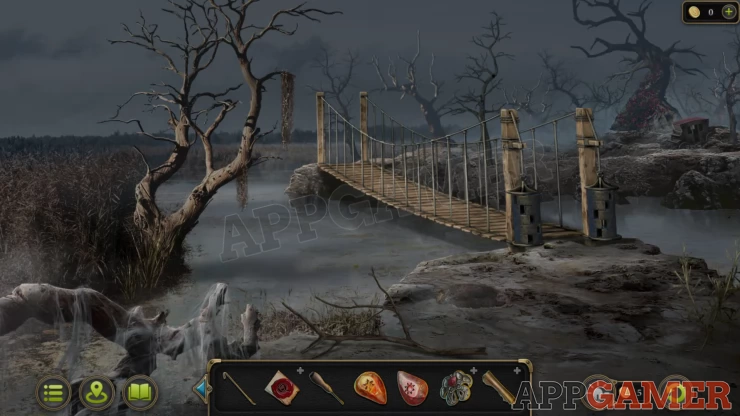
You can then cross over to the other side. Watch the cut scene of the summoning ritual.

New Task - Investigate the Ritual
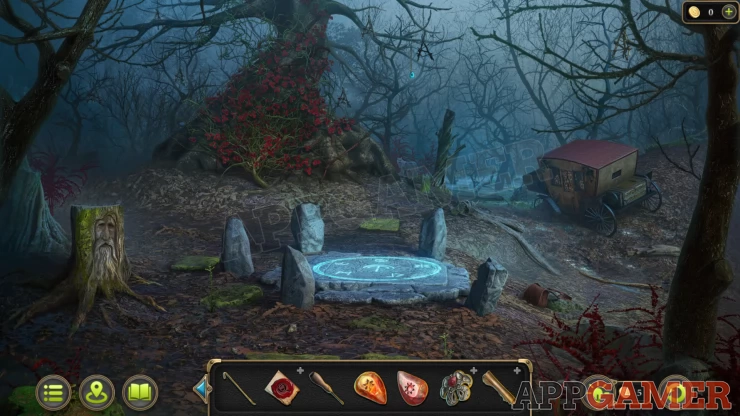
Morphing Object: small wolf / dog figure in the distance to the right of the large tree.
View the abandoned coach on the right. Use the crowbar to open the door.
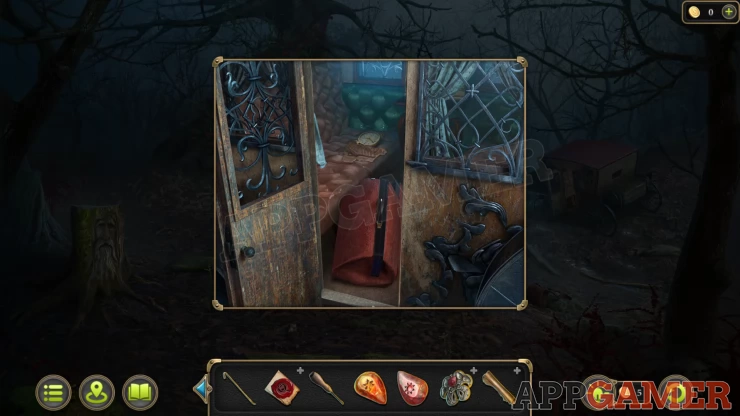
Collection Item: open the cloth on the seat to find a pocket watch
Open the red bag and collect a Key.
Now view the box on the back of the coach and use the key to open it.
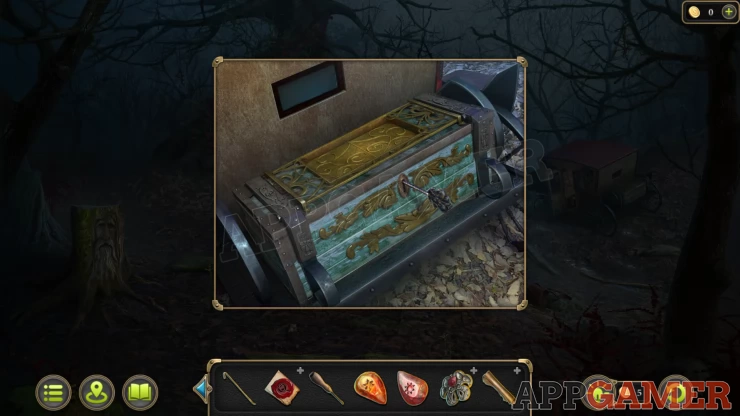
View the puzzle that appears.
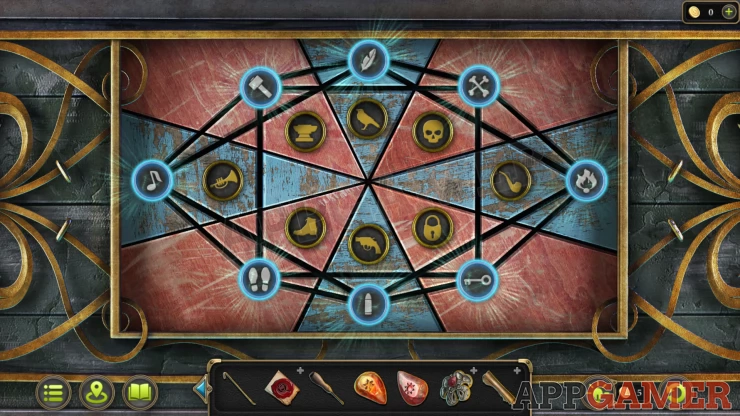
Coach Box Puzzle
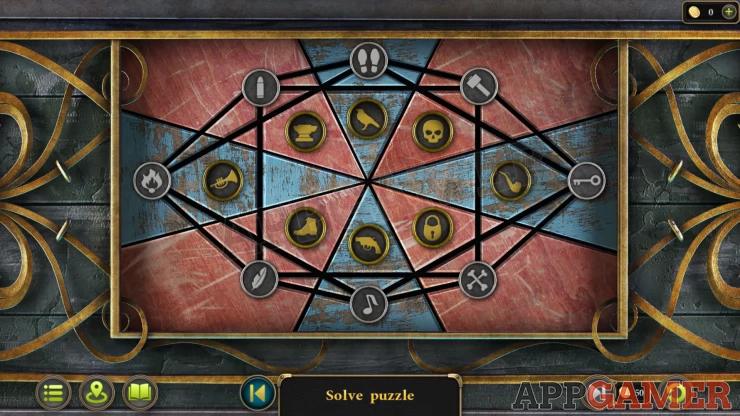
- There are 8 symbols around the outer tracks that you can move around.
- Each will have a related gold symbol that you need to move them next to.
- For example the feather should be moved next to the bird, the bullet next to the gun etc.
- Tap a piece to swap around the 3 pieces that are on the triangle track anticlockwise from its position.
Solution: Show
Once done collect a Garden trowel and a Detail
Now view a bag that is on the ground to the right of the ritual circle.
Open it and collect a Figurine.
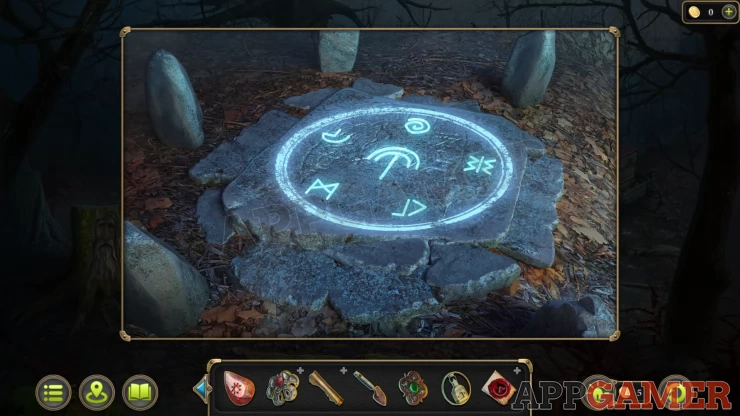
View the ritual circle on the stone and tap on it to get Evidence 1 of 2: Circle with strange symbols.
The symbols are a clue so you can make a note of them.
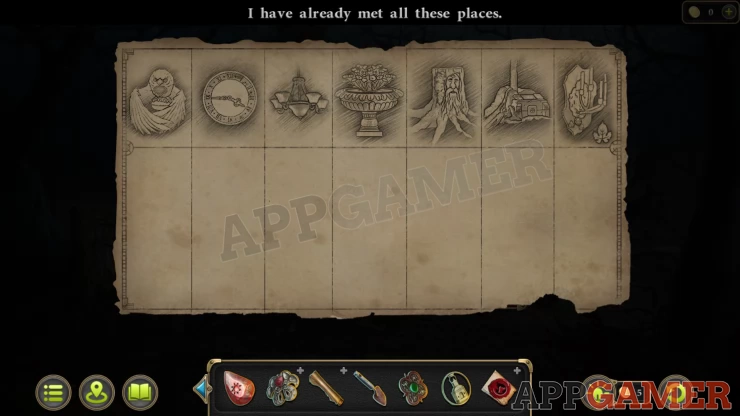
If you have not already done so view the Clue paper in your inventory that you got from the secret room in the library. There are 7 images that are clues to locations.
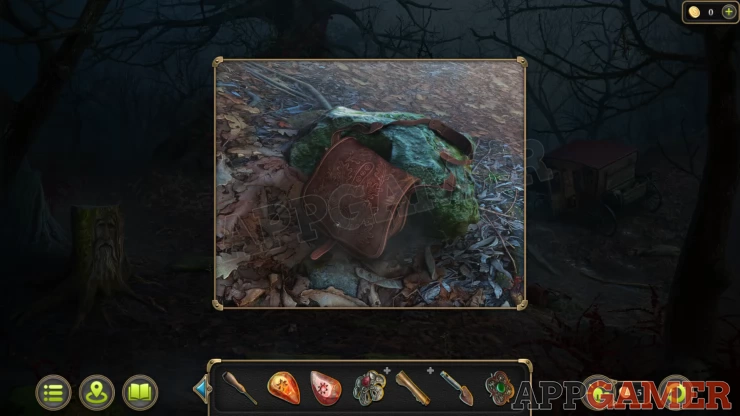
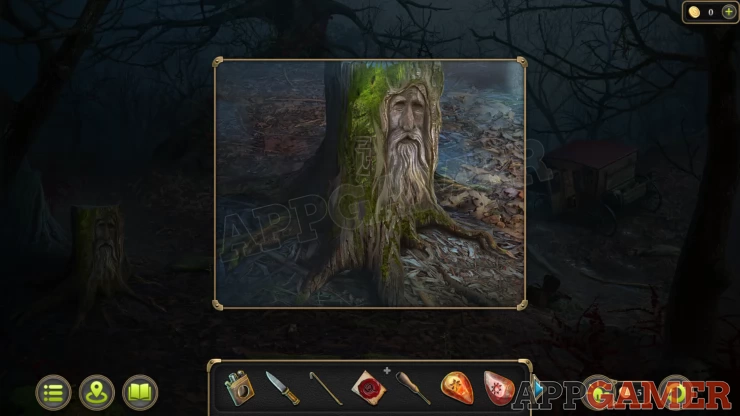
View the tree stump with the face on it. Use the knife on the moss to reveal a clue, this will then appear on the paper under the matching image.
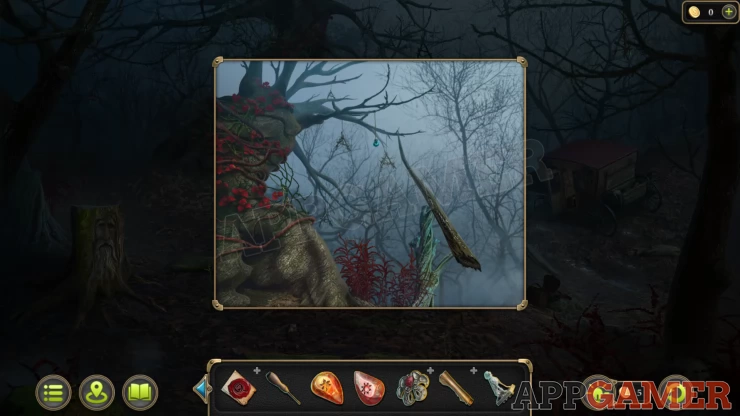
Finally collect a Stick from the path on the right. Then tap on the blue item dangling from the large tree to view it.
Use the stick here to collect the Blue Stone.
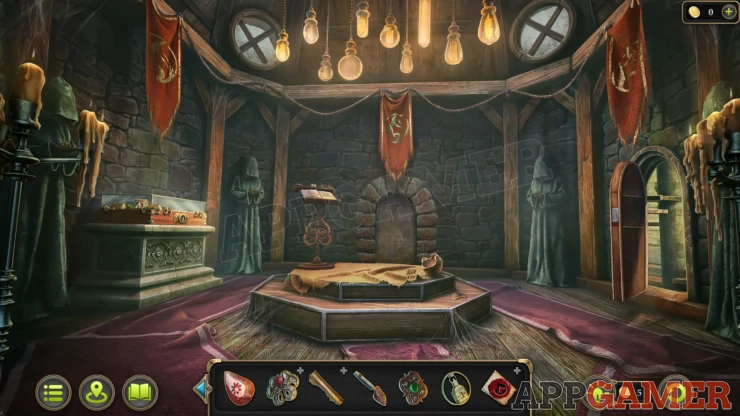
Now travel to the Town center. Enter the Cult building. View the display case on the left and use the Figurine to unlock it.
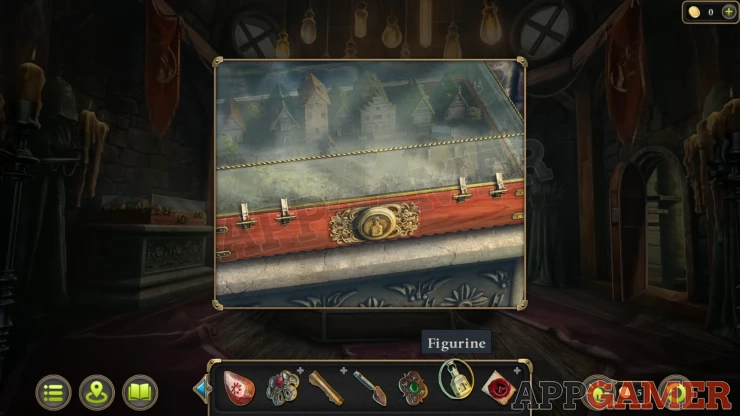
Look inside to see a miniature of the town.
Town model Puzzle
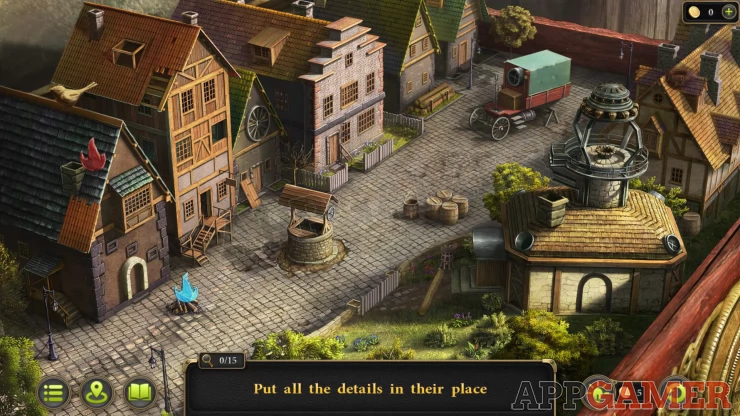
- There are 15 items that are out of place.
- Select them and then return them to the correct locations.
- This can include parts of roofs, windows etc. A wheel from the vehicle.
- Blue fire to the top of the building and red fire to the street.
- A bird to the nest on the roof on the top right.
- Bucket to the well, barrel to the pile in the center.
- Fence panels and other items.
Once done collect the Signet.
Now view the door at the back of the room. Notice the symbols on the stones.
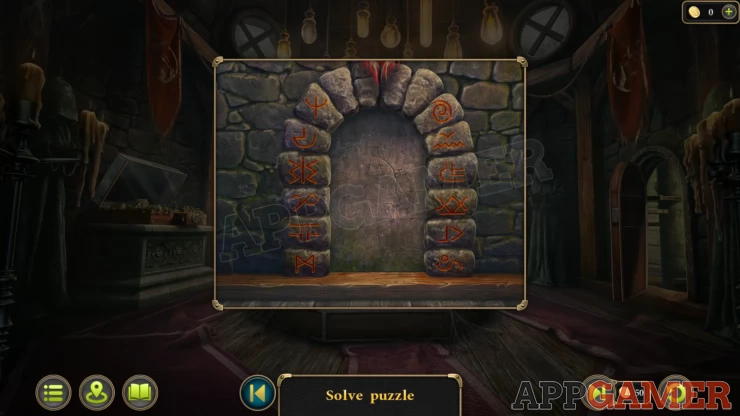
Tap the 5 symbols that you saw at the ritual site.
Show
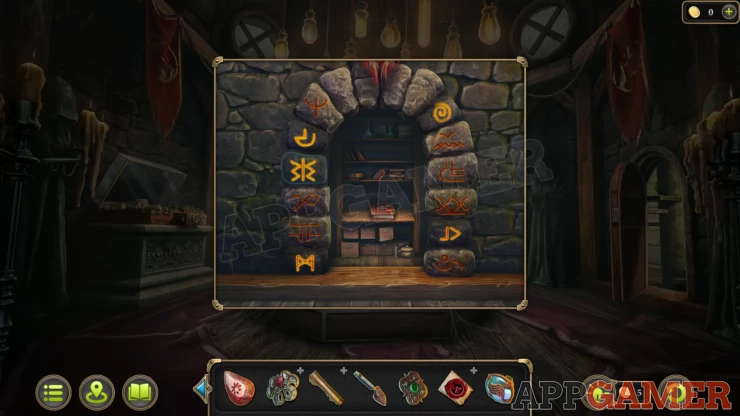
Now look at the red book inside , use the signet to open it.
Read the book to get Evidence 2 of 2: Ritual of protection and purification.
Next head to the farm house and go inside. View the large chest on the floor.
Add the Detail to it to open it and then collect the Statuette.
Now travel to the counts estate, first to the garden. View the flower planter with the red flowers.

Use the garden trowel here to remove the earth and find another symbol clue for the paper.
Then go inside and View the owl on the stairs. Tap the head to open the wings to find another symbol clue.

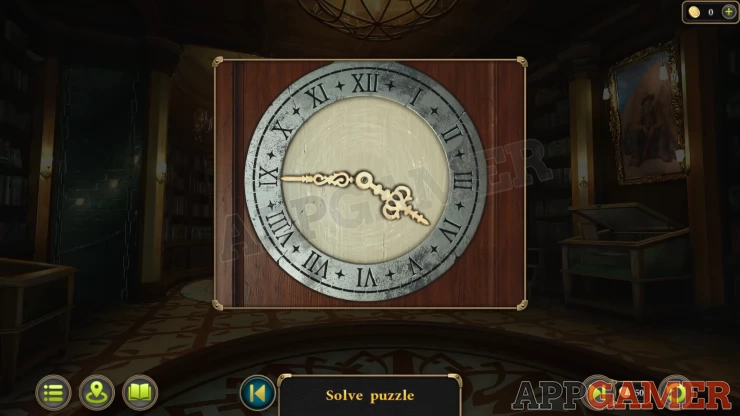
Then enter the library and view the large clock on the right. Check the image of the clock in the paper to see the time on it and then set the hands to the same time.
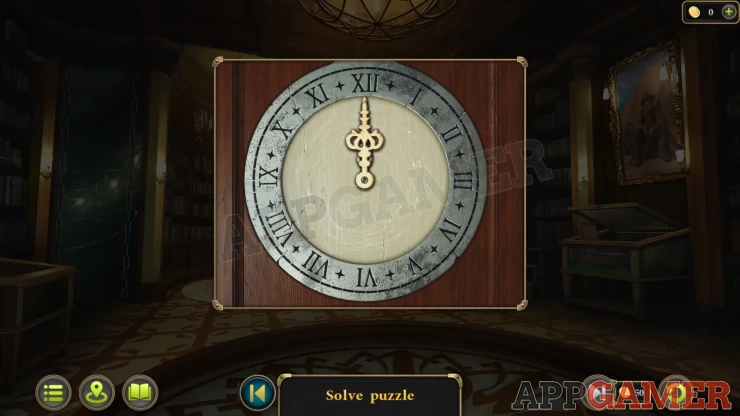
Show
Inside is another symbol and also a Lever Arm to collect.

Next view the left light fitting above the bookshelves.
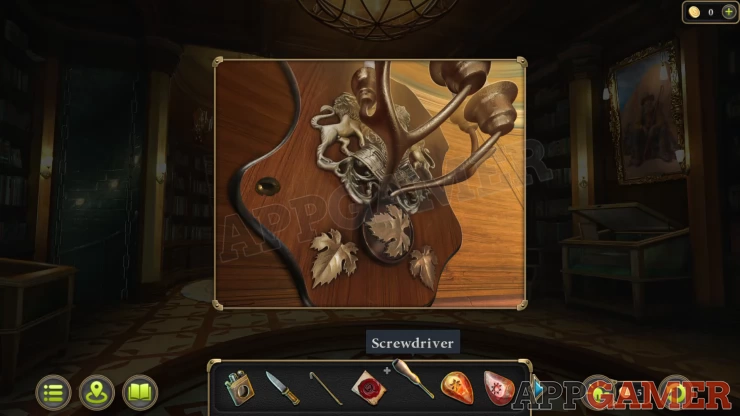
Use the screwdriver to on this to open the panel and inside you will find another symbol.
Back out the living room and tap the curtain on the left to move it and then view a handle bracket that is by the window.
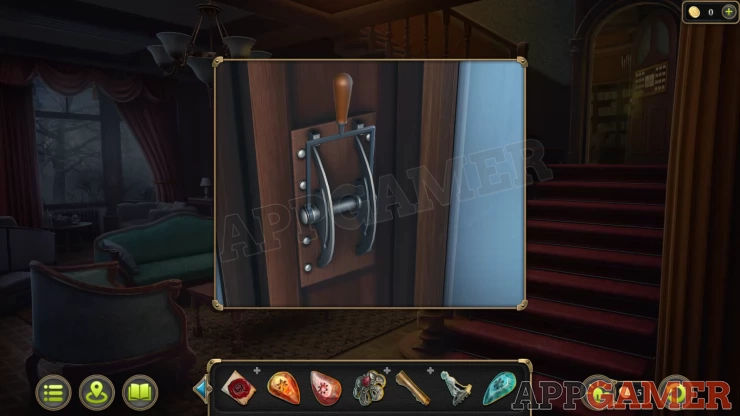
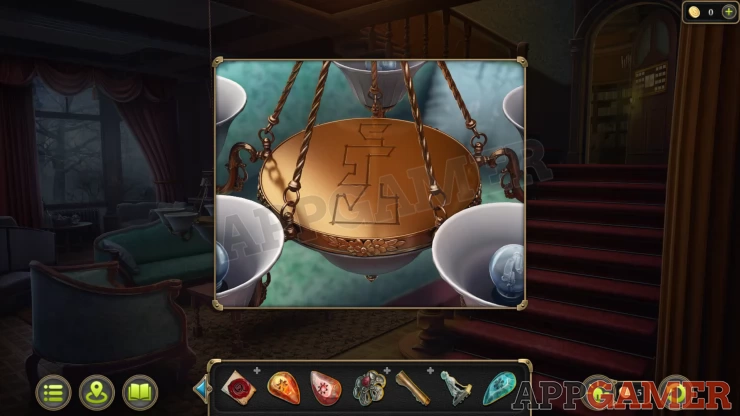
Place the lever arm here and tap it to lower the light fitting in the center of the room. View it and you will find another symbol.
Now view the mantle above the fireplace, add the Statuette that you have collected to the space on the right. You can then collect a Green stone.
You should now have 6 of the 7 symbols on the paper. Travel to the buildings area of the mysterious forest. Then view the stone block under the tree in the center.
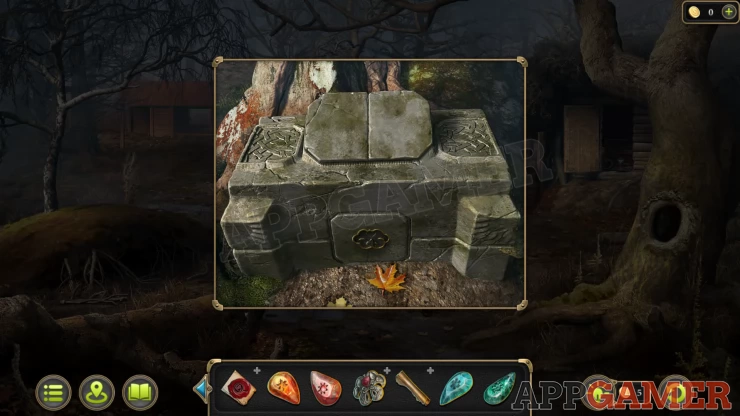
View the pendant in your inventory and add the 4 colored stones to it. Collect the Pendant.
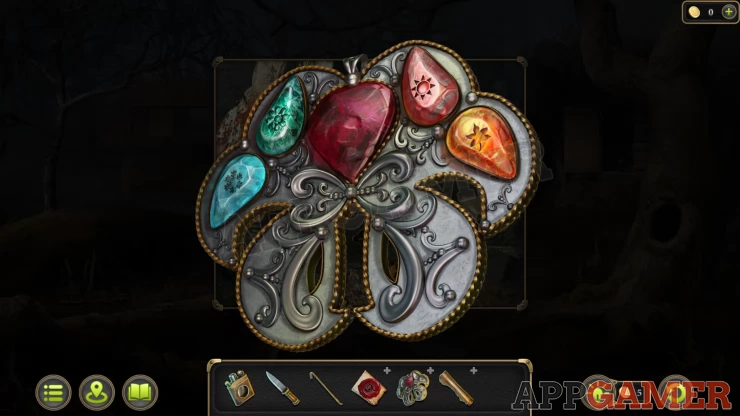
Now use this on the front of the stone block, you can then start a puzzle.
Stone Block Puzzle
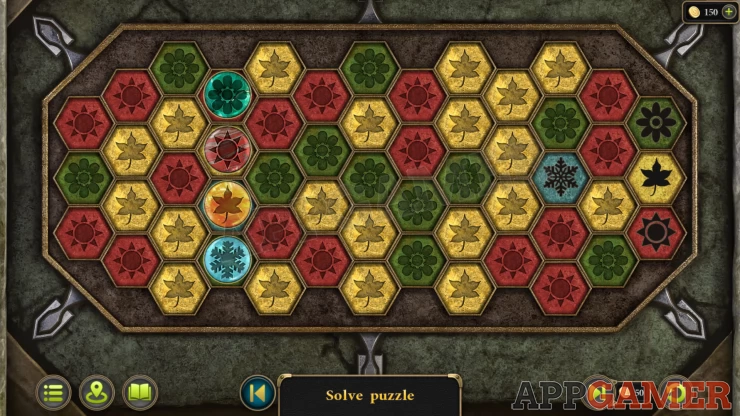
- There are 4 colored tokens on the left that you can move around the board.
- They can only move onto a tile of the same color.
- When you move a tiles it will change the color of the tile it was on to one of the other colors
- Green token changes tiles to Red
- Red token changes tiles to Yellow
- Yellow token changes tiles to Blue
- Blue token changes tiles to Green
- Move all of the 4 tokens to the matching black symbols on the right.
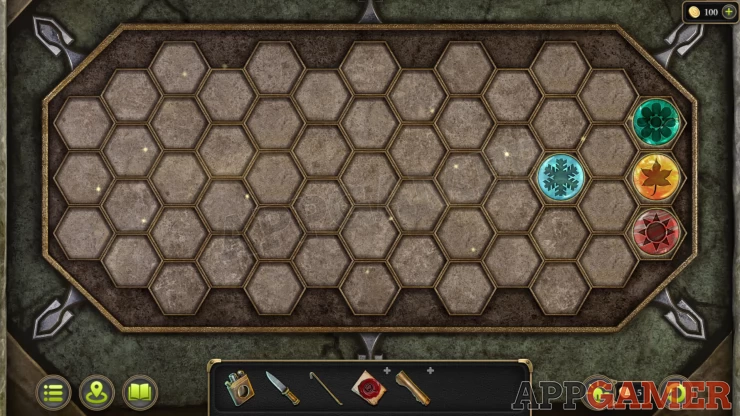
Once done you will see the final symbol.
Return to the secret room in the library and view the safe again.
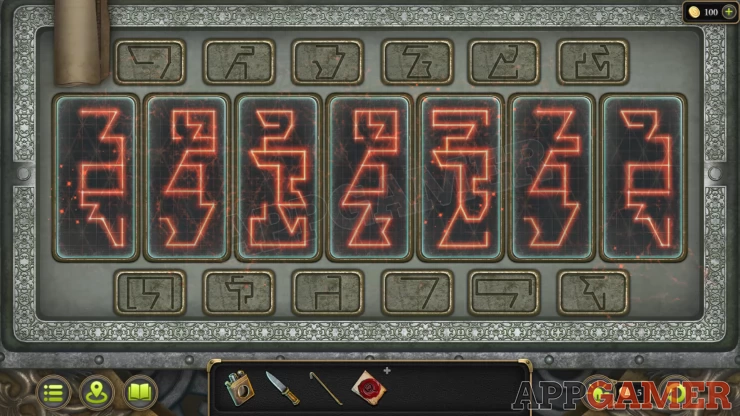
Safe Puzzle
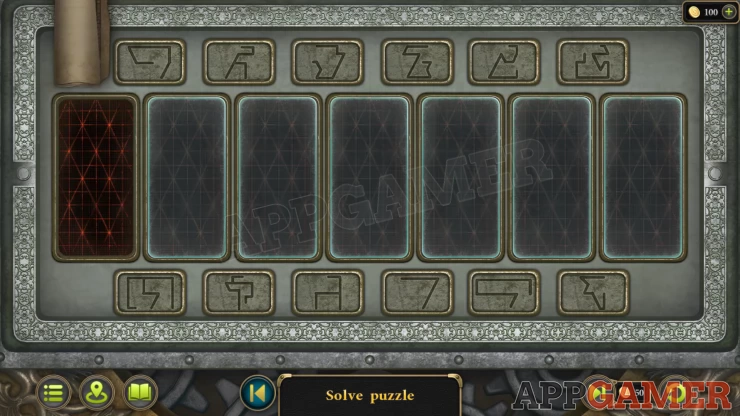
- You can add the clue paper to the lock to use as a guide.
- For each of the 7 panels you need to select 3 symbol buttons to make a combined symbol matching the clues.
- You also need to select the symbol parts in the correct order from top to bottom.
Show
Read the book inside the safe to learn about a mine tunnel entrance.
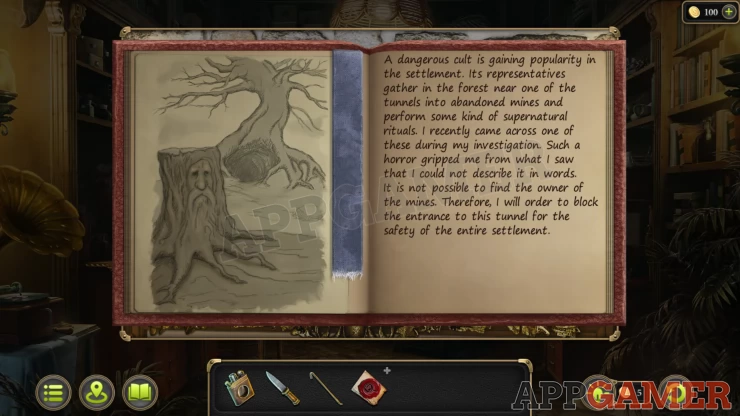
New Task - Explore the Tunnel
Travel to the forest location with the ritual circle, the tunnel is beneath the tree. But first you need to get rid of the poison ivy.
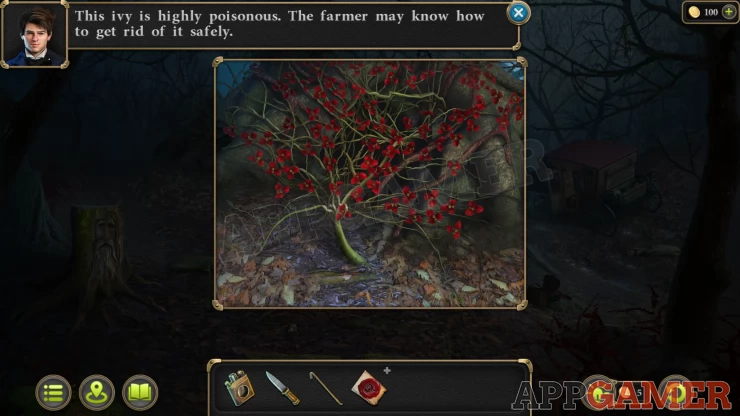
Return to the farm and talk to Henry. He gives you the Key to the barn.
View the small shed to the right of the Barn and use the key to open it.
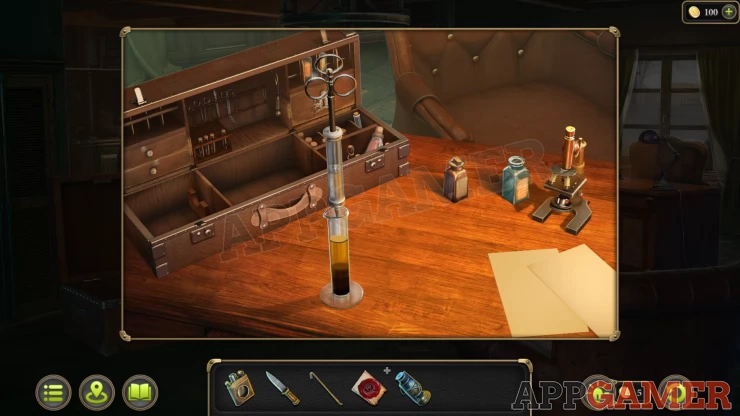
Inside collect the Syringe and also the Lantern. Then enter the farm house and view your equipment on the table.
Use the Syringe on the glass tube of herbicide to fill it Collect the Herbicide.
Return to the tree in the forest and use the syringe on the ivy, it will die.
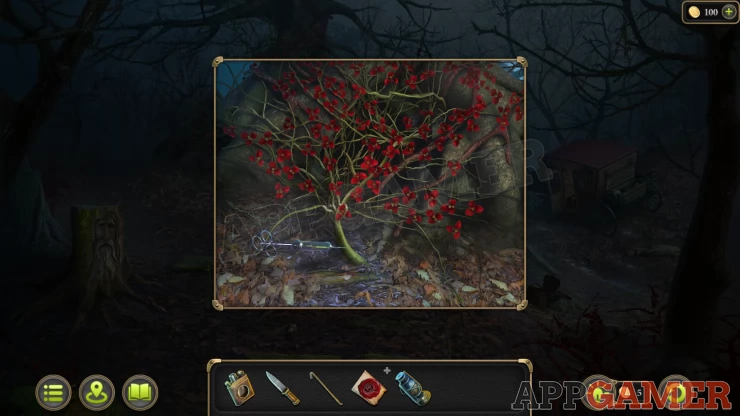
Then use the knife to cut away the branches and reveal the tunnel. Use the lantern on the tunnel and you will see the stone blocking the passage. You need to blow it up.
Go to the cellar of the burn windmill and view the crates of explosives in the corner.
Use the crowbar on them and collect the Explosives.
Return to the tunnel entrance and place the explosive, then use the lighter to light the fuse.
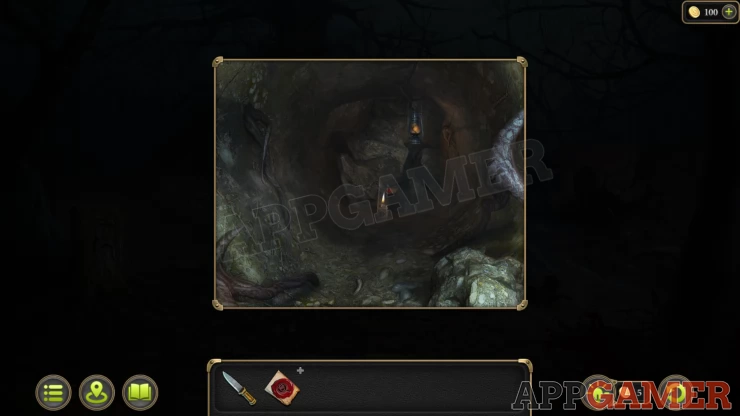
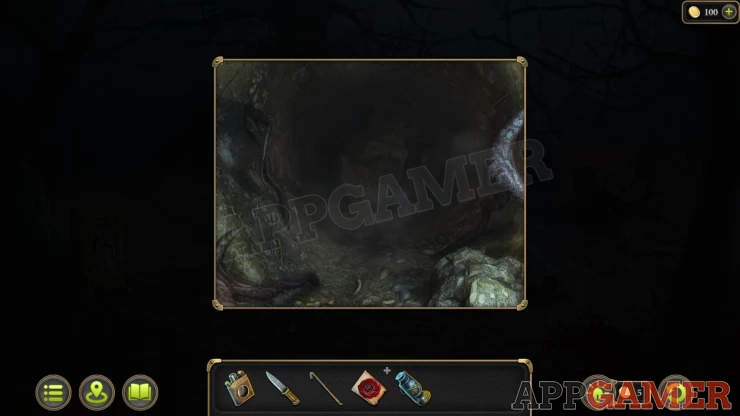
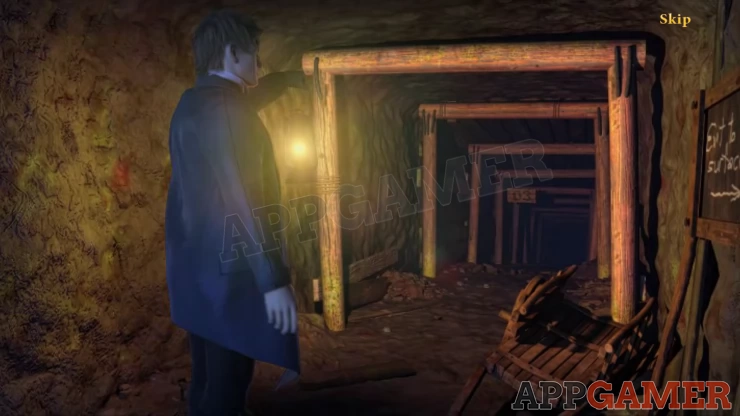
Enter the tunnel again and use the lantern. You will then have a cut scene of exploring the tunnels.
You reach a large chamber.
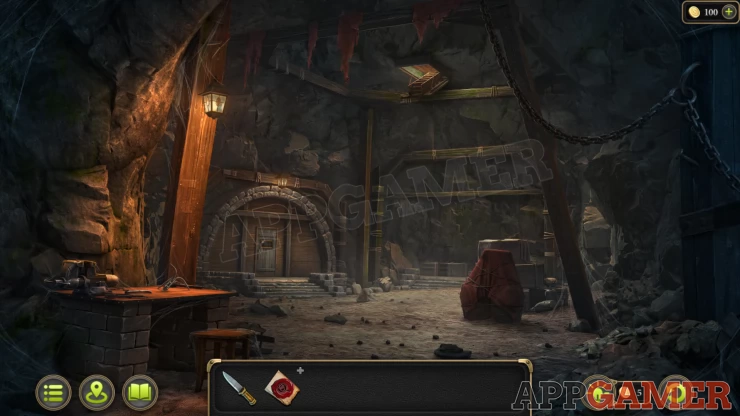
Morphing Object: Knife / tool stuck in the wood post on the left above a lantern.
View the workbench on the left.
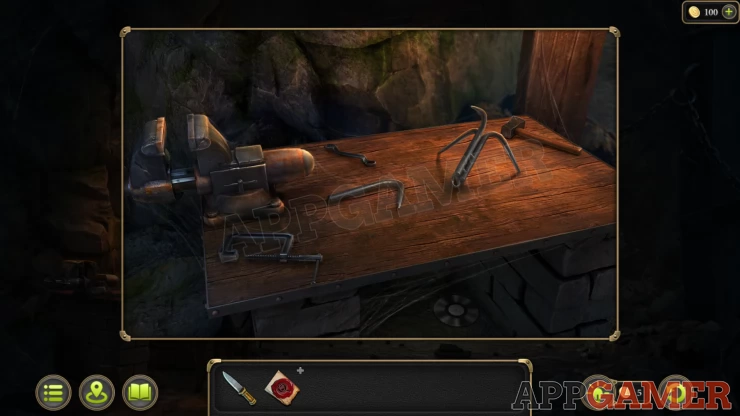
Collection Item: vinyl record on the floor under the bench.
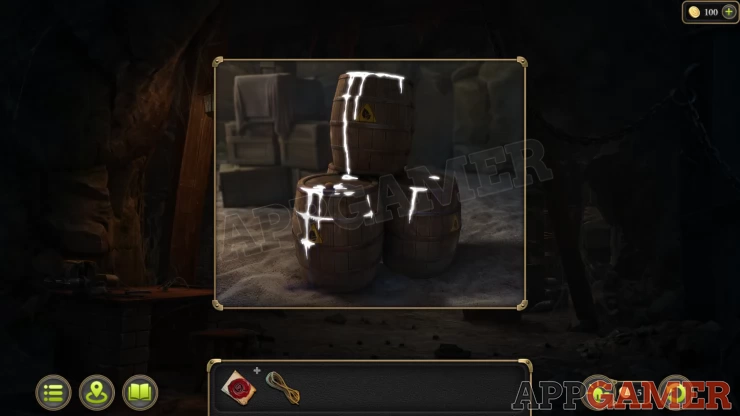
View the red cover on the right and use the knife on it to cult and collect the Rope.

Then remove the cover and tap the barrels underneath to get Evidence 2 or 12: Herbicide Batch.
View the work bench again and use the rope on the large hook to collect the Rope with Hook.
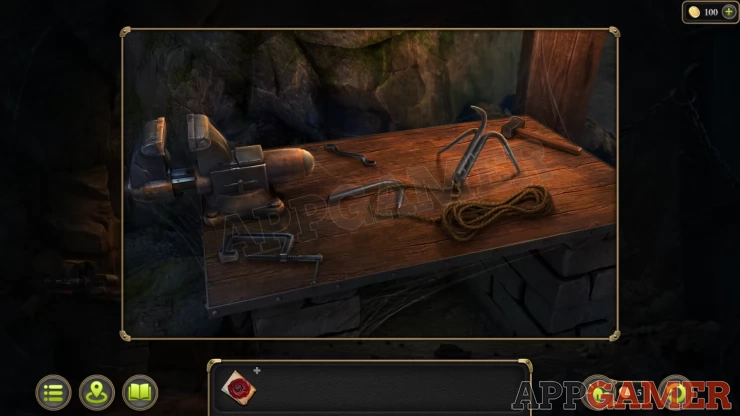
Then view the ladder on the ceiling and use the rope with hook on this to pull it down.
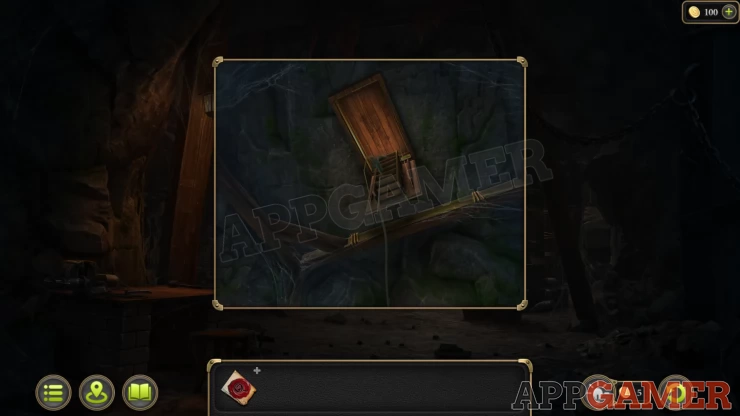
Then climb up until you can see the feet of the count and hear the conversation.
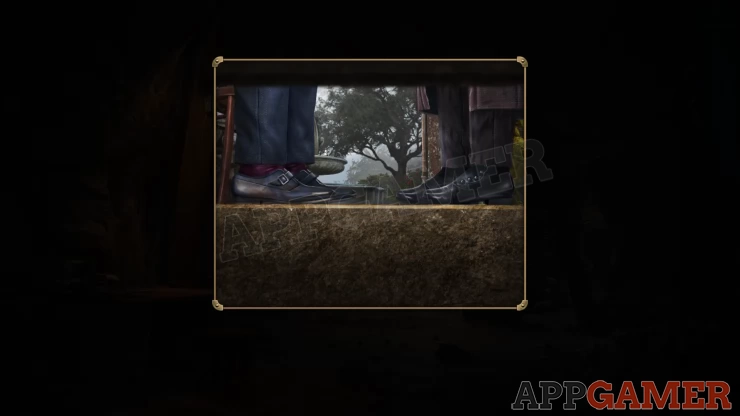
New Task - Collect Evidence of the Counts Guilt
Tap the ladder to go up and you will arrive at the Gazebo.
Morphing Object: Bell / charm handing to the left of the doorway.
Collection Item: Pocket watch in the flowers on the right side.
View the table, collect from it the green Ring
Now go back into the house. View the glass cabinet to the left of the fireplace.
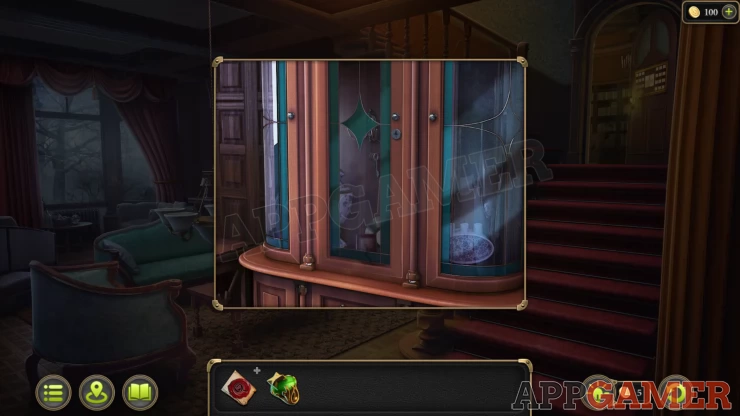
Use the Ring to open the door and collect a Bunch of Keys.
Collection Item: Vinyl record in the cabinet below the keys
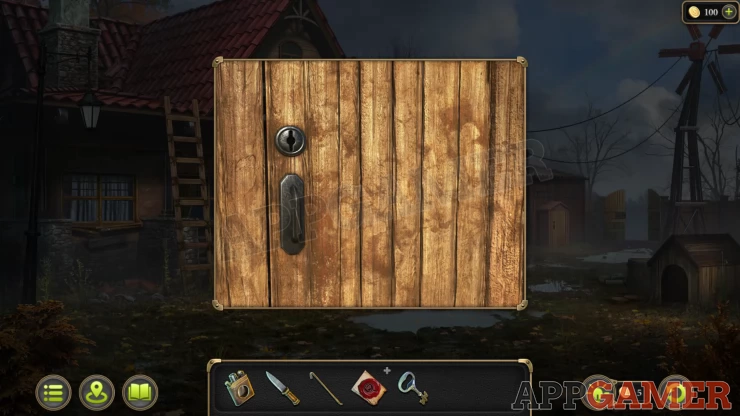
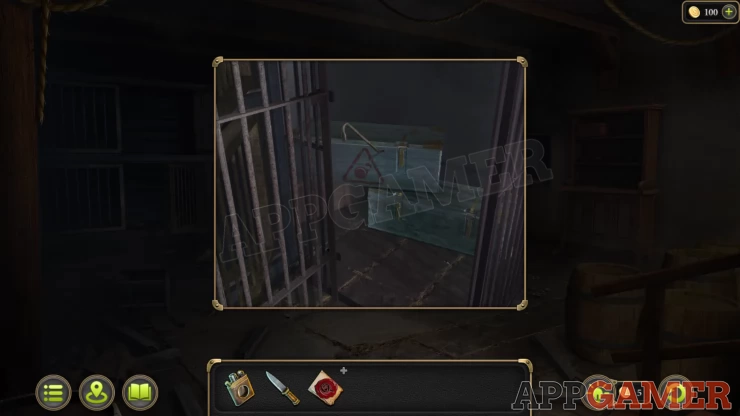
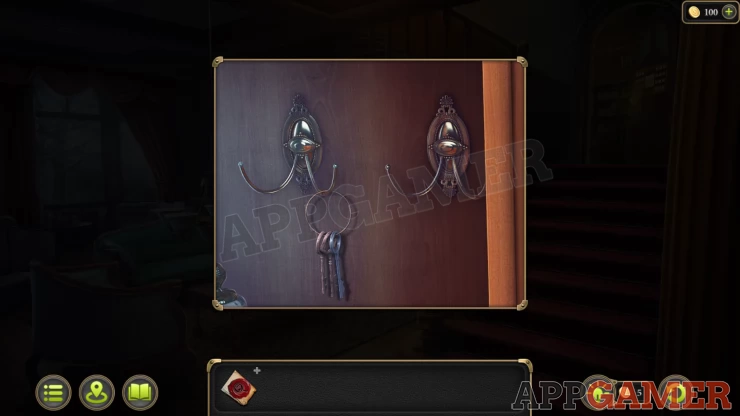
Return to the cavern below the house and view the door on the left side.
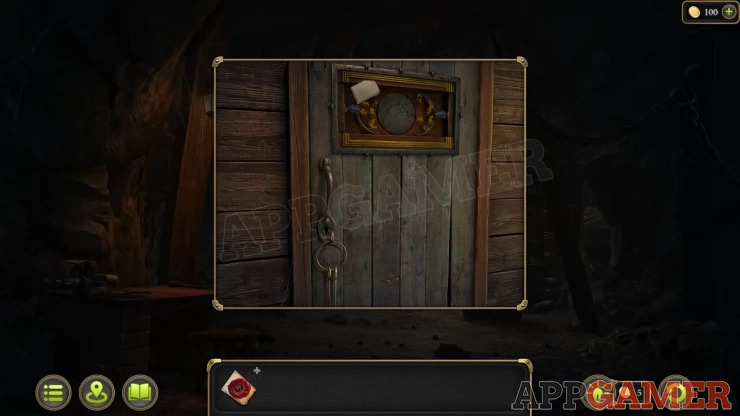
Use the keys on this and when you find the correct one the round panel at the top will reveal a puzzle.
Tunnels Door Puzzle
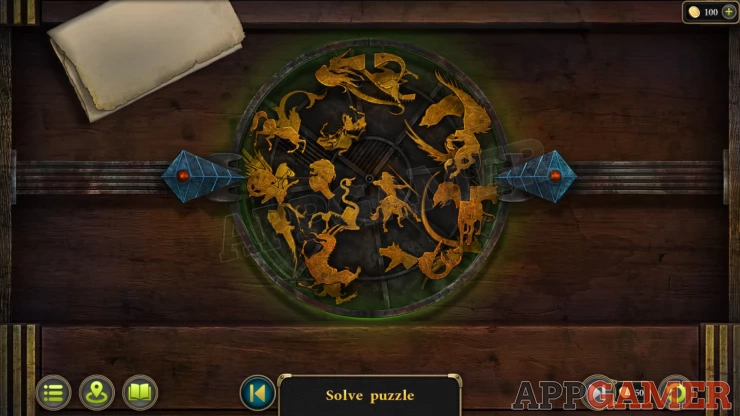
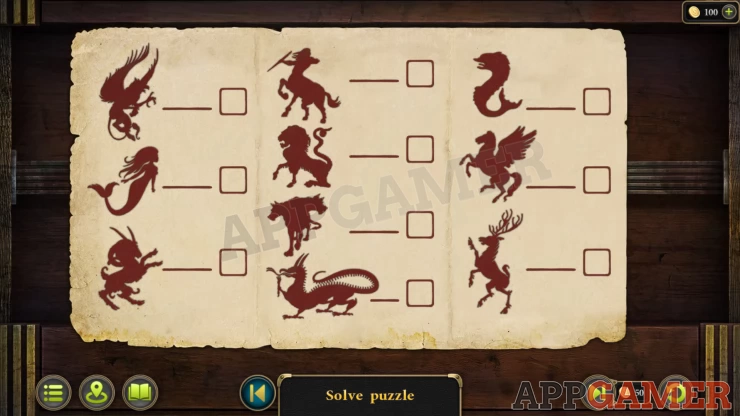
First view the paper clue that is on the top left. This shows 10 silhouettes.
- The puzzle contains a disk of shape parts that you can rotate as well as 2 half sections that you can slide left and right with the blue arrows.
- Move these around to line up the parts to create each of the 10 silhouettes
- They will be marked off on the paper list as you find them

Enter the Attackers Lair.
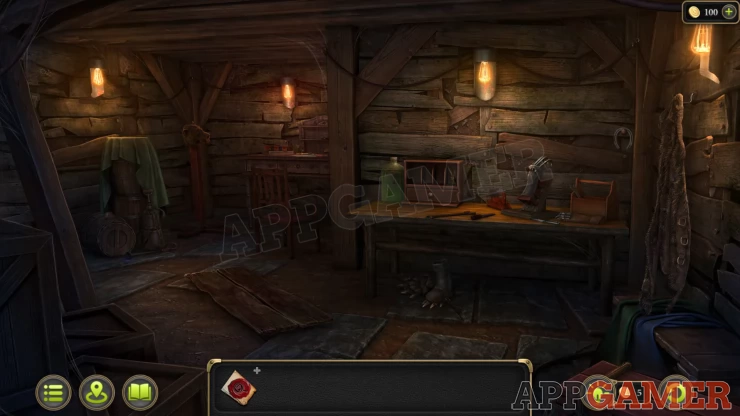
Morphing Object: horseshoe on a nail on the wooden wall above the table on the right.
View the barrels under a green cloth on the left side of the room.
Collection Item: Pocket watch on the floor.
Tap the Spray Canister to get Evidence 3 of 12 - Herbicide Canister.
Now view a animal mask that is handing next to the barrels. Tap it to get Evidence 4 of 12 - Helmet with an animal face.
To the right of this is a desk, view it.
Tap the order papers to view then and then get Evidence 5 of 12 - Land Acquisition Documents. Then also tap the red whistle to get Evidence 6 of 12 - Dog Whistle.
Next on the table to the right
Tap on the green bottle on the table to get Evidence 7 of 12 - Green Paint.
And open the small drawer to find a paper: Evidence 8 of 12 - Purchase Receipts.
Now view the right side of the table:
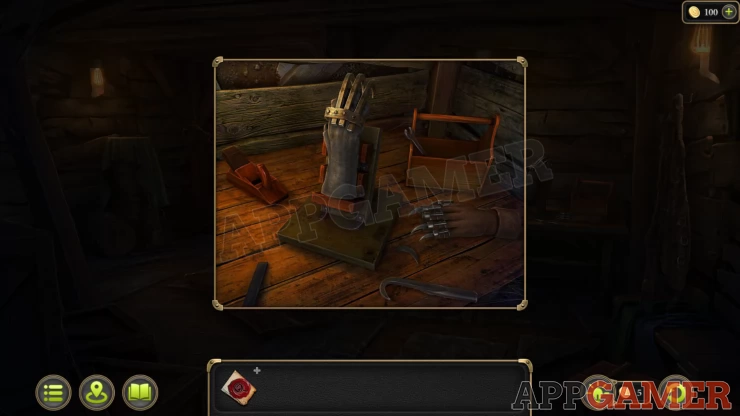
Tap the claw hand to get Evidence 9 of 12 - Paw Prototype
And on the hook at the bottom to get Evidence 10 of 12 - New Claw Blank.
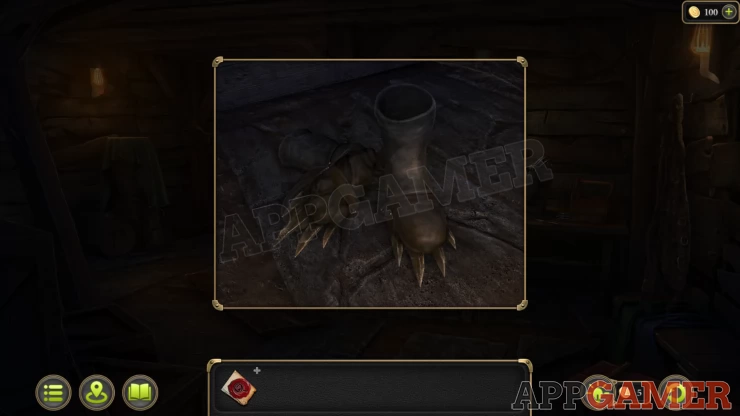
Look below the table to find the boots. Evidence 11 of 12 - Boots with Paws
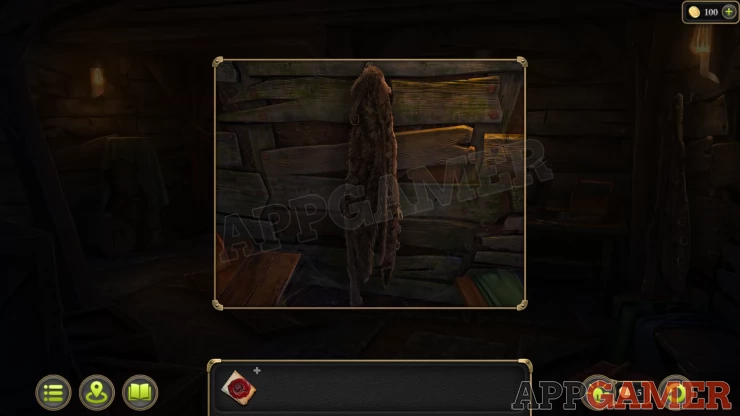
Finally, view an animal skin cloak on the right wall to collect the last piece. Evidence 12 of 12 - Cloak that looks like animal skin.
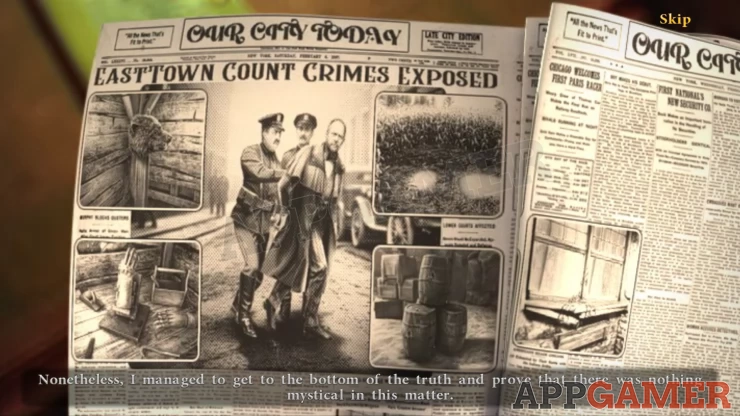
You now report the count and solve the case.
You can move on to case 2.
| Case 1 - Troubles on the Farm Walkthrough Part 2 | Back to Top | Case 2 - Improbable Suicide Walkthrough Part 1 |
 With 20 years of experience in creating video game content for the internet and over 30 years as a gamer, Mark is now a passionate mobile App Gamer. Loving a challenge, he is always ready to get stuck in to both survival builders and puzzle solving games. He has been providing content for AppGamer since 2014.