Case 1 - Troubles on the Farm Walkthrough Part 2
More Mystery Detective Adventure
Welcome to our Mystery Detective Adventure walkthrough. This is another in the popular line of Mystery escape room and puzzle games from Five-BN.
This is Part 2 of our walkthrough for the first case Troubles on the Farm. In Case 1 Part 1 we have restored the Totem in the field for the Cleric and now we need to proceed to the Mill.
Case 1 - Troubles on the Farm Walkthrough Part 2
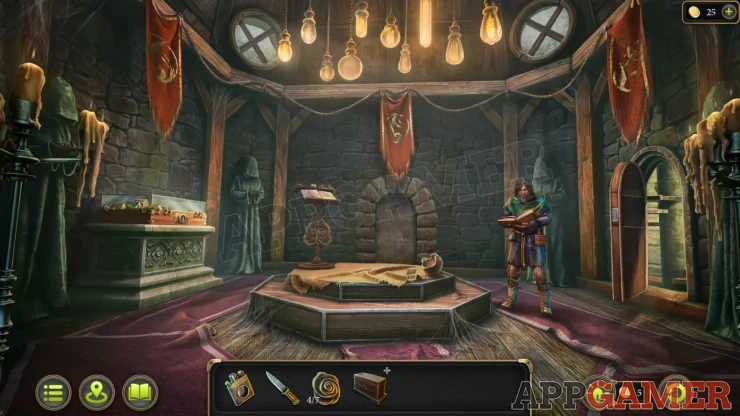
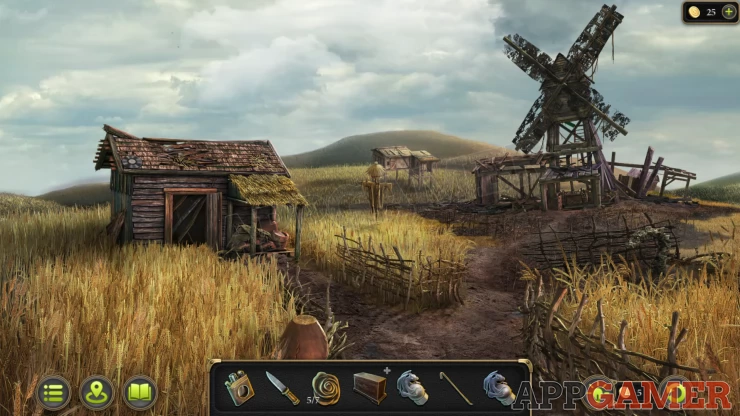
After restoring the Totem, tap to move to the town in the distance and then enter the cult building on the right again.
Talk to the Cleric and he will give you an Amulet.
New Task - Explore the burnt mill
The bridge to the mill is out so first head to the Mysterious forest. Then look inside the hut on the right with the open door.
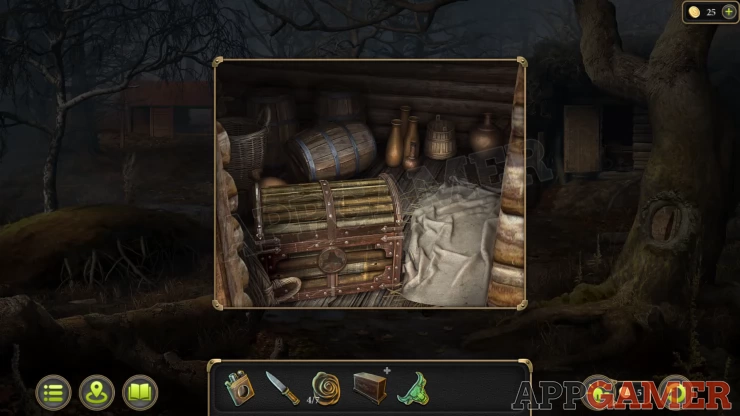
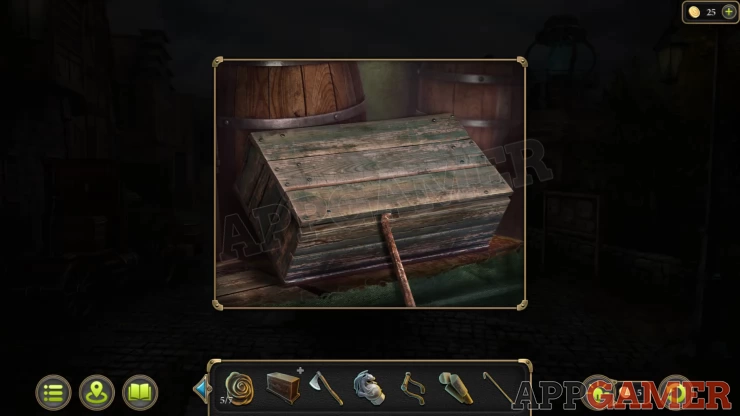
Use the amulet on the large box to access the lock. You will then find a puzzle
Box Puzzle
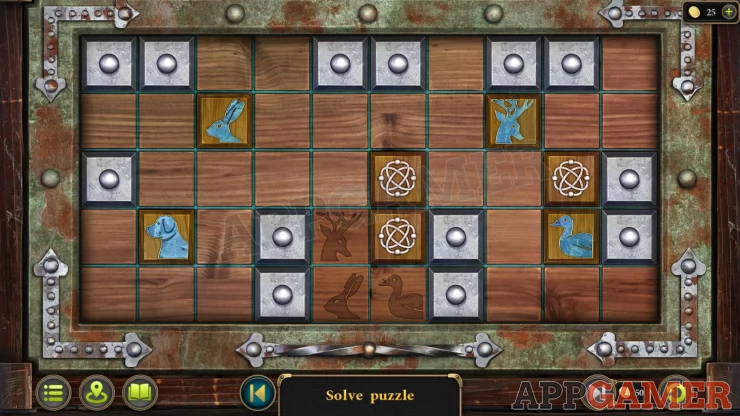
- There are 4 tiles with blue animal symbols on them and 3 with other symbols.
- Swipe in any direction to move all of the tiles if there is a space for them to move to.
- Bottom center there are 4 squares with animal symbols on them.
- Move the 4 animal tiles to place them on the matching squares.
Solution: Show
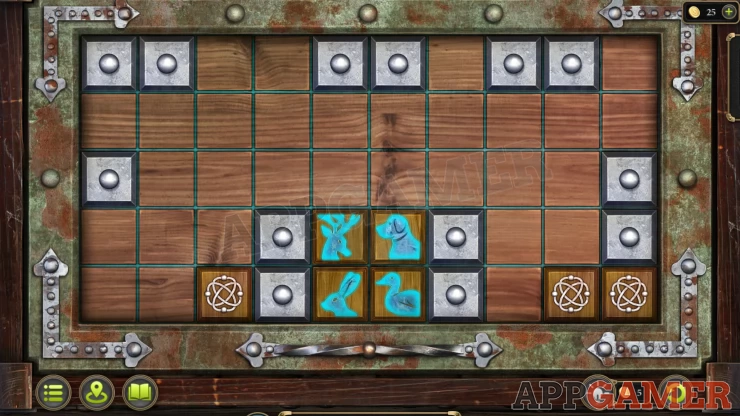
Collect an Ax from the box.
Now view the tree on the right with the round hole. Use the Ax on this to break it open.
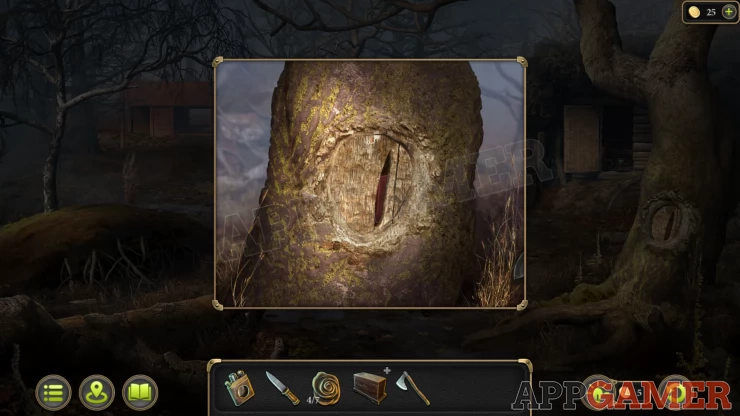
Collect the Bundle. View this in your inventory and open it to collect the Statuette and the Handle.
Now view the roots of the tree on the left, this is where a bird dropped something earlier. Use the Ax on the roots.
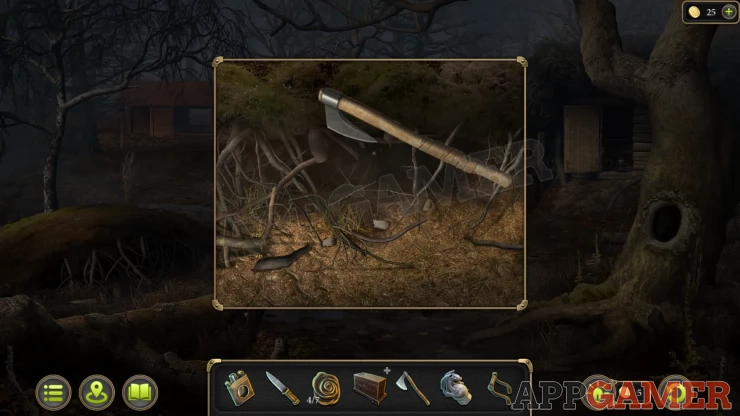
You can then collect a Flower, (5 of 7).
Now enter the saw mill again. We need to get it working to cut the log. View the stump outside again by the wood pile.
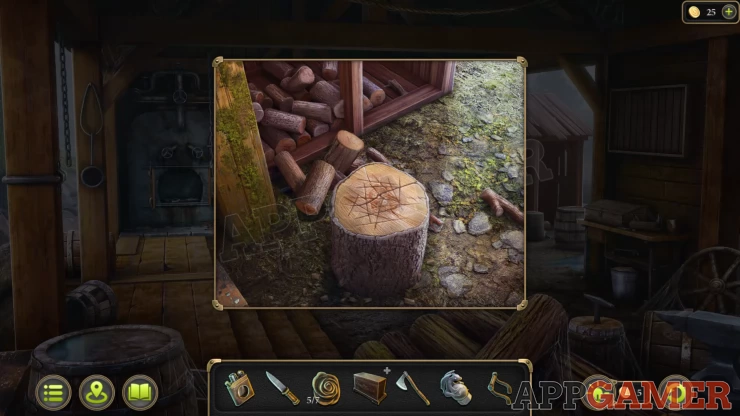
Use the Ax on the stump to start chopping wood until you collect the Firewood. Then also collect a Crowbar.
Travel back to the town center, first view the vehicle on the left and use the crowbar on the box inside. Collect a Saw blade.
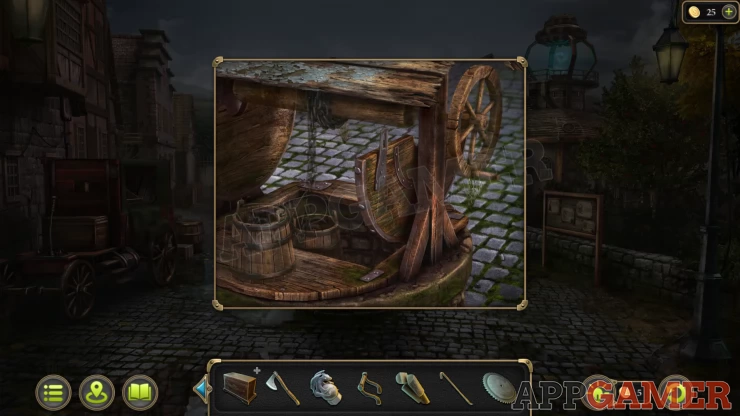
Then view the well in the center. Use the ax on it to loosen a bolt and open the cover. Then turn the handle to raise the bucket, Collect a second Statuette from it.
Return to the saw mill. View a box on a table on the right. Use the crowbar on this to open it.
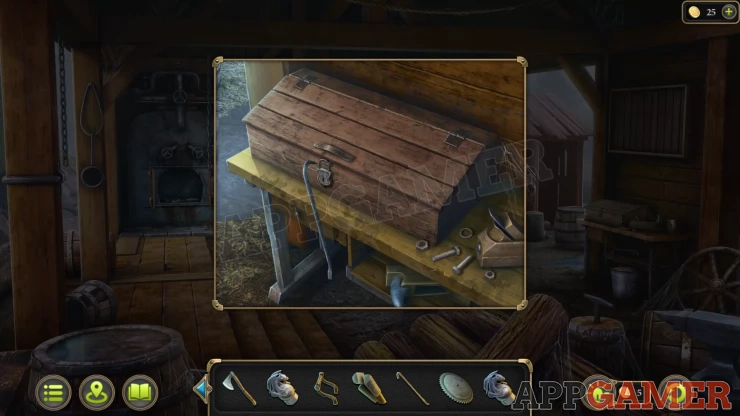
Collect the Gear and some Nails.
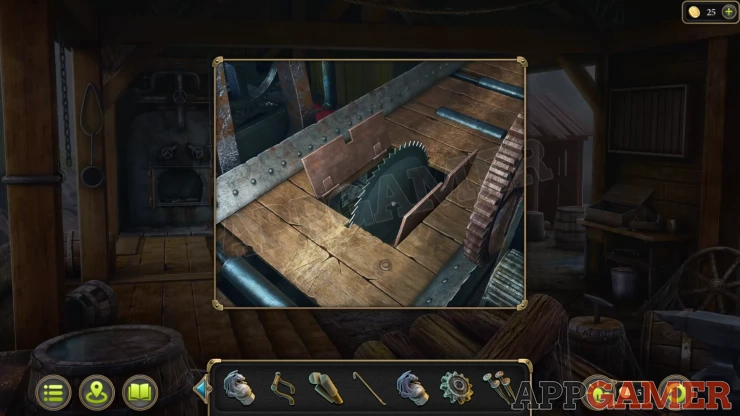
Then tap on the log on the sawing table. You will see the broken saw blade.
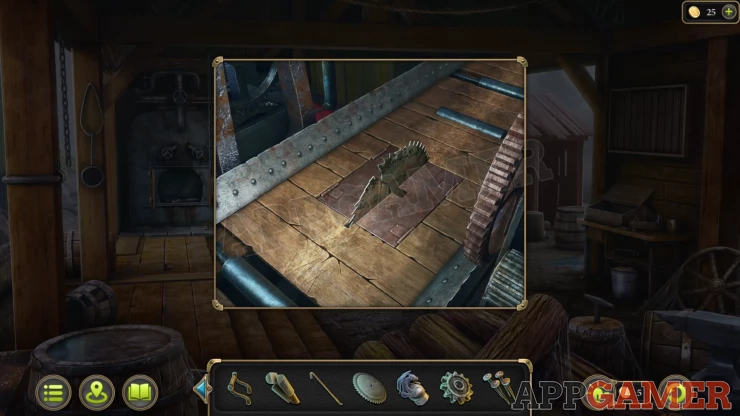
Tap this to open and remove this. Then you can place the new saw blade here and close it up again.
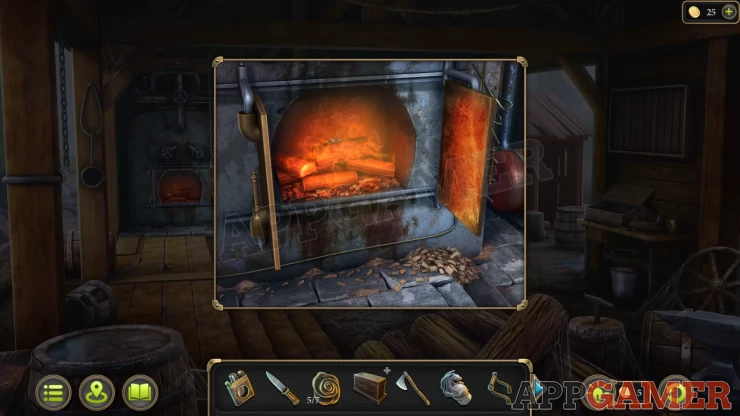
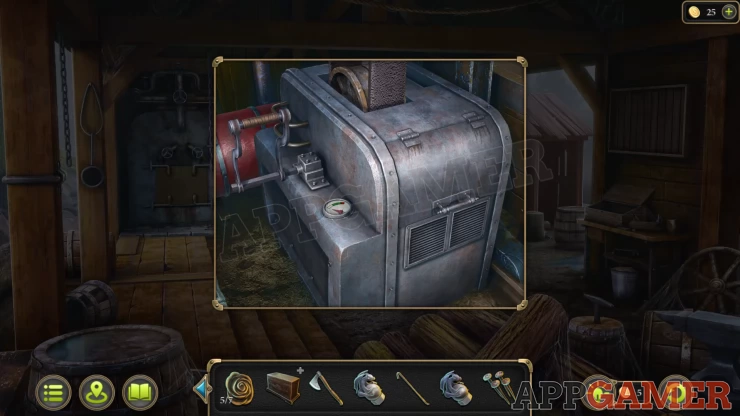
Next view the furnace on the far left.
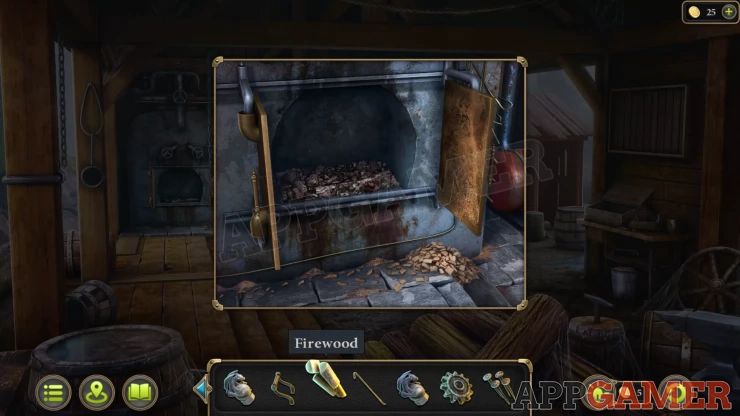
Add the firewood to it and then some wood chips from the floor. Then use the lighter on it to start the fire.
Next view the control box to the left of the log table. Open the panel on the right and remove a broken gear, then replace it with the one you have.
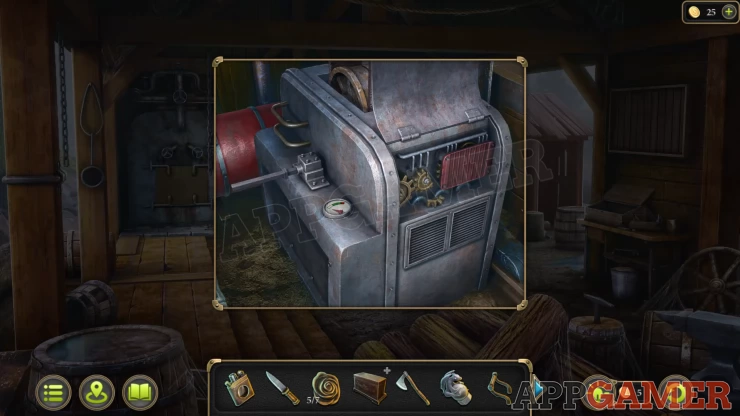
Next add the Handle on the left and tap it to start the saw mill, you will collect the Boards.
Now head back to the farm field and view the broken bridge. Add the boards to this and then the nails. Then use the Ax to complete the repair.
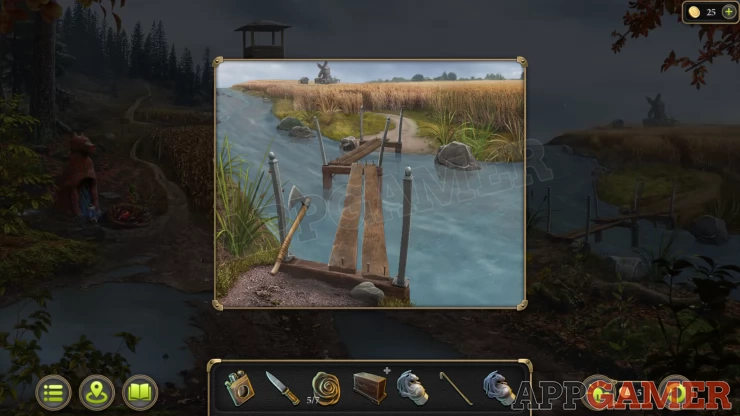
Now you can go over tho the burnt mill.
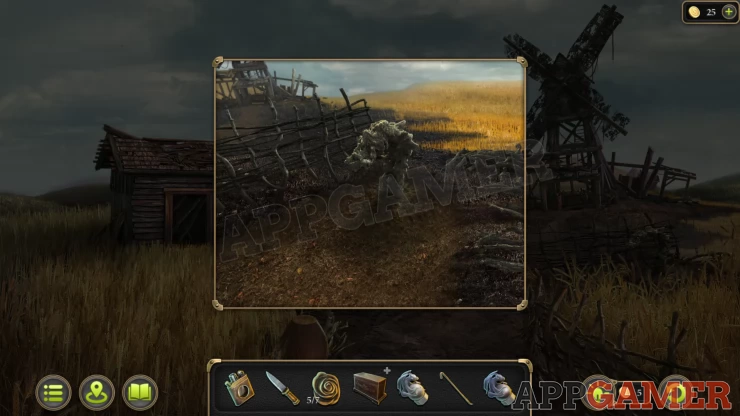
Collection Item: vinyl record on top of the but on the left.
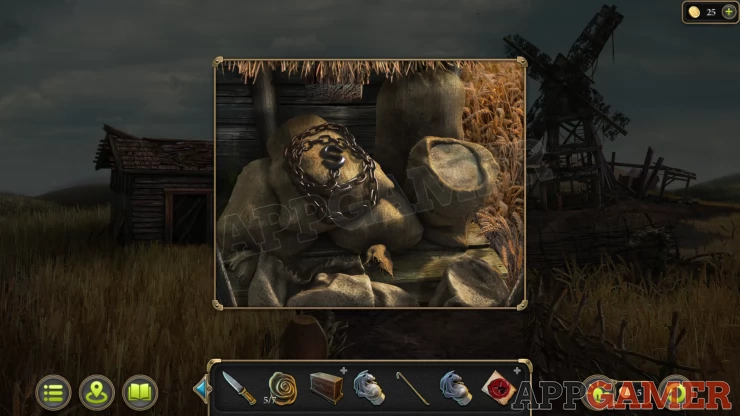
Morphing Object: Hat on the scarecrow in the center.
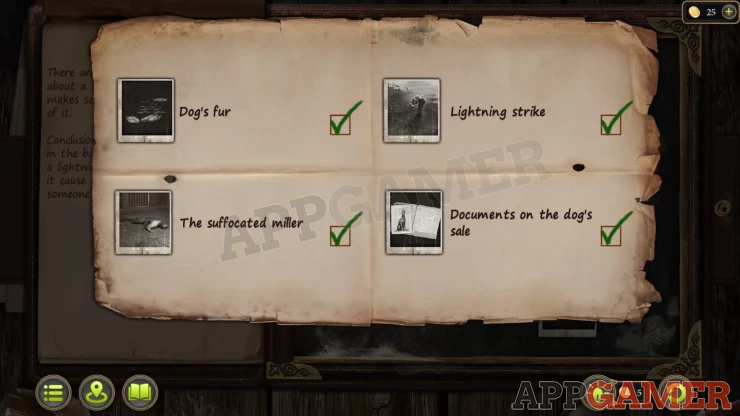
Tap on the right of the mill to see a burnt stump in the ground, then tap this to get Evidence 1 of 4: Lightning Strike
Then tap on the building on the left to see the items on the porch in front. Open the sack and collect the Chain with hook.
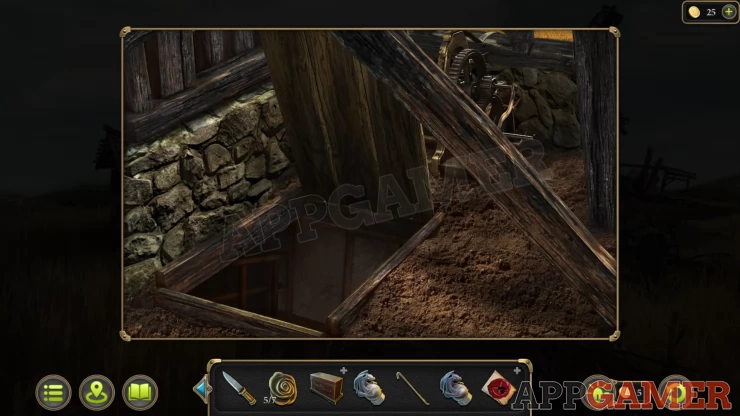
Now tap on the mill and then again to see a blocked trap door.
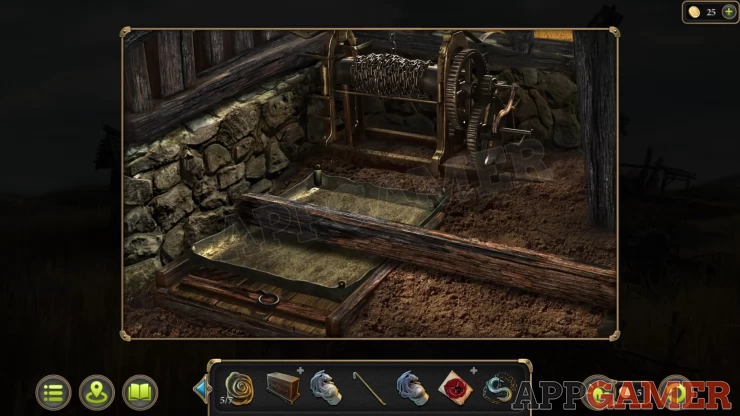
Use the chain with hook on the log and then tap the winch to lift it. Then you can open the trap door.
Go down to the cellar.
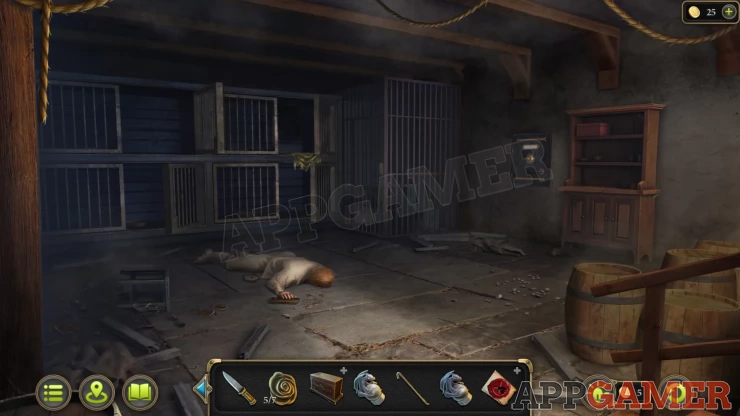
Collection Item: Pocket watch on the floor to the left of the body.
Morphing Object: By the fallen stool on the left.
Tap the body on the floor to get Evidence 2 of 4 - The suffocated Miller, then view his hand.
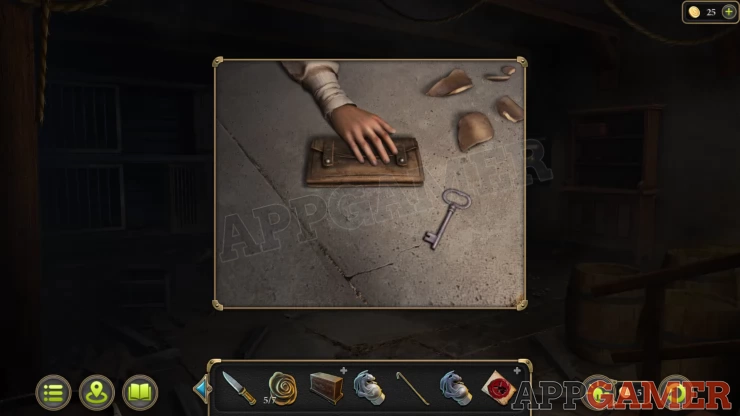
Collect the Key and then open the wallet to see a clue.
Next view the tall cage in the back corner.
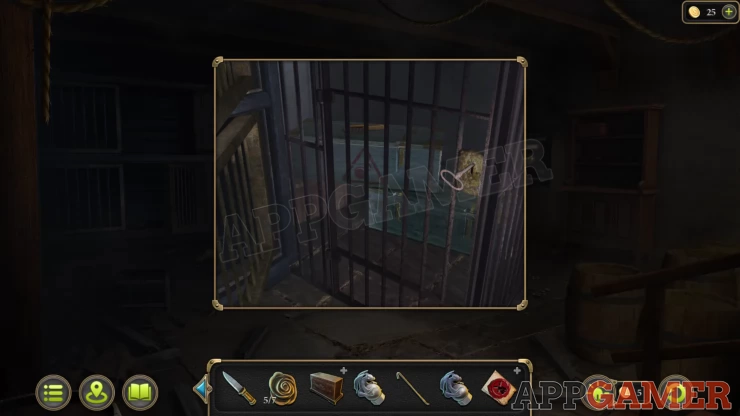
Use the key to open the door an then collect a Brush from the boxes. Then look inside the cage on the left with the yellow blanket.
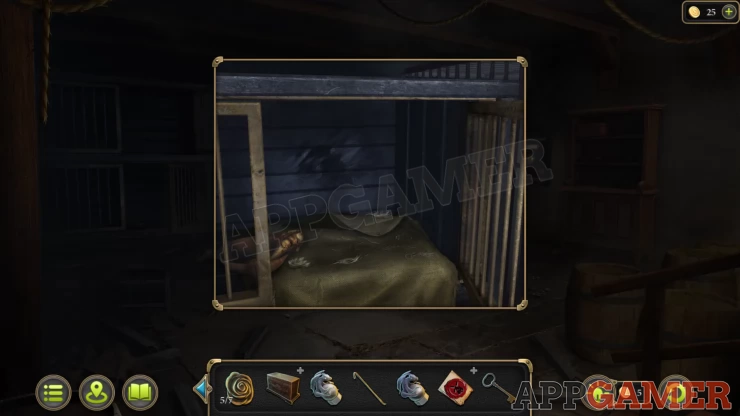
Tap the blanket to get Evidence 3 of 4 - Dog's fur. Then use the brush on the dirt on the back wall to see another clue.
Next view the safe on the right wall. This needs a 6 digit code.
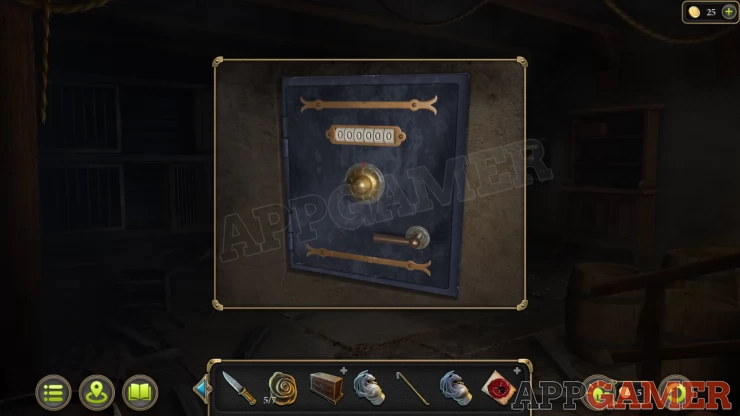
Use the clues found so far to open this.
Solution: the numbers from the wallet and from the cageShow
Code: 270397, this may be different in your gameShow
Collect a Key from the safe and then read the file inside to get Evidence 4 of 4 - Documents on the Dog's Sale.
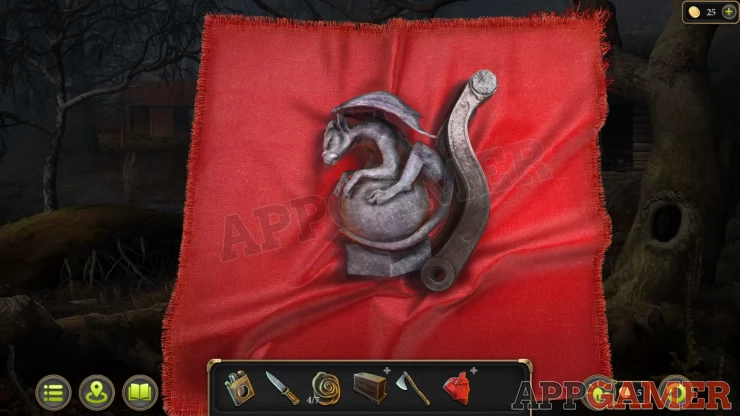
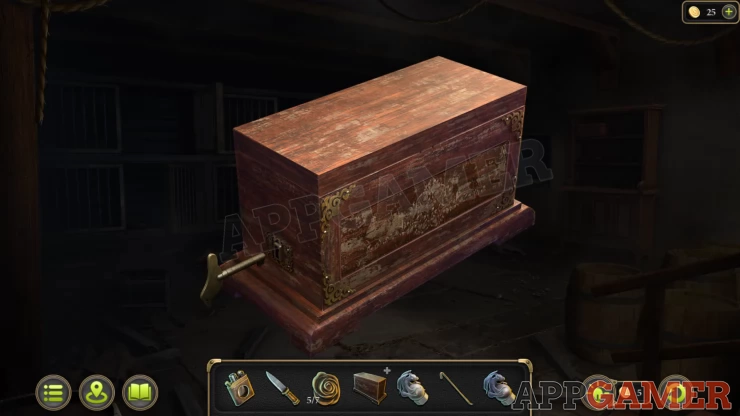
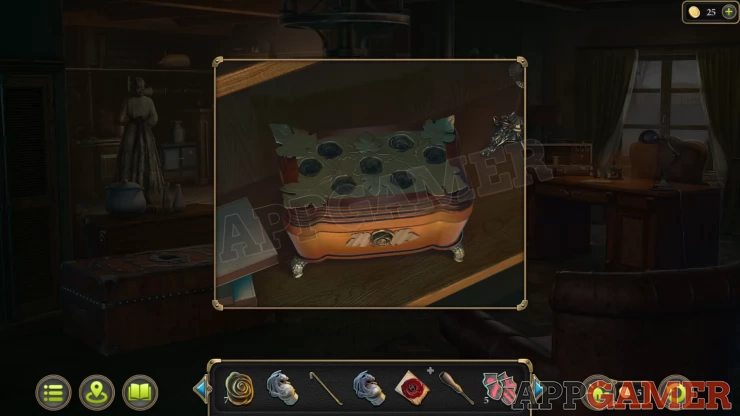
Now you can view the locked box that you have in your inventory and use the key to open it.
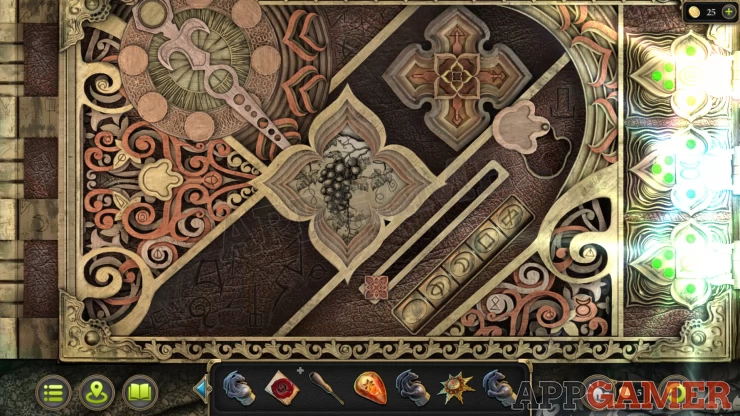
Bird Puzzle
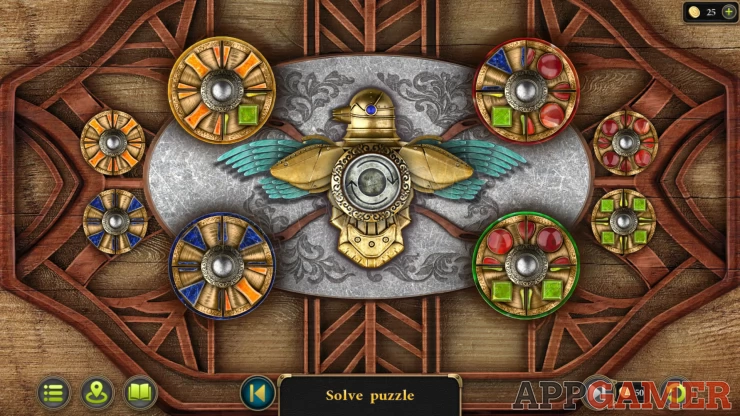
- Around the bird are 4 circles with colored segments.
- You can tap each circle to rotate it
- You can then also tap the bird to swap around the 4 links quadrants.
- Arrange the pieces so that the 4 circles match the colors of the nearby designs on the sides.
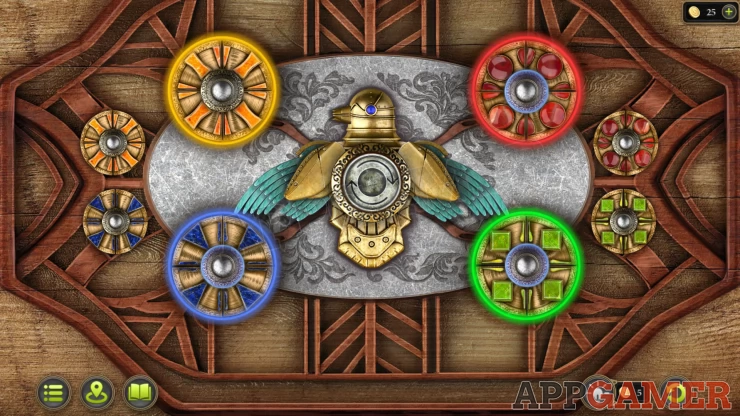
Once done, collect the Dog Figurine.
Now travel back to the farm yard and talk to Henry.
New Task - Talk to the Count
Travel to the town center and view the gate at the end of the street.
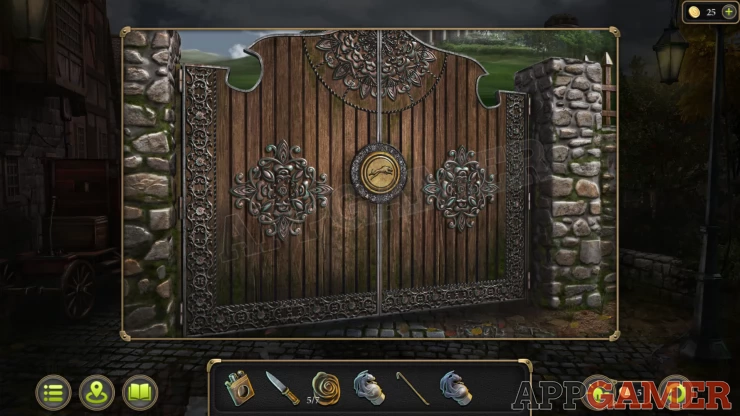
Use the Dog figurine here to open the gate.
You can then tap the path to head up to the Manor. Talk to the man waiting for you.
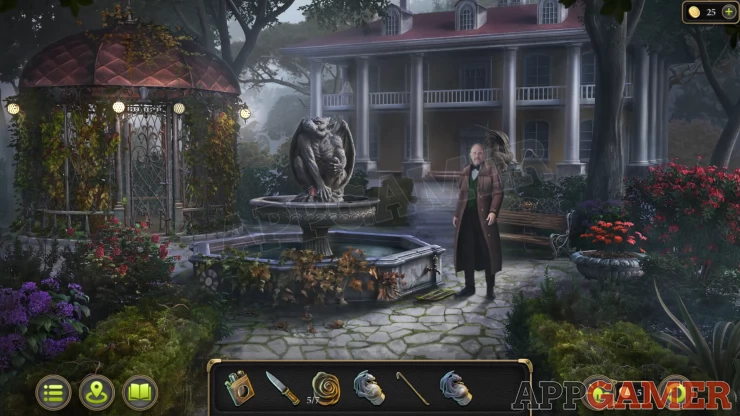
Collection Item: Vinyl record on the left side of the fountain wall.
Morphing Object: Ghostly figure on the left of the house balcony.
View a drain grate in the ground to the right of the fountain.

Tap the green stains to get Evidence 1 of 12 - Blurred traces of blood of an unusual color.
Then use the crowbar to open the grate, collect a Screwdriver and a Detail (1 of 5).
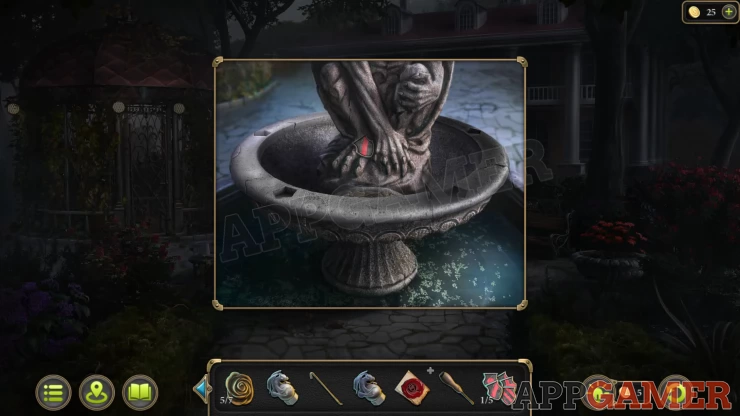
Next view the gargoyle in the fountain and collect another Detail (2 of 5).
Then view the flower port on the right to find another Detail (3 of 5).
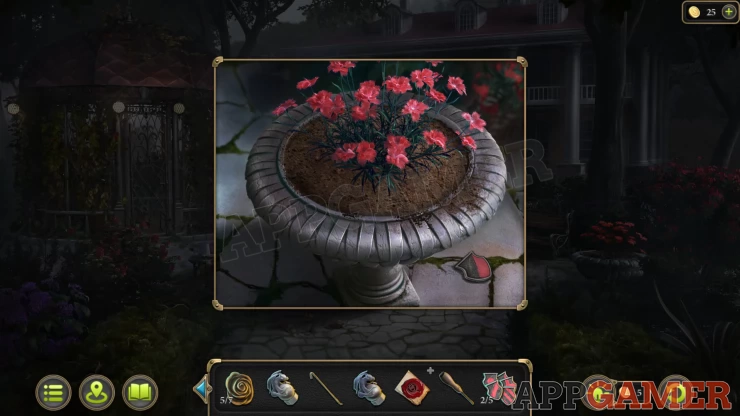
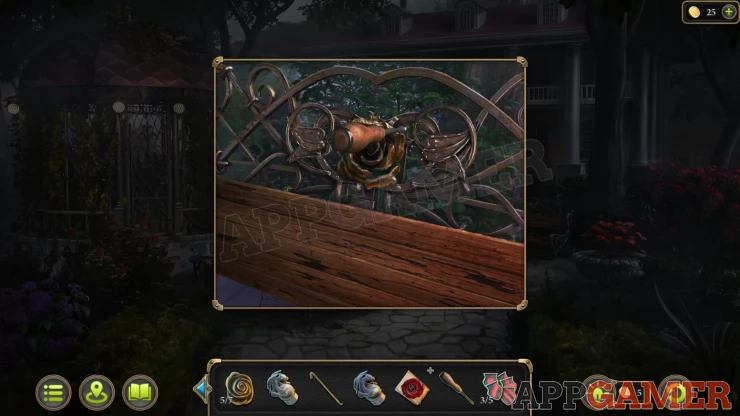
View the bench to the left of the flower pot and use the screwdriver on the design on the back. Collect the Flower (6 of 7).
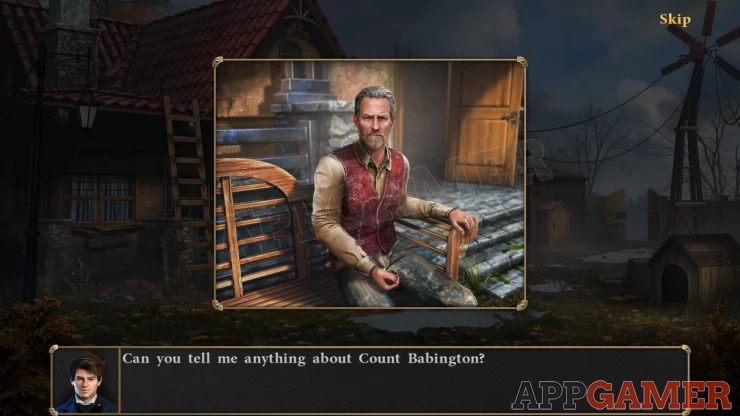
Now head into the house to talk to Count Babington
New Task - Explore the legend of the dog
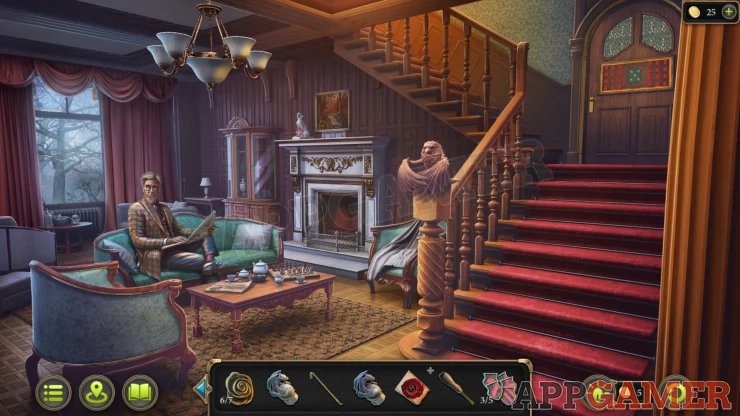
Morphing Object: Spindle on the stairs to the left of the door.
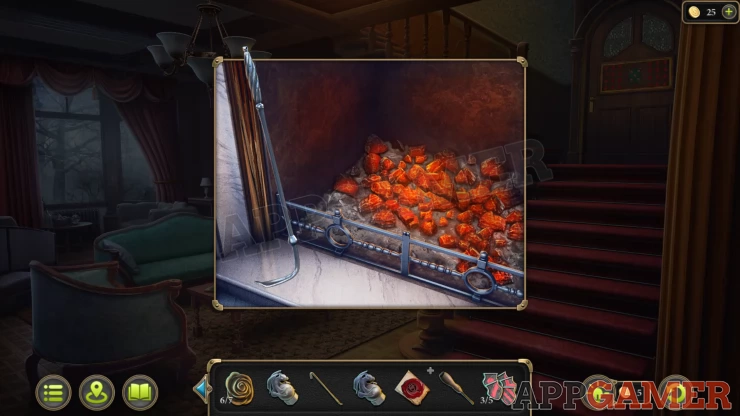
View the fireplace and use the poker on the left to rake the coals. Then collect the Orange Stone.
View the mantle above the fireplace. Collect the Detail (4 of 5) from the left.
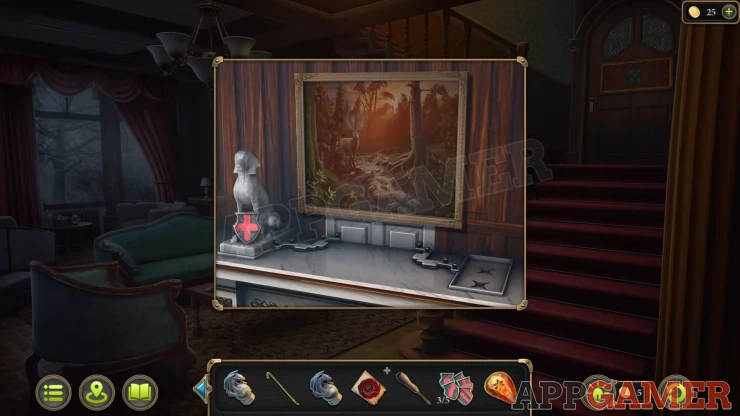
Then view the cabinet on the left of the fireplace. Collect another Detail (5 of 5)

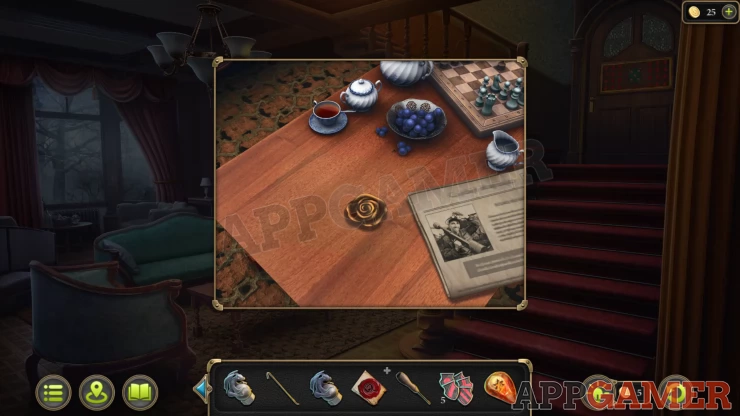
Finally view the coffee table and move the news paper to find a Flower (7 of 7)
Now that you have all of the Flowers travel back to the Farm house and view a box that is on a shelf above the stove.
Add the 7 flowers to open it and then collect the Statuette.
Then return to the Counts Estate and view the door that is on the stairs
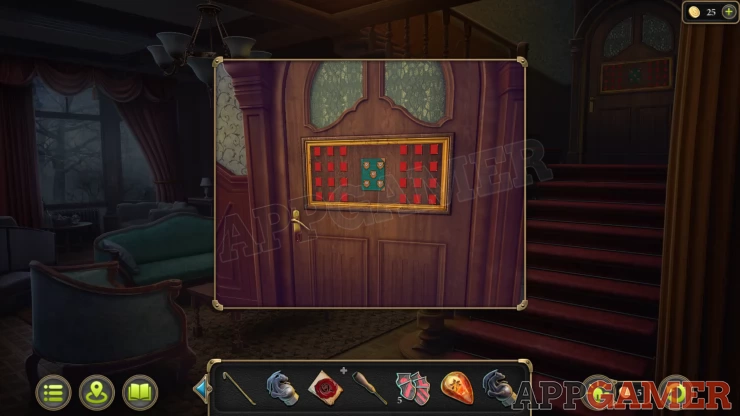
Add the 5 details to the center book to start a puzzle
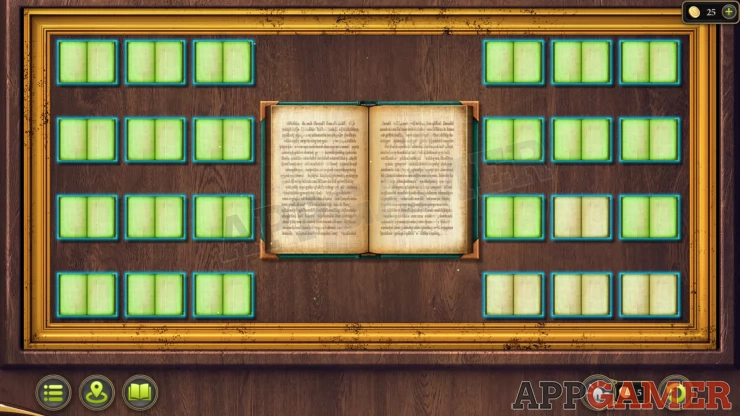
Book Puzzle

- This puzzle works like a lights out/on puzzle.
- Some books are open and some are closed.
- Tapping any book will change its state and also all those next to it (up, down left or right)
- The object is to open all of the books There are 2 sections.
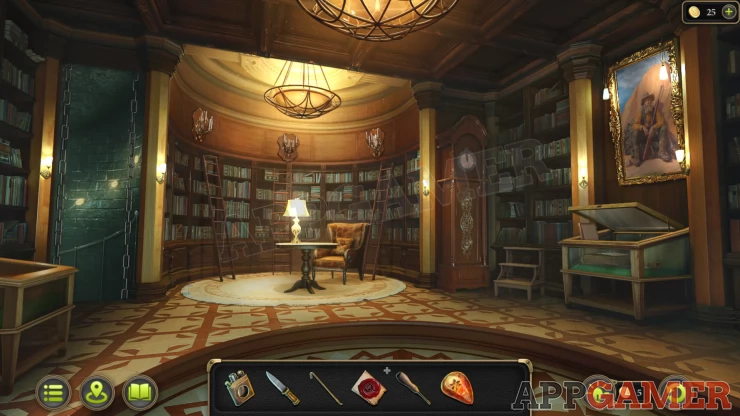
Now you enter a library.
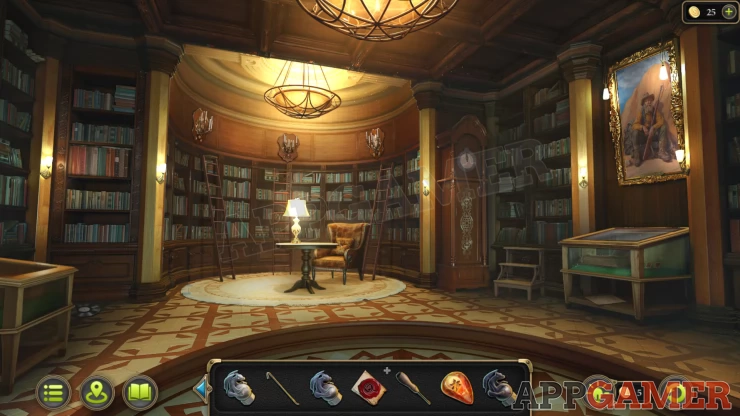
Collection Item: Vinyl record on the floor on the left.
Morphing Object: paper / Book under the display case on the right.
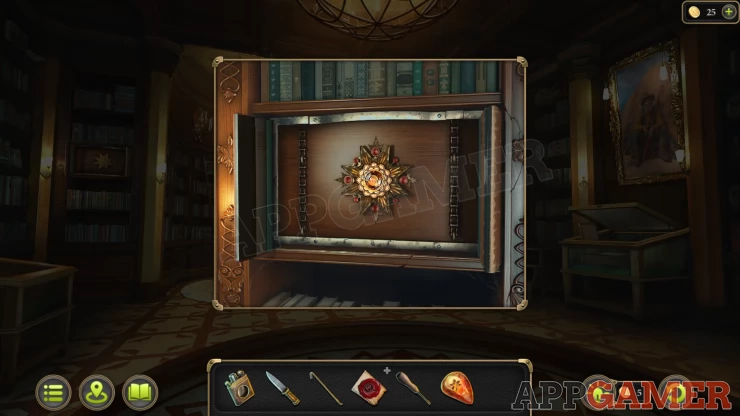
View the Display case on the right side of the room. Use the knife on the lock to open it.
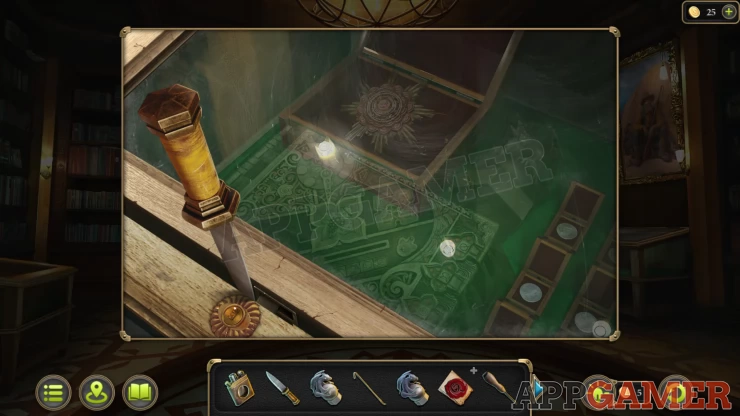
Once open collect the star shaped Order and a Statuette
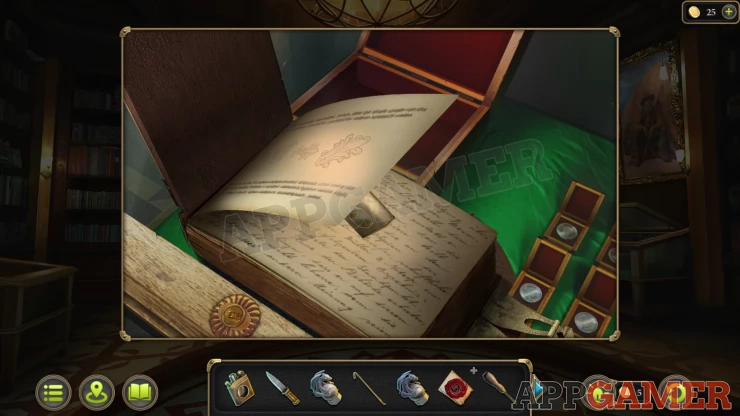
Then view the large locked book for a puzzle.
Hidden symbols book puzzle
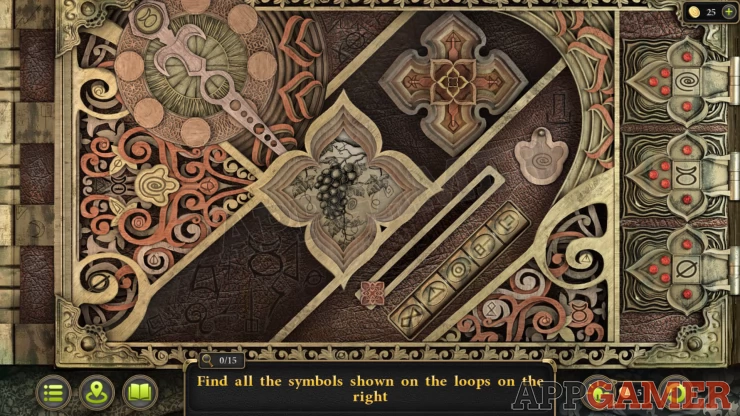
- On the right are 3 locks with red lights.
- Each lock has a symbol kin the center
- Find matching symbols on the front of the book on the left section, each one you find will make a light green.
- There are 5 of each symbol to find, most are small and some are hidden and or require you to interact with sections to find.
- You may also need to drag the book around on the screen to see all of it. Check the very top edge.
- Tap the round dial on the top let to rotate that for more options.
- Move the slider on the lower right to see more of an image.
- Tap the buttons on the lower right to flip them and reveal more symbols
When the book opens you get a prompt about invisible ink. Use the lighter on it to reveal some hidden symbols on the first page. This is a clue.
Now back out to the garden of the house and view the fountain.
Add the 4 statuettes that you have collected to the 4 slots on the rim. This will open a panel and reveal a new puzzle.
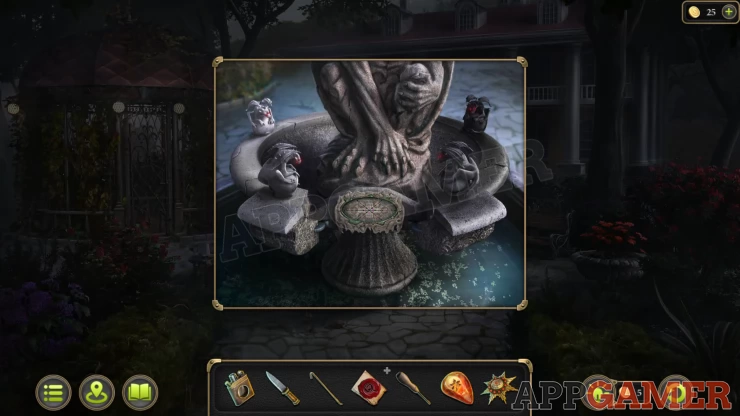
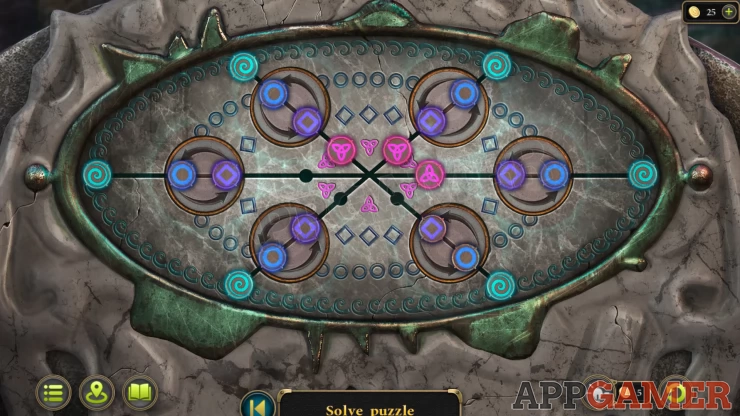
Fountain Puzzle
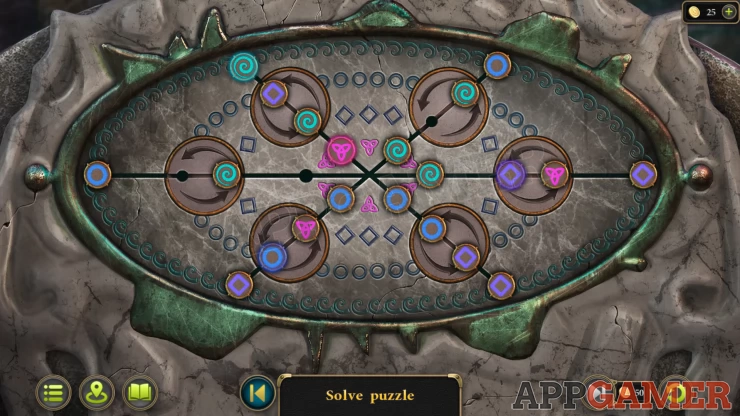
- There are a number of round pieces that can be moved around the puzzle.
- Slide them on the lines and swap their positions on the circles with arrows.
- The colors and shapes on the pieces match the patterns around the board.
- Green spirals on the outer rim. Then blue circles, purple squares and pink petal design in the center.
- Arrange all of the pieces to match to complete the puzzle.
- There are only 3 pink pieces and these can be placed on any of the pink locations
Solution: Show
This activates a second statue which turns, view this and collect the Stucco Molding
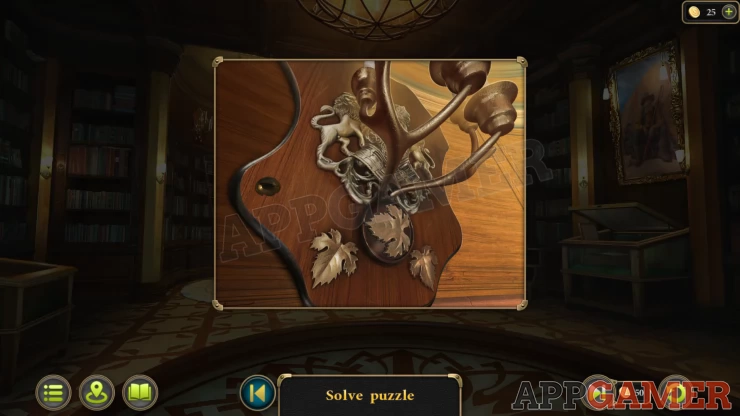
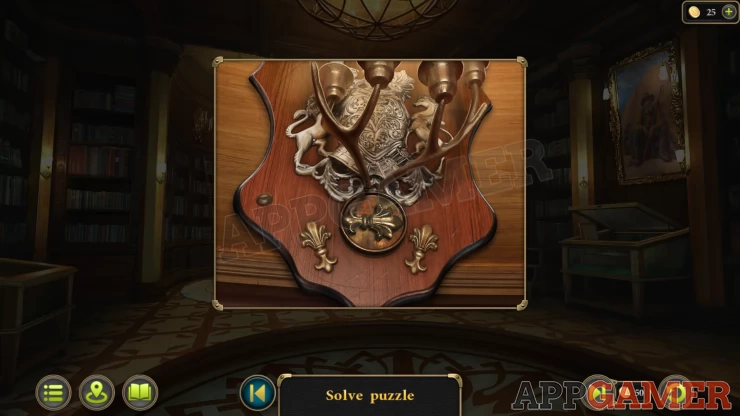
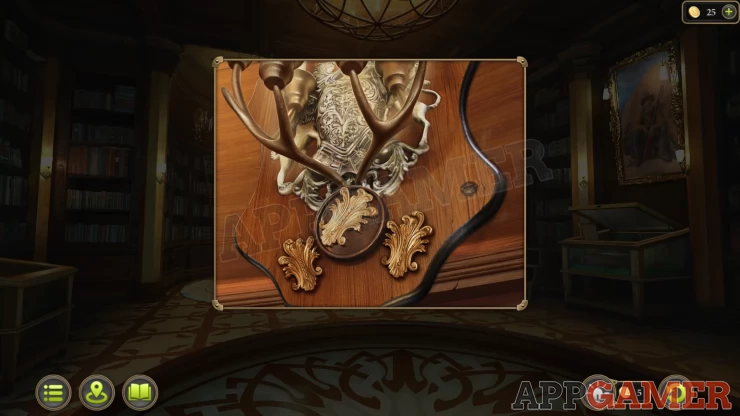
Return to the library, then view an ornate light fitting above the ladder on the right,
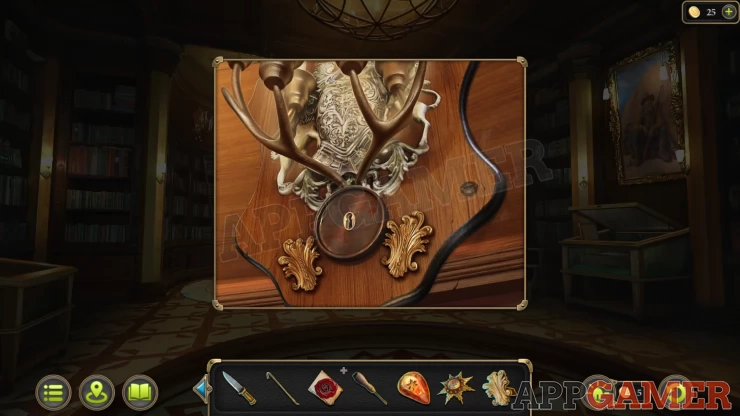
Molding puzzle
- It has 2 moldings and a slot for one more. Place the stucco molding here.
- Then you can view the other 2 lights above the book shelves. They are similar but with different designs.
- You have seen these shapes on the hidden symbols in the book in the display case
- Tap the center molding on each of the lights to turn it and match the orientation in the book.
- Yours may vary
Show
Show
Show
This opens a hidden box behind books on the left. View this and add the Order to it.
You then find another puzzle
Number Books Puzzle
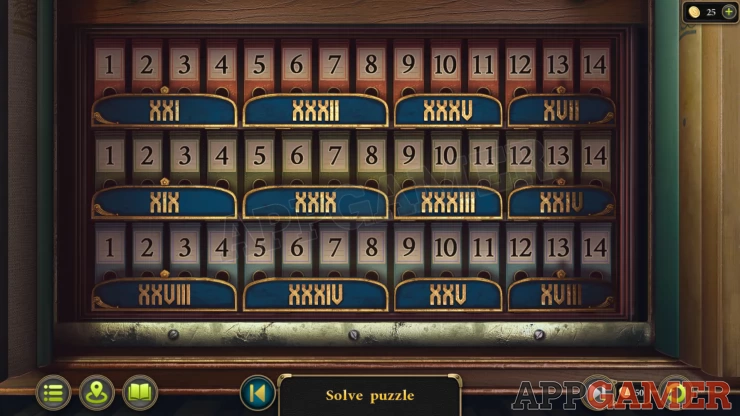
- There are 3 shelves of books that are all numbered.
- On each shelf there are 4 sections that cover 3 or 4 books.
- Each section has a number in Roman numerals.
- Swap the books on each shelf around to make the totals of the books numbers in each section match the number on the front of the section.
Solution: Show

This will then open up the passage to the secret room.
Continue the Guide in Case 1 part 3.
| Case 1 - Troubles on the Farm Walkthrough Part 1 | Back to Top | Case 1 - Troubles on the Farm Walkthrough Part 3 |
 With 20 years of experience in creating video game content for the internet and over 30 years as a gamer, Mark is now a passionate mobile App Gamer. Loving a challenge, he is always ready to get stuck in to both survival builders and puzzle solving games. He has been providing content for AppGamer since 2014.