Mystery Detective Adventure Walkthrough
Mystery Detective Adventure Guide
Welcome to our Mystery Detective Adventure walkthrough. This is another in the popular line of Mystery escape room and puzzle games from Five-BN.
This game features a compelling detective mystery told through well designed environments and challenges you with a diverse range of puzzles and hidden objects to find.
This story follows the adventures of newly graduated detective as he sets out on his first cases. There are 3 cases to play through and solve in the game.

Our walkthrough is broken down into logical parts to cover each section of the game. It will help you locate the items you need, and give full solutions for the puzzles you will face. Please note that the game can be confusing at times as items that you need to collect may not let you pick them up until you have found a need for them.
This means that you will need to return to areas multiple times to find items. If you are unable to pick up any item that is mentioned in the guide then you may have missed tapping on an earlier scene or item that activates the need for the new item.
If you have any questions or problems playing the game please head to the Answers Page to post your question there.
Keep an eye out while playing for collection items and morphing objects, these are collectible items hidden around the scenes of the game. Most scenes will hone one of each in them to find.
Case 1 - Troubles on the Farm Walkthrough Part 1
A farmer reports mystical happenings on his lands. Who disturbs his peace?
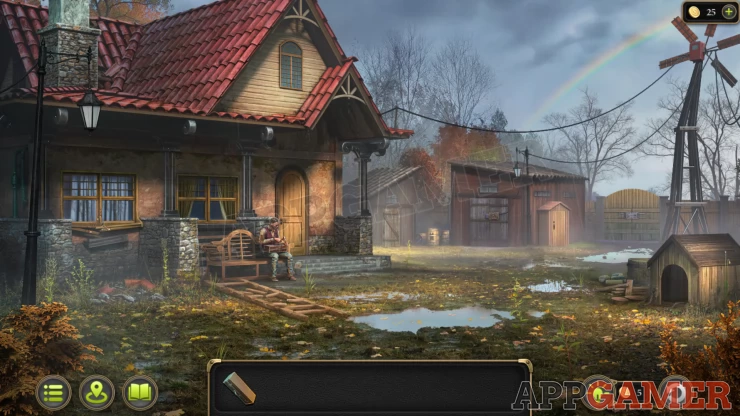
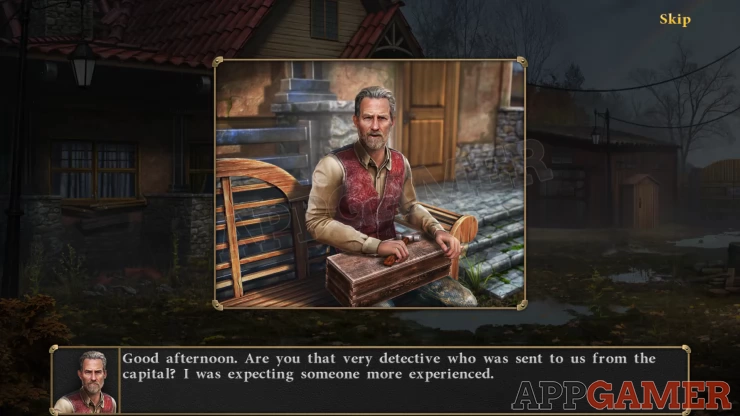
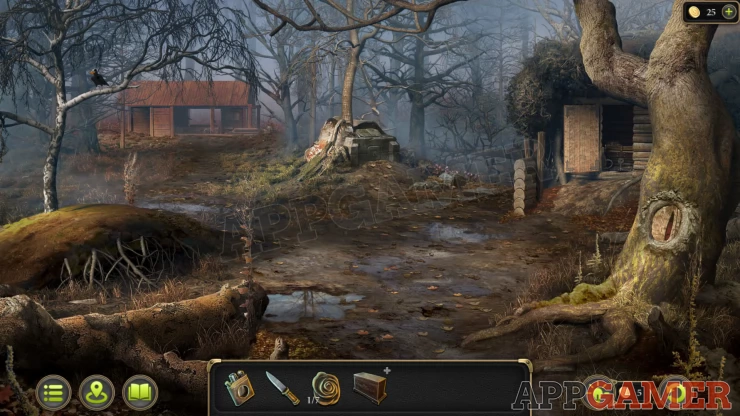
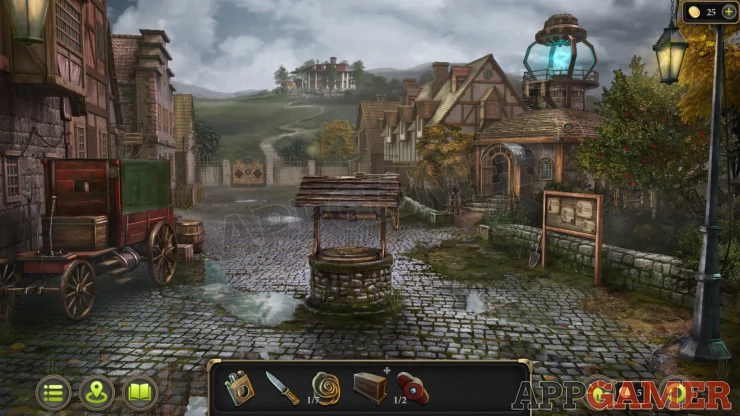
The game begins as our detective packs his bags and heads to Easttown to investigate the disturbances. Begin by talking to the Farmer.
New task: Collect evidence in the Yard.
Morphing Object: a changing wooden decoration under the eaves of the lower roof above the door.
Tap on the dog kennel on the right.
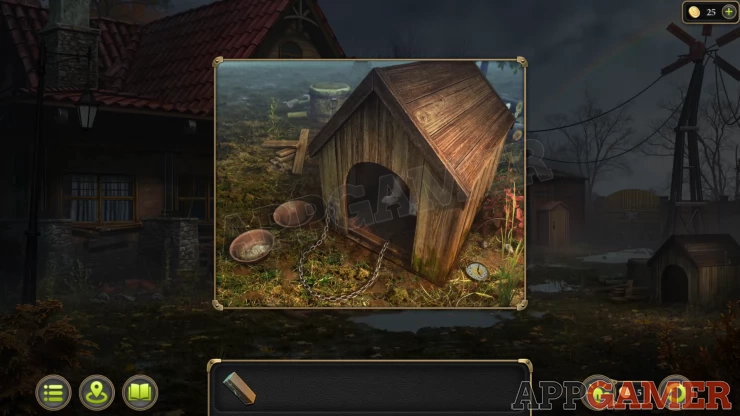
Collection Item: Pocket watch on the ground to the right.
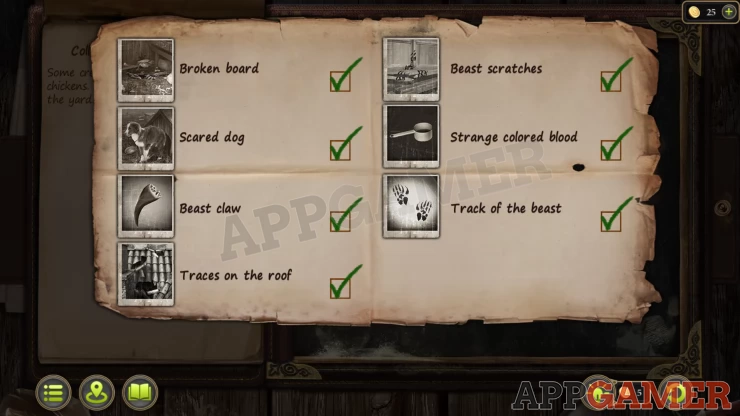
Collect the Boards on the left of the kennel. Then tap on the dog. Evidence 1 of 7 - Scared Dog.
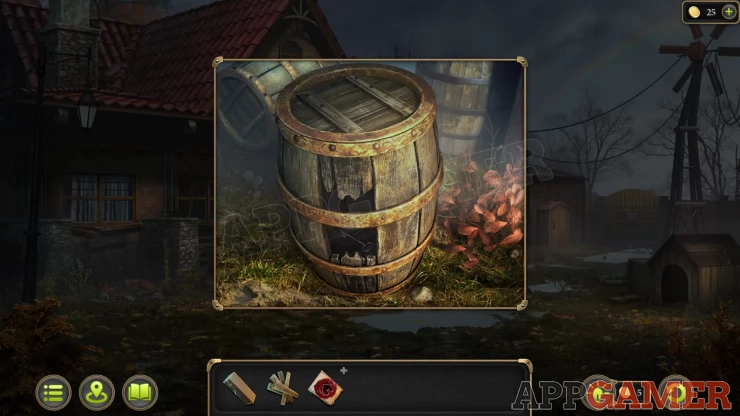
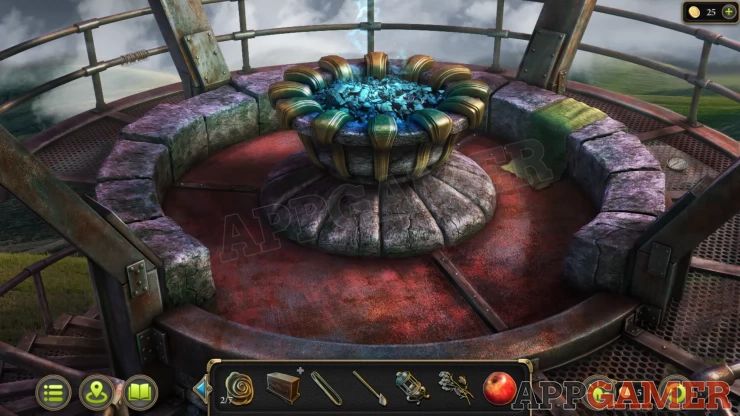
Next tap on a small broken barrel that is in the distance in the center of the scene. Collect the Key from inside it.
Now tap on the chicken coop (shed) to the left of the barrel, use the key to open the door.
Inside are the dead chickens. Tap on the bloody paw prints on the wall and floor. Evidence 2 of 7 - Track of the Beast. Then tap on the broken floor board on the right. Evidence 3 of 7 - Broken Board.
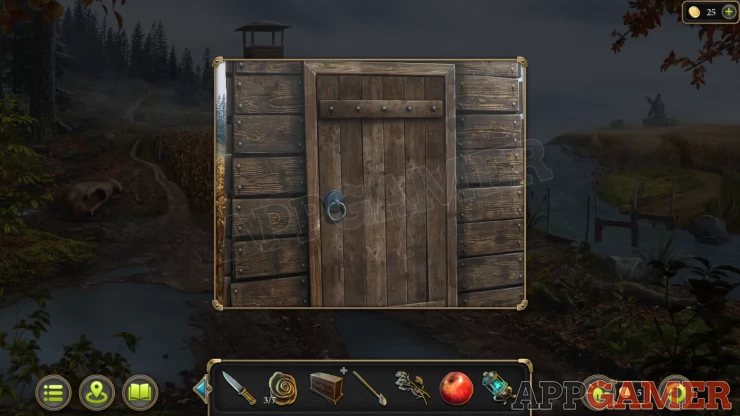
Now tap the front door of the house to go inside. Tap to talk to Maria the farmers wife.
Morphing Object: Triangle / square carving at the base of the wooden column in the center.
Collection Item: Vinyl Record on a shelf above the stove.
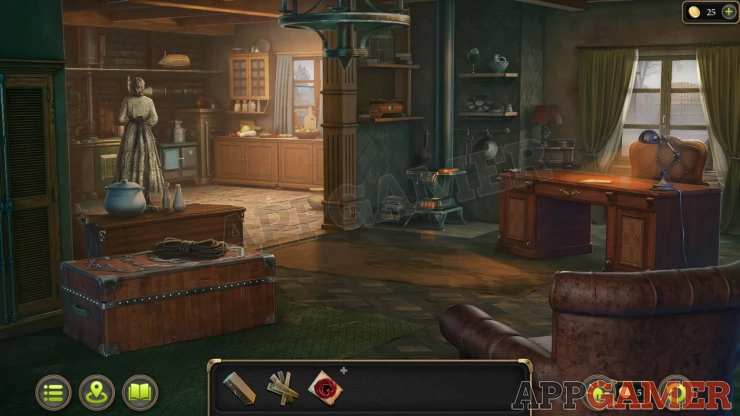
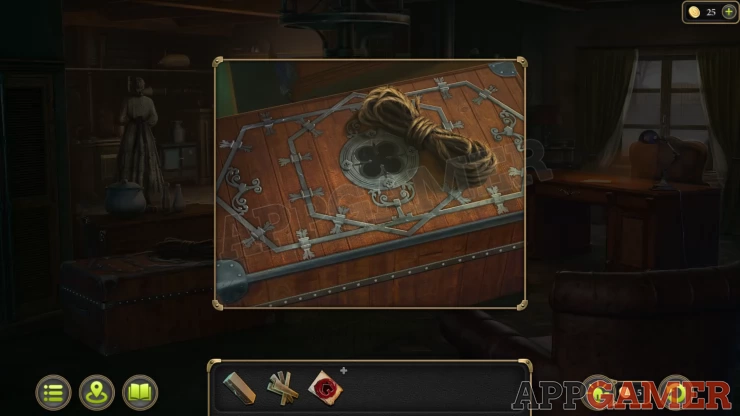
Tap on the large trunk on the floor on the left and collect the Rope.
Then tap on the Stove and collect from the wall the Ladle and some Pincers
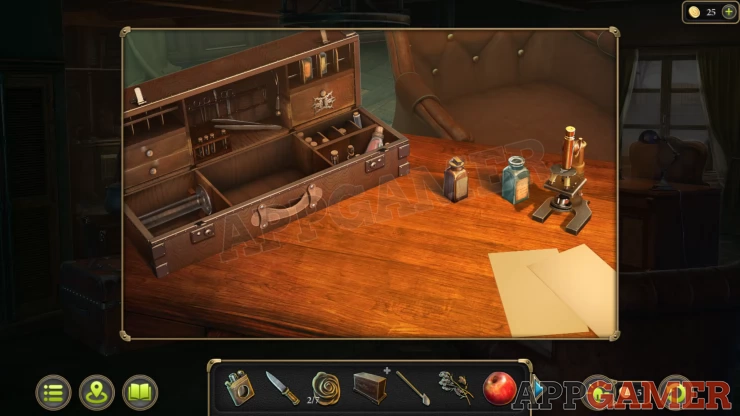
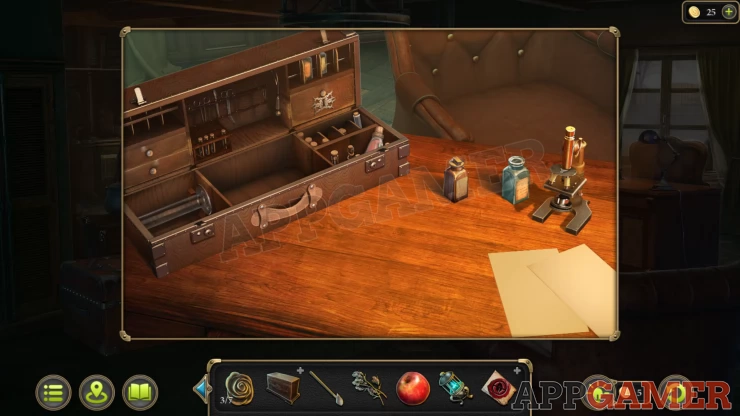
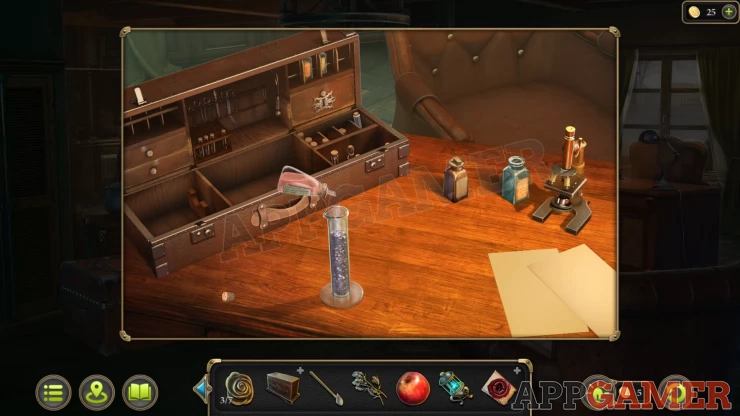
Now view the desk and place your suitcase onto it. Then open it.
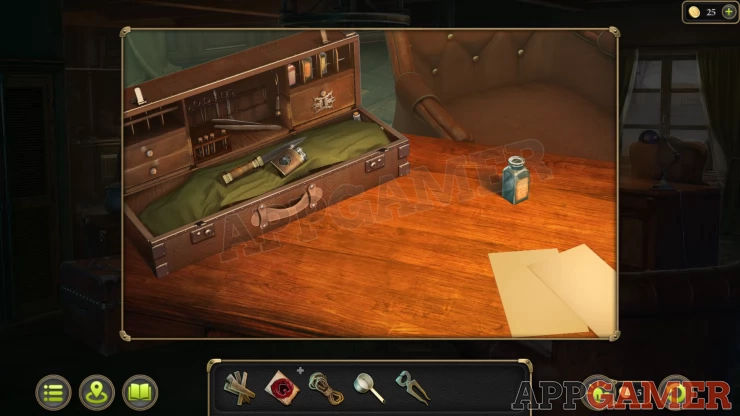
Collect the Lighter and the Knife. Take out the microscope to put on the desk.
Go back outside and tap to view the window on the left of the house.
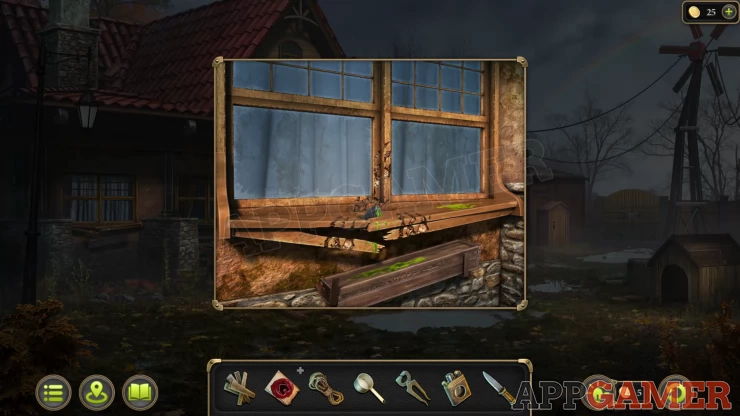
Tap the claw marks to get Evidence 4 of 7 - Beast Scratches.
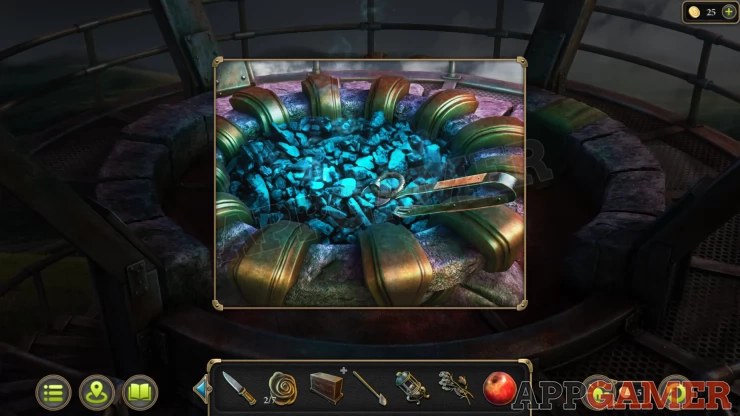
Then use the pincers on a claw that is stuck in the wood to get Evidence 5 of 7 - Beast Claw
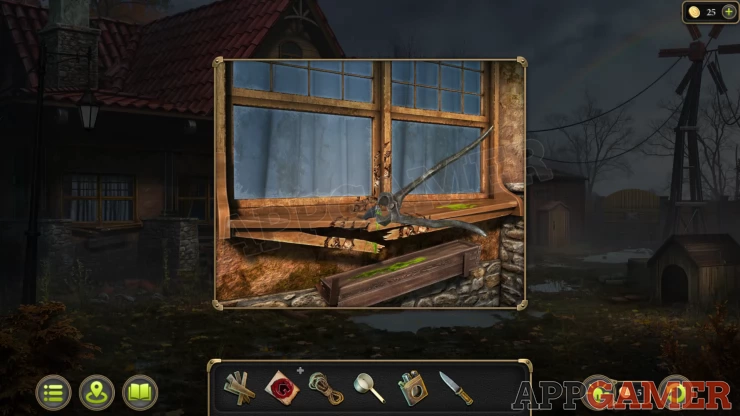
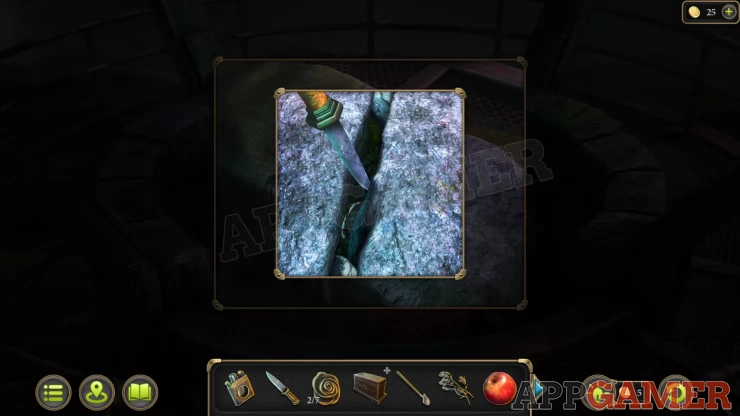
Use the knife on the green marks on the wood to collect a Substance sample.
Next view a broken ladder on the ground.
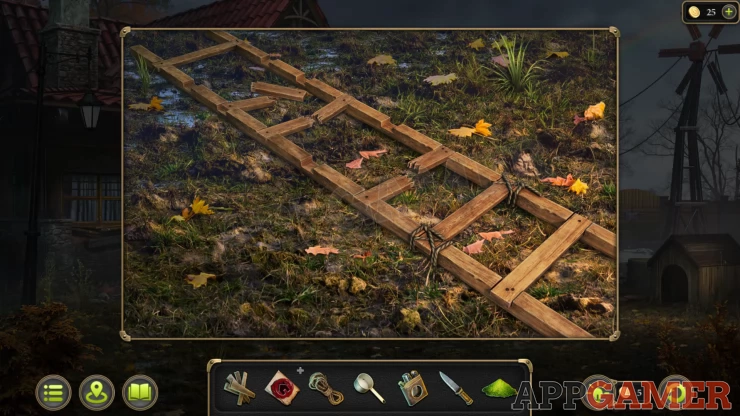
Tap this to remove the broken rungs and then place the boards that you have on it. Then use the rope on this to secure them.
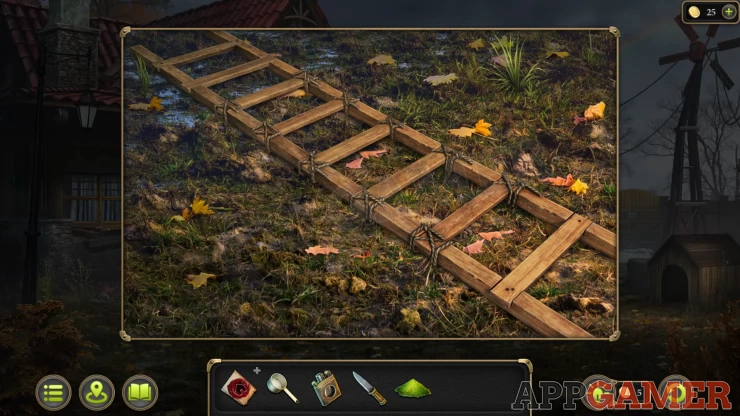
Tap the repaired ladder to place it on the house then you can reach the roof.
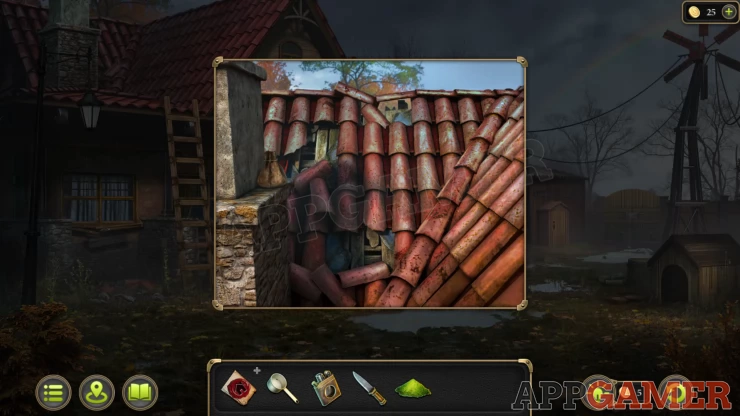
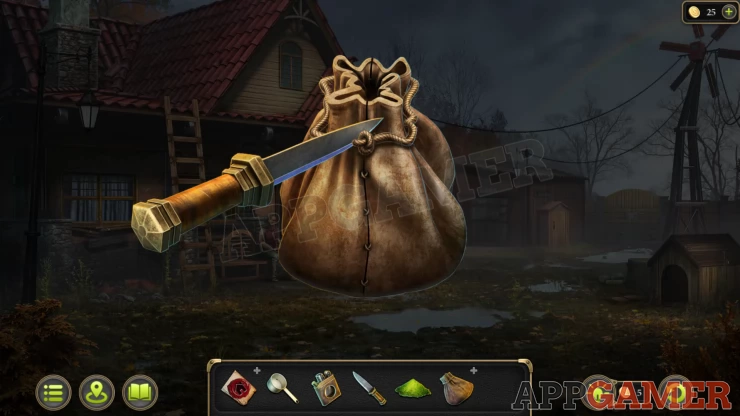
Collect a Pouch from the chimney. Then tap the broken tiles to get Evidence 6 of 7 - Traces on the roof.
View the Pouch in your inventory and use the knife to open it. Collect the Flower (1 of 7).
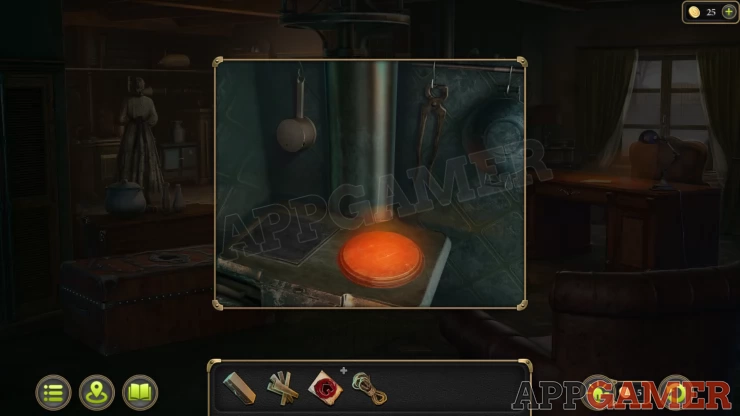
Go back into the house and view the desk. Place the Ladle here and add the substance sample to it. You may need to try adding the sample to the desk first to get a prompt to place the cookware first. Reagents will then be added for you.
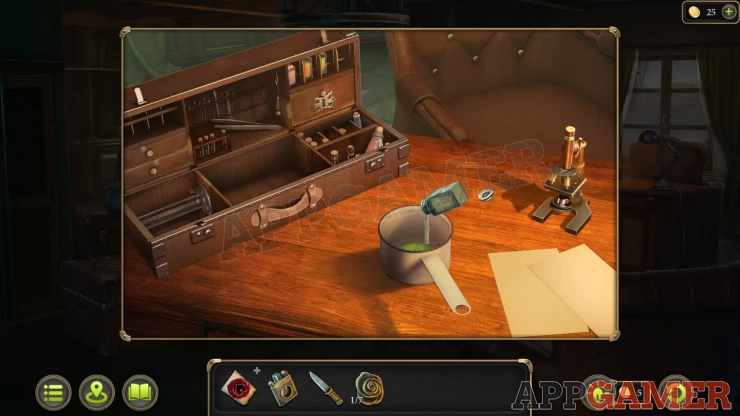
Collect the Ladle with substance and then view the stove again, place it on the hot plate.

After it boils tap again to get Evidence 7 of 7 - Strange colored blood
Talk the the farmer again to learn about problems in the fields.
He will give you the Door knocker.

New Task - Explore the dead fields
Now view the large gate on the right.
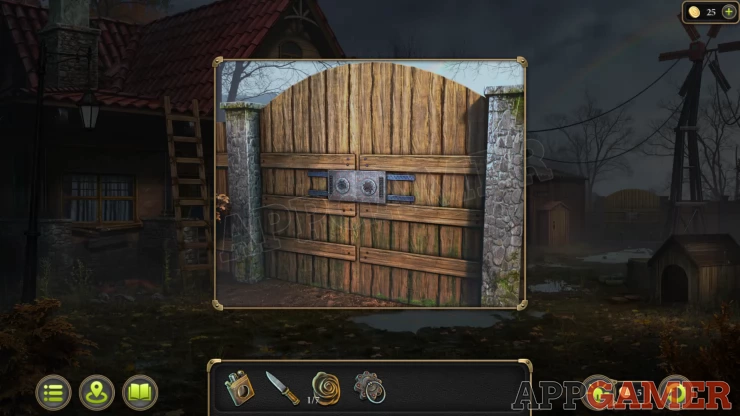
Then view the lock and add the door knocker to it to find a puzzle.
Field Gate puzzle
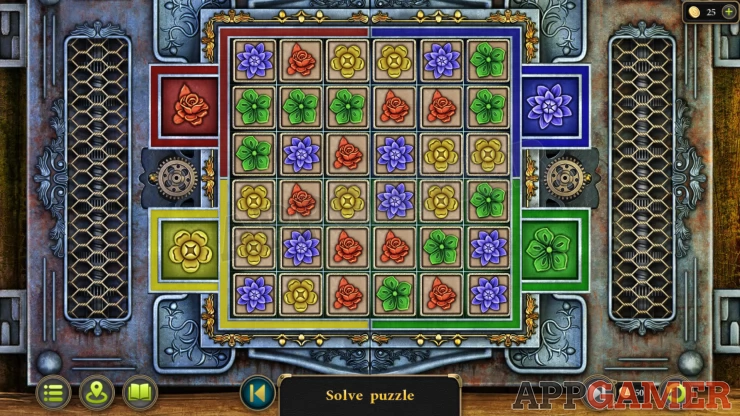
- There are 4 different colored flower symbols on the board.
- Tap any of the tiles (not on the outer edge) to rotate the other tiles around it.
- Arrange the flowers so that all of the same colored flowers are in the matching colored corners.
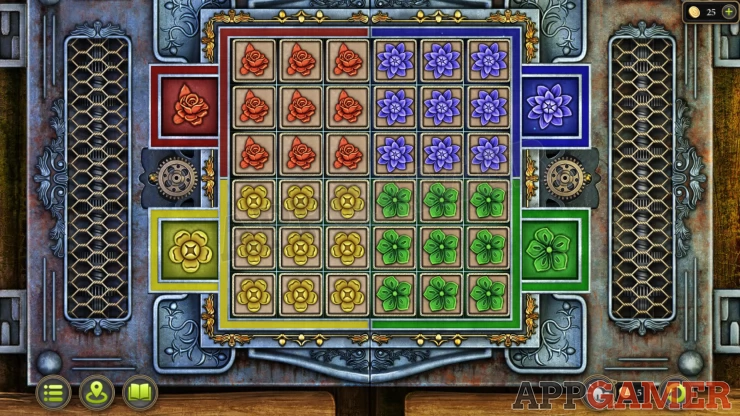
Go through the gate to the field.
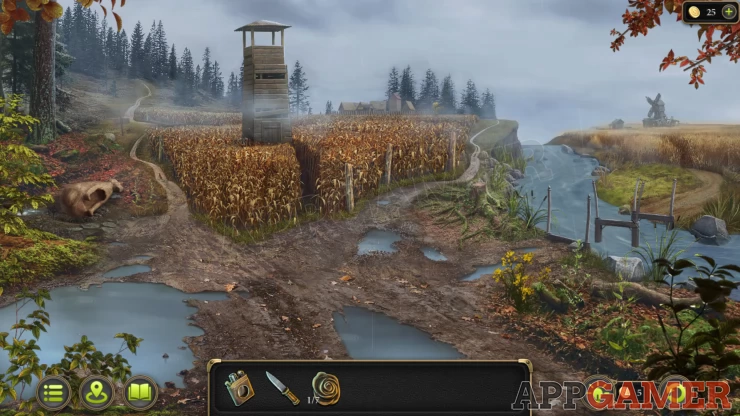
Morphing Object: Hoof print / Paw print in the mud by the puddles on the lower right.
View a fallen figure on the left.
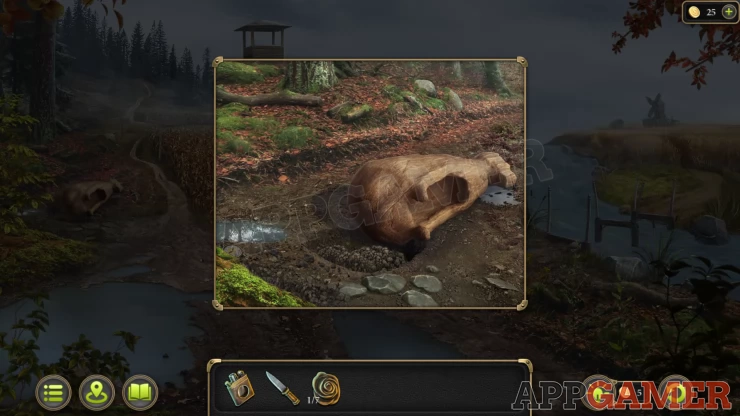
Collection Item: Pocket watch on the ground to the left.
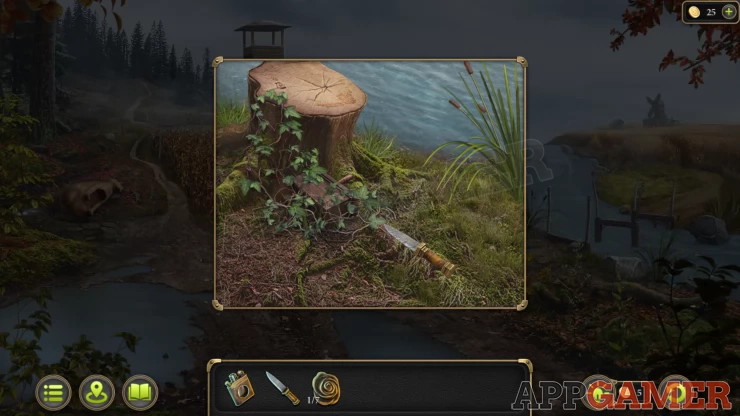
View a tree stump on the right by the river. Use the knife here to cut away the ivy and then collect a Chest.
Tap on the tower to get a prompt to head to see the Cleric first.
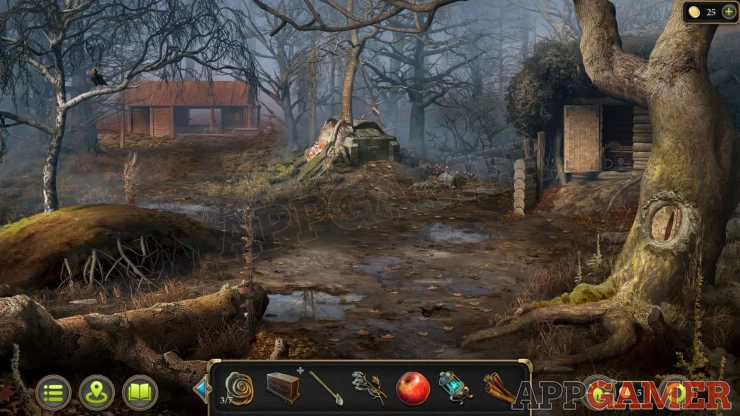
First tap the path to the left of the tower to move forward to some abandoned buildings in the mysterious forest.
Morphing Object: small shape on the branches of the tree on the left, just above the bird.
When you tap on the bird it will fly away and drop something from it beak, you cannot get it yet though.
View a stone block at the base of the tree in the center of the scene. You cannot interact with this yet.
Collection Item: Pocket watch above the stone.
Now view the red roofed building at the back, a Sawmill.
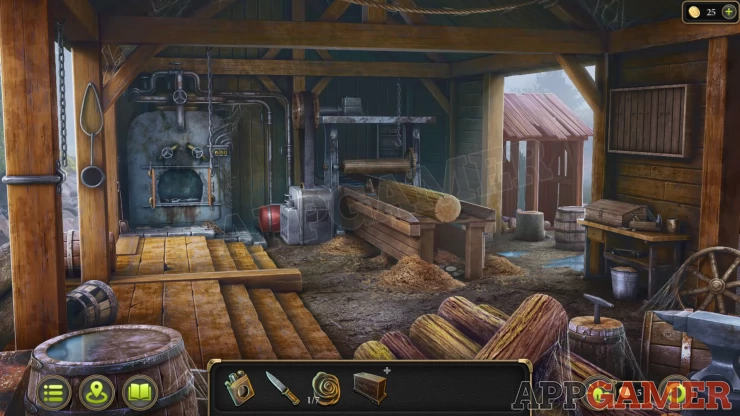
Collection Item: Vinyl record under the log on the table to the right.
Morphing Object. Fire poker / shovel on the left by a furnace.
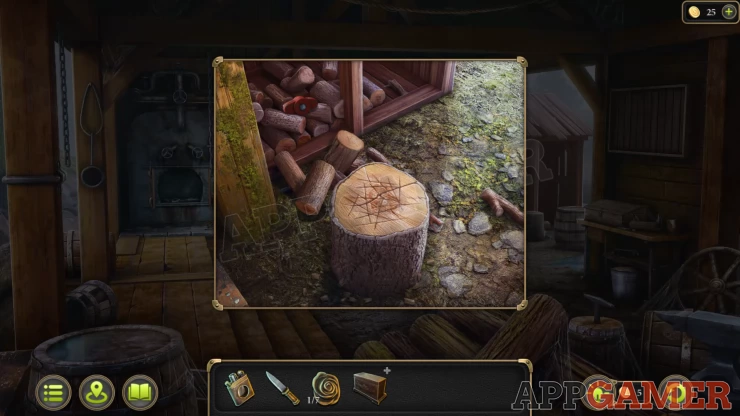
View a tree stump seen out of the doorway on the right. Collect a red Valve (1 of 2) from the wood pile.
Now back up to the field and tap the building beyond the fields to travel to the town.
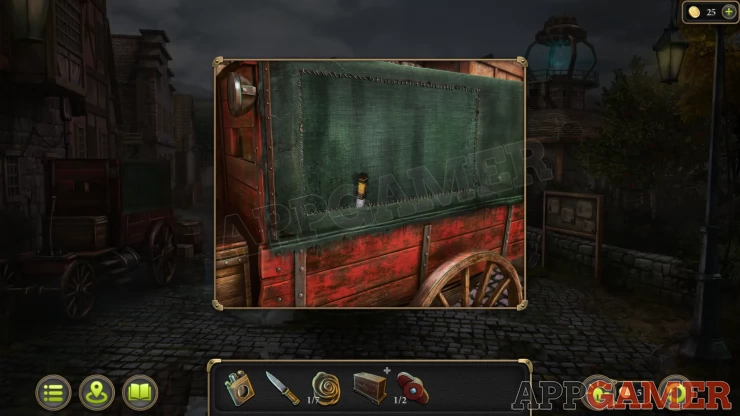
Collection Item: Vinyl record on the ground under the vehicle on the left.
Morphing Object: Arrow / bat on top of the well roof
Tap on the side of the vehicle on the left and then use the knife to cut open the fabric. Collect some Tongs from inside.
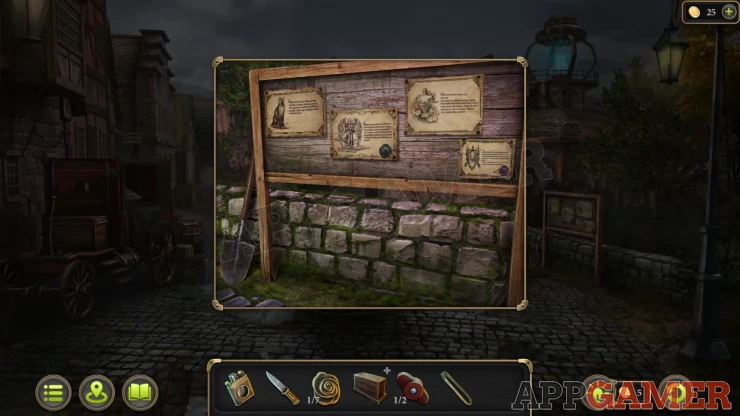
Next view the sign board on the right. Collect the Shovel. You can read the notices.
Enter the building on the right with the open door
Speak to the Cleric of the blue fire cult.
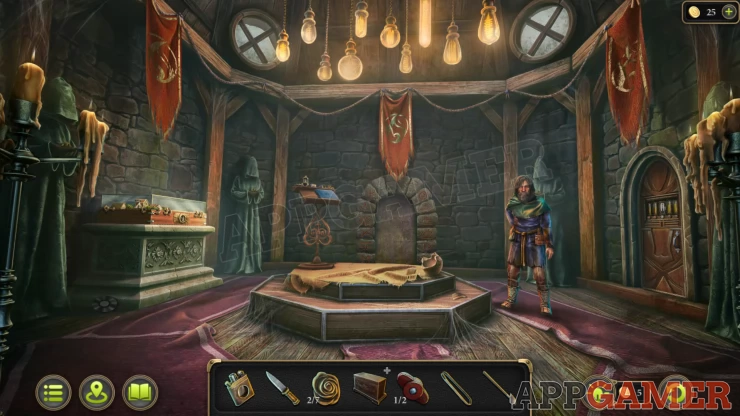
New Task - Repair the Totem
Collection Item: Vinyl record on the floor on the left.
Morphing Object: Star / heart symbol in one of the lights hanging from the ceiling.
View the book on the stand at the back to get information about the Totem. Then collect the Lampada from the top of the stand.

Back out to the street and view a bush in the wall to the left of the sign,
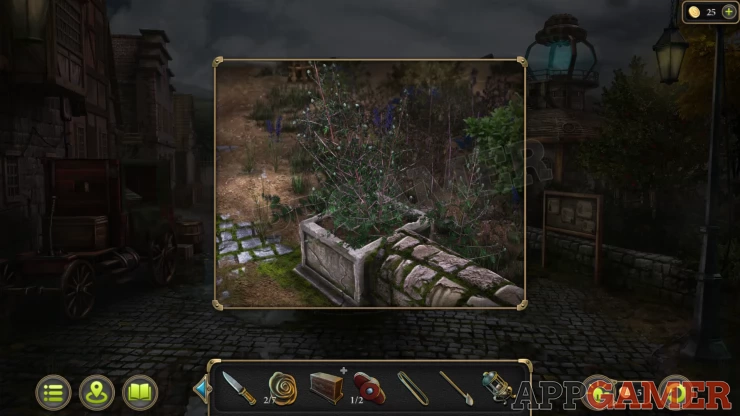
Use the Knife to cut away the bush and collect Sagebrush. And also collect a Valve (2 of 2) from the planter.
Then view the apple tree on the right of the sign.
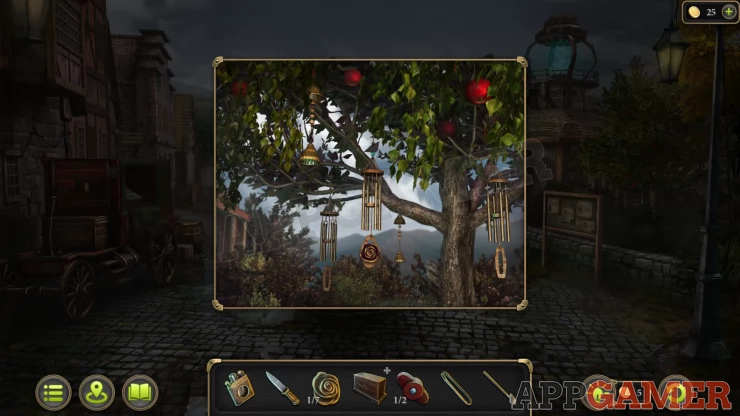
Collect a Flower (2 of 7) from a hanging chime and then collect an Apple from the top right.
Go back into the building and view the door to the right of the cleric.
Pump puzzle
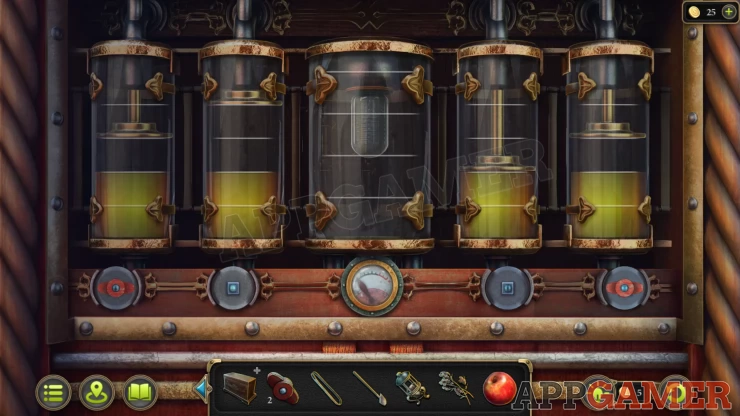
- Add the 2 valves to the controls to start the puzzle.
- Tapping a valve will lower the pump to push the contents of that cylinder into the center one.
- It can also cause another pump to rise.
- Keep adjusting the pumps until all of the side cylinders are empty and the center one is full.
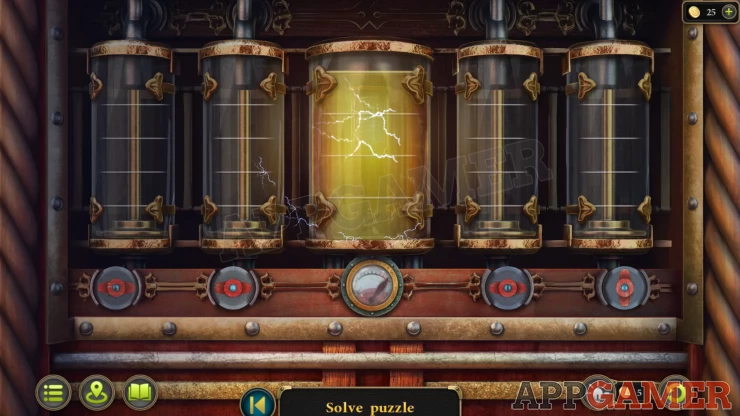
When the door opens go through and up the stairs to reach the blue fire at the top.
Collection Item: Pocket watch on the right side.
Morphing Object: Rings on the hand rail on the left.
View the fire and use the tongs on it to collect a Handle.
Then use the Lampada on the fire to collect the Burning Lampada.
Next tap on the stones on the right by the yellow cloth to see a crack. Use the knife here to try to reach an object. You cannot but you will get a prompt to try using your tweezers.
Travel back to the farm house and collect the Tweezers from the case on the table. You can fast travel by tapping the map pin icon on the lower left.
Then return to the Blue flame and use the tweezers to collect a Flower (3 of 7).
Return to the field and view the tower again. You can now use the handle on the door to open it. Go up the ladder .
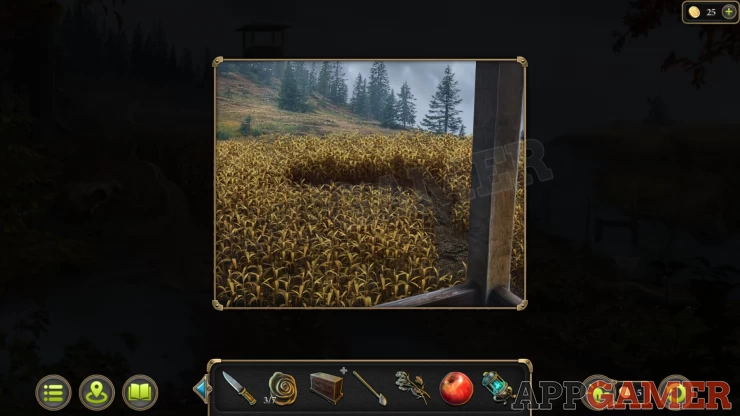
Tap the empty area to then move to the spoiled area of crops.
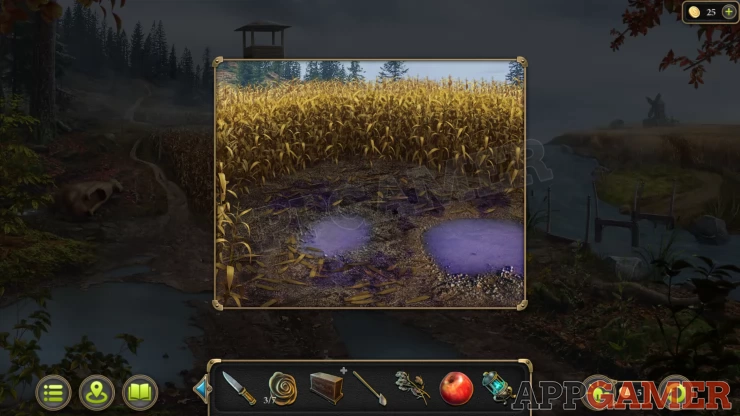
Tap the puddles to get Evidence: 1 of 2 - The place where the harvest died. The travel again to the farmhouse and collect a Measuring Cylinder from the case.
Then return to the field and use this on the ground to collect the Soil Sample. Back to the farm house and place the sample on the desk. This will be examined and you will collect Evidence 2 of 2 - Herbicide Sample.
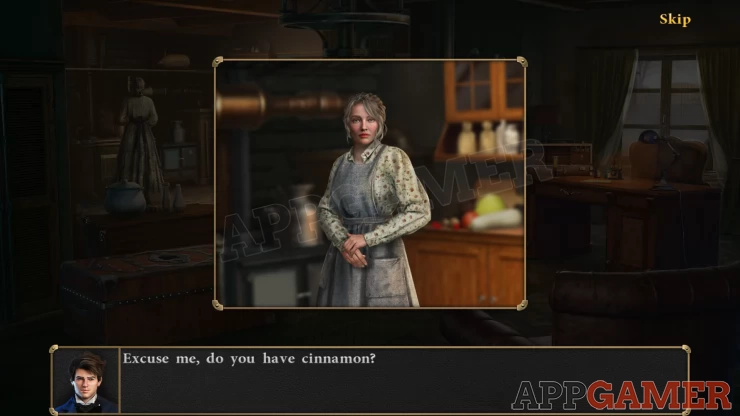
Talk to the farmer to confirm the result and then you will ask about Cinnamon sticks. Return to the house and talk to his wife. You will collect Cinnamon.
Now travel back to the Abandoned buildings in the mysterious forest.
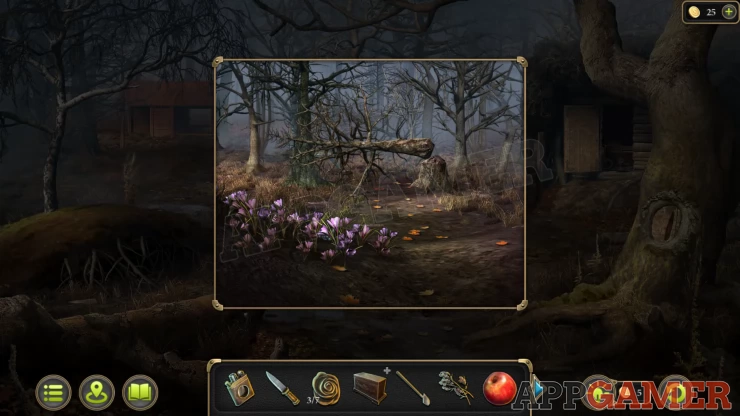
View some flowers on the ground to the right of the central stone block. Collect the Crocuses. Then collect a Part from the ground within the crocuses.
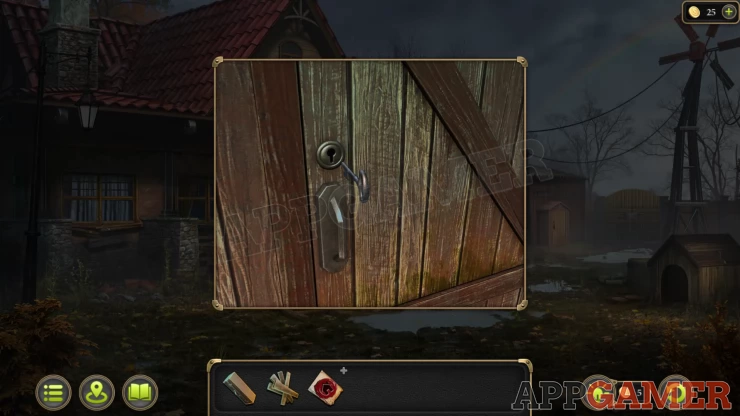
Now return to the yard in front of the farmhouse and view the barn doors near the opened gate.
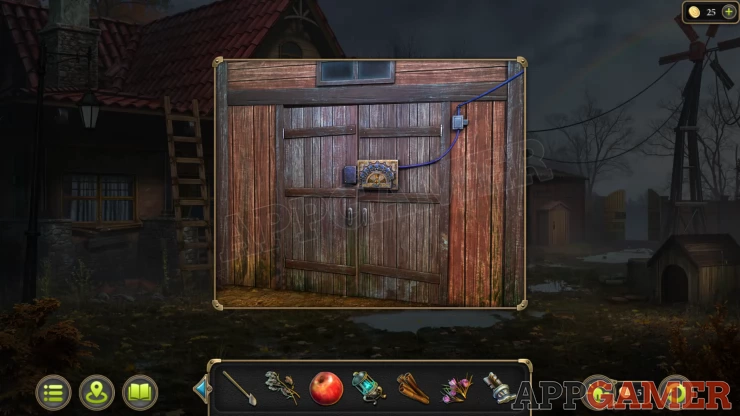
View the lock and add the part to it to start a puzzle
Barn Door Puzzle
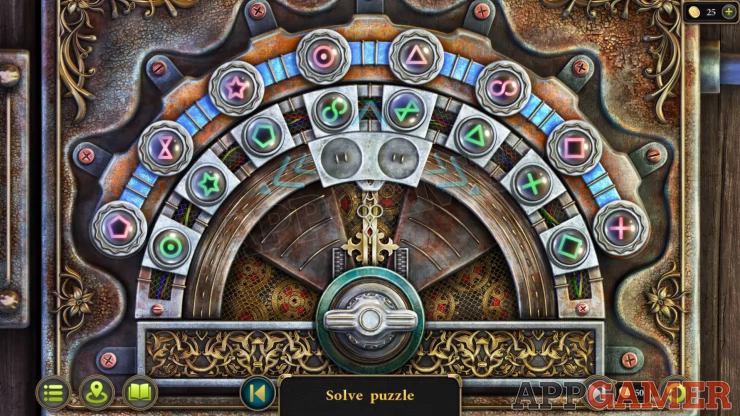
- Move the selector left and right and then you can use the top arrow to move any 2 green symbols on to it.
- Move symbols and swap them with any other pair of green symbols.
- Arrange the green symbols to match the layout of red symbols on the outer edge.
Solution: Show

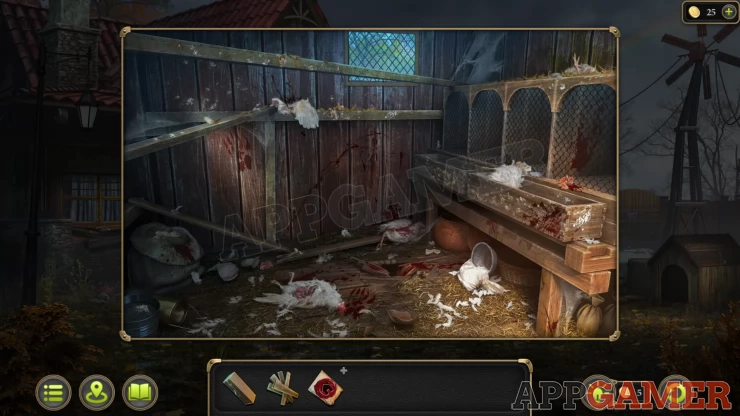
Enter the Barn.
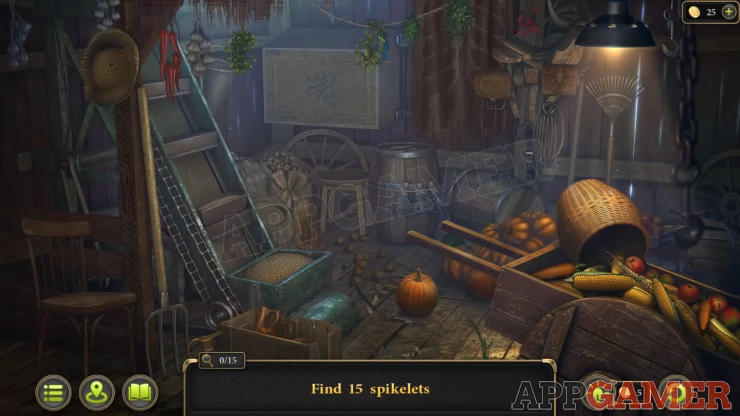
Barn : Find 15 Spikelets
- This is a hidden object puzzle
- In the barn you need to find 15 ears of wheat hidden in the scene.
- Some of them are symbols or carvings found on walls and objects.
- Others can hidden inside boxes and other items that you need to search.
Main scene (5)
Show

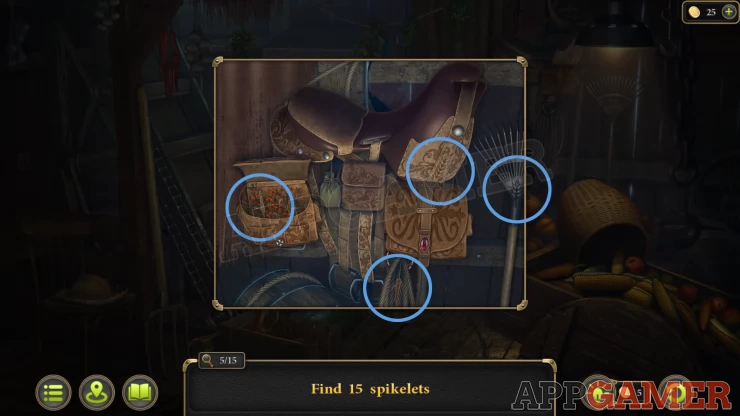
View the Saddle on the wall by the light (4)
Show
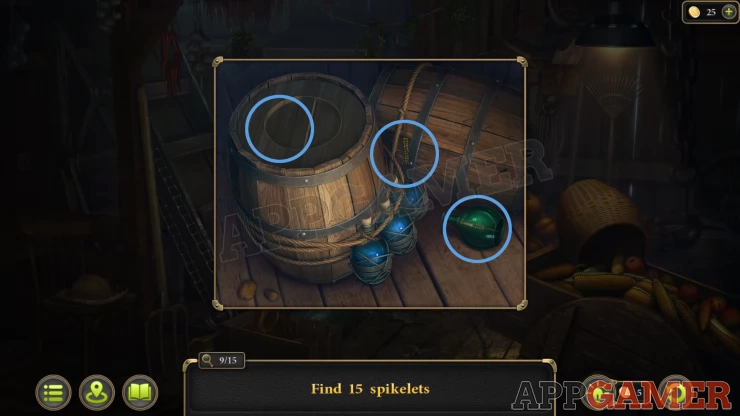
View the barrels back center (3) You need to open the left barrel to find one.
Show
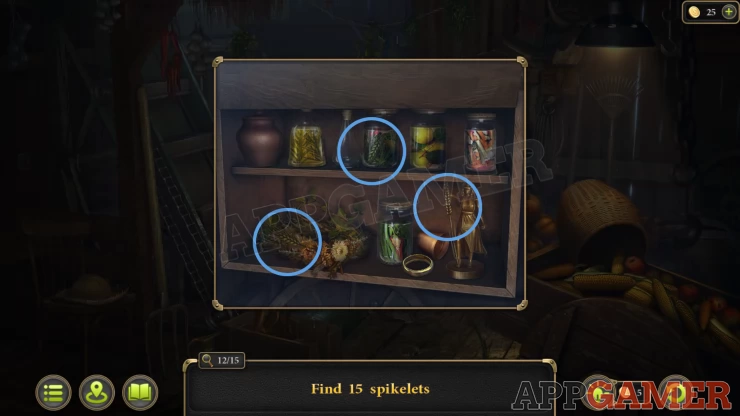
Open the cabinet on the back wall to the left. (3)
Show
You now collect the Basket with Wheat
View the basket in your inventory and add to it the Cinnamon, crocuses, sage brush and apple. You then collect the Offering.

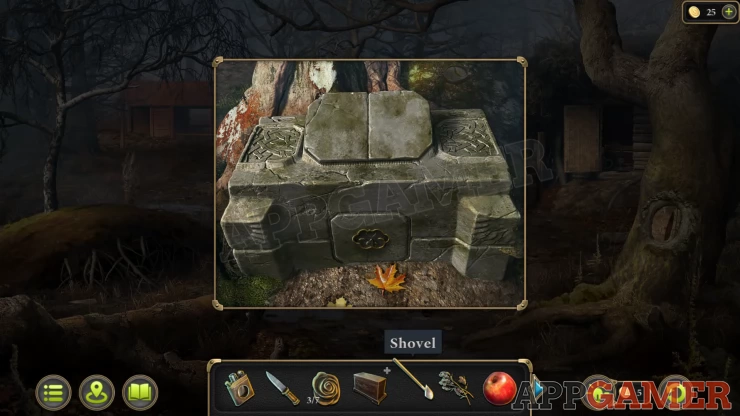
Return to the field and view the fallen totem on the left. Then use the shovel to dig below the totem
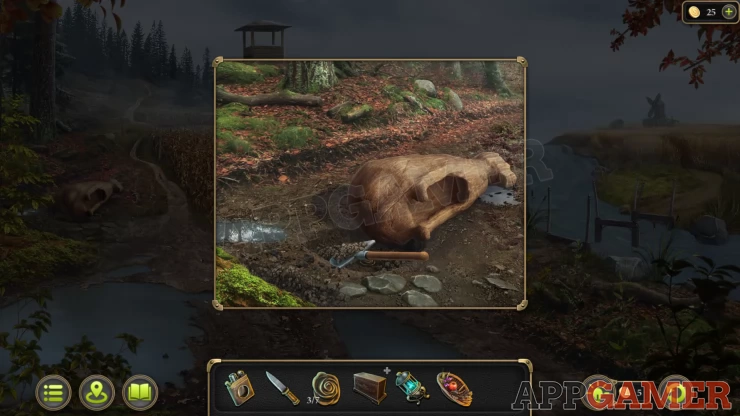
Collect a Flower (4 of 7) from the hole and then tap the totem to stand it up in the hole. Use the shovel again to secure it in place.
Now place the Offering in front of it and also the Burning Lampada.
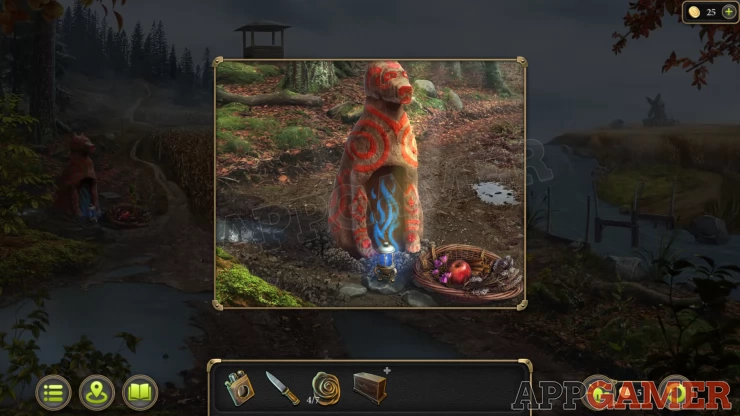
You have repaired the Totem We will continue the guide in Case 1 Part 2.