Chapter 4 - Fractus Walkthrough
More Boxes: Lost Fragments
Welcome to the walkthrough guide for Chapter 4 of Boxes: Lost Fragments. Another beautifully designed puzzle and escape room style game from Snapbreak.
After completing Chapter 3 you receive a new Token and can use this on the central pedestal as before to unlock a new set of rooms for Chapter 4. Each with puzzles boxes to solve. As you complete each section the next door will open.
Boxes: Lost Fragment - Chapter 4 Walkthrough
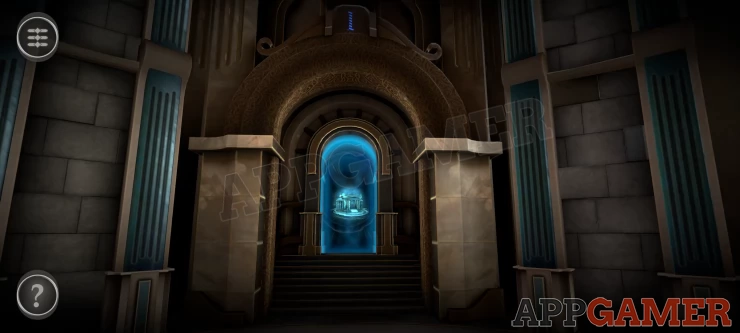
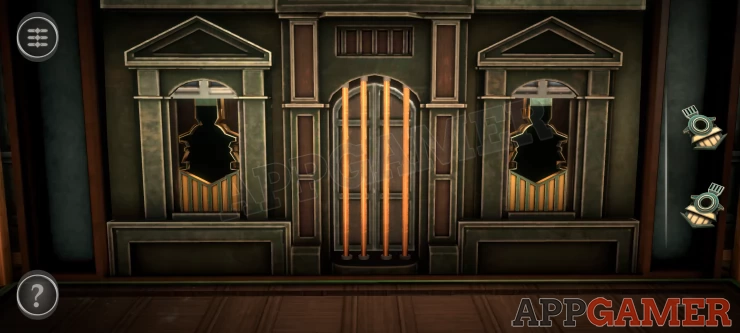
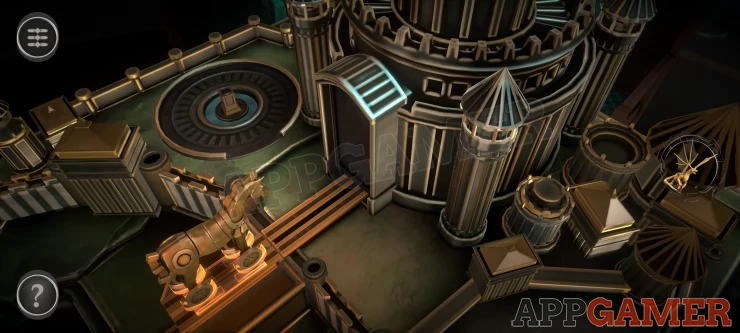
After rising up in the elevator again to the fourth level you arrive at a new floor with puzzle areas and a main door to find the puzzle rooms through.
Chapter 4 - Room 1 Walkthrough
The first room of Chapter 4 has a long Puzzle box in the style of a Greek temple.

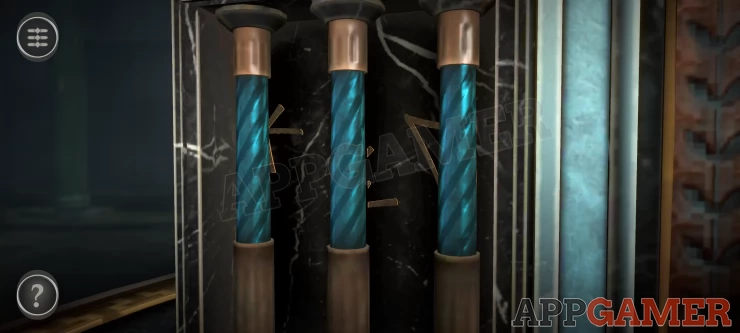
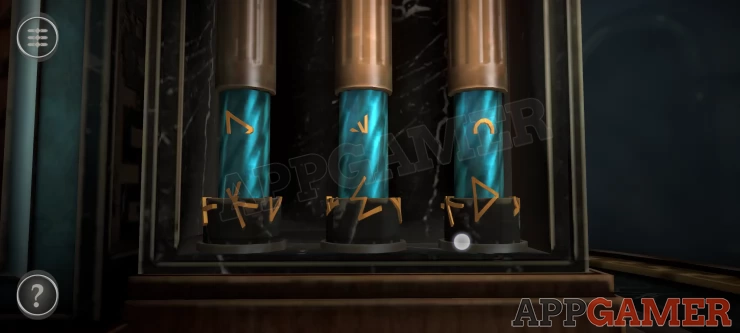
First look at the 3 columns on the left of the front of the box.
There are 3 blue columns that you can spin around, doing this will reveal a clue.
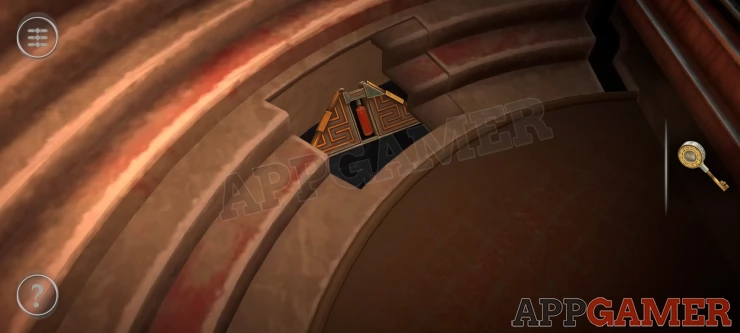
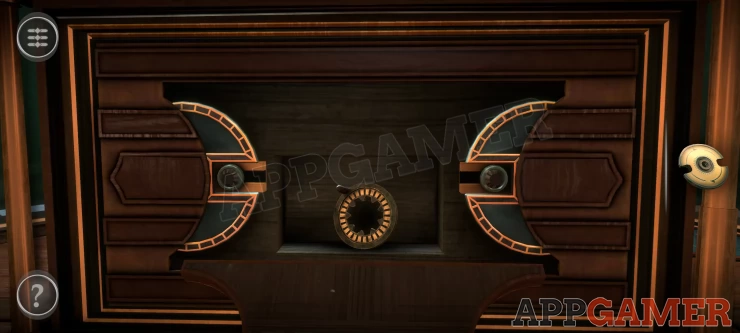
Now view the columns on the right side of the front.
Column puzzle
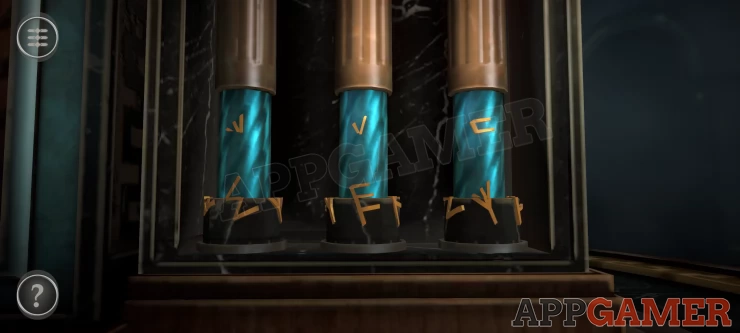
- Here you can turn the black bases of the columns to move the shapes on them and the blue parts above.
- Each part has several gold colored lines that you can line up to make symbols.
- Make the clue found previously to complete this.
Solution. Show
This will open a drawer, collect the Door Handle.
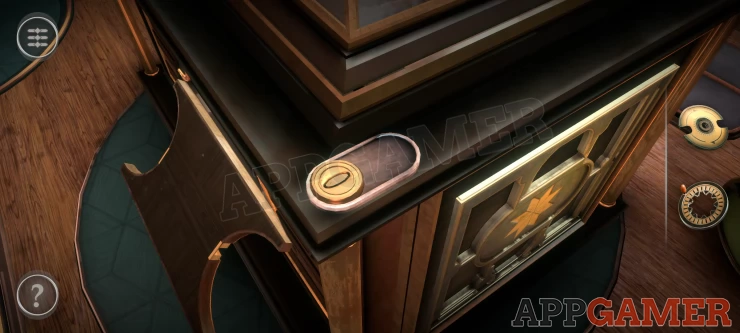
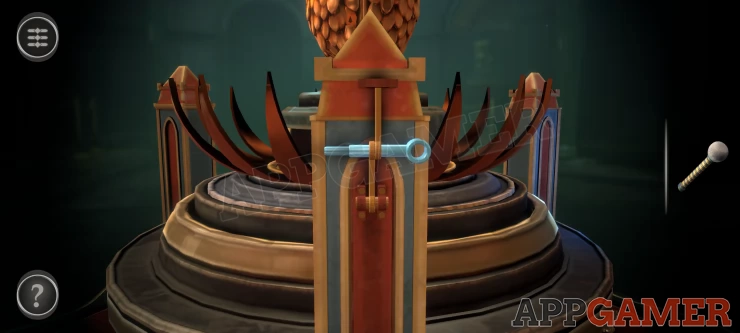
Now look on top of the box and add the door handle to the slots.
Turn the handle to rotate the lock and release the long bars.
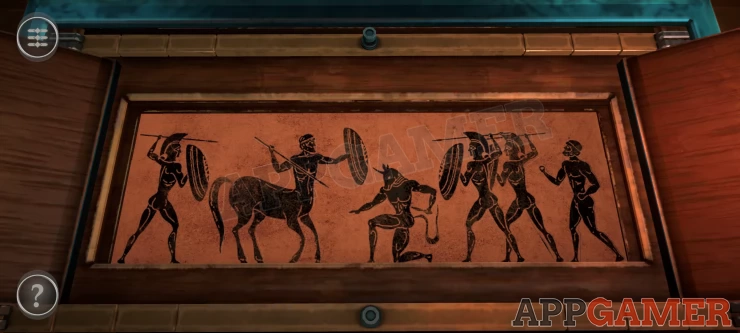
Then open the lids to find a jumbled mural.
Mural Puzzle
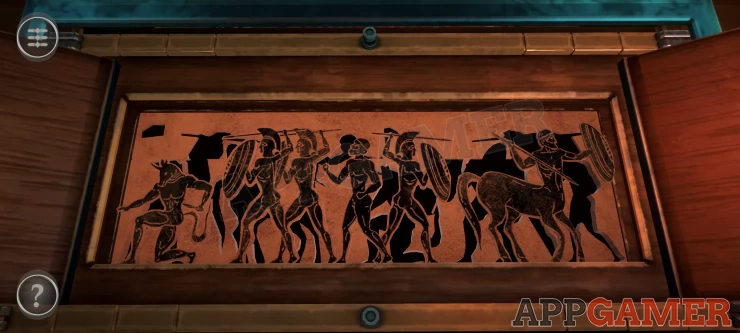
- The figures on the mural can be moved left and right.
- There is also a section of the background that can slide to align it.
- Line up the background to create silhouette shapes for the figures and then slide them into place like a jigsaw.
Show
You will now view the back of the box.
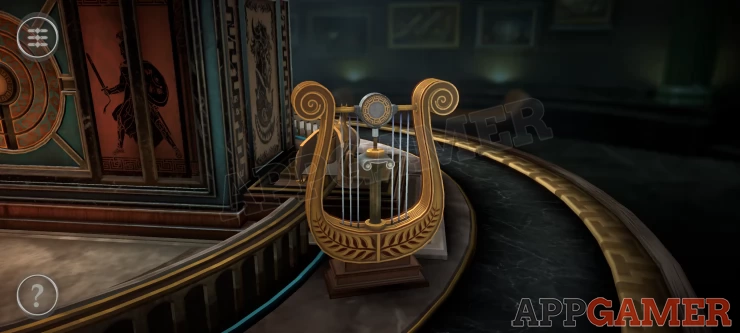
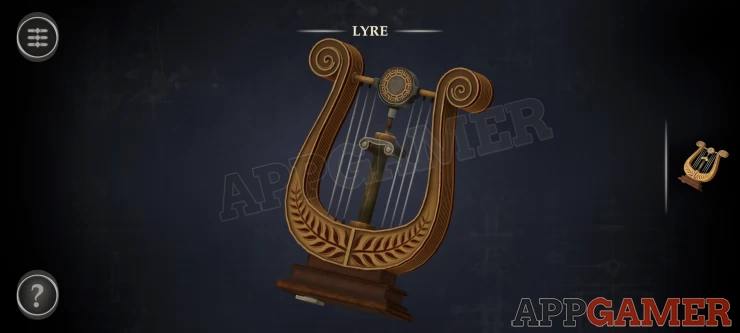
First collect the Lyre that is on the right. Then you can view this in your inventory.
Look underneath for a switch to slide which will reveal a key at the top center.
Slide this up to collect the Key.
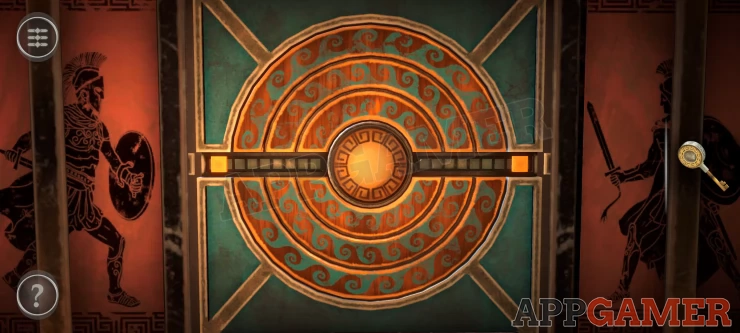
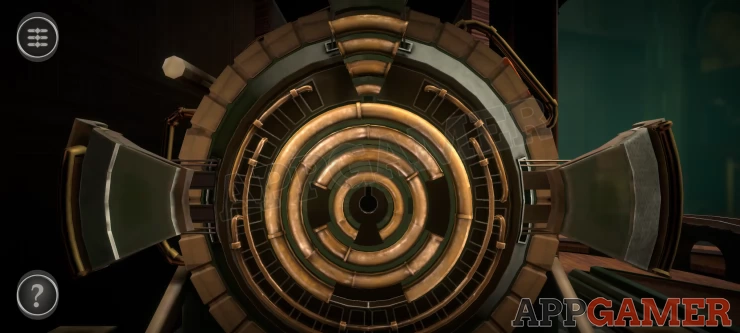
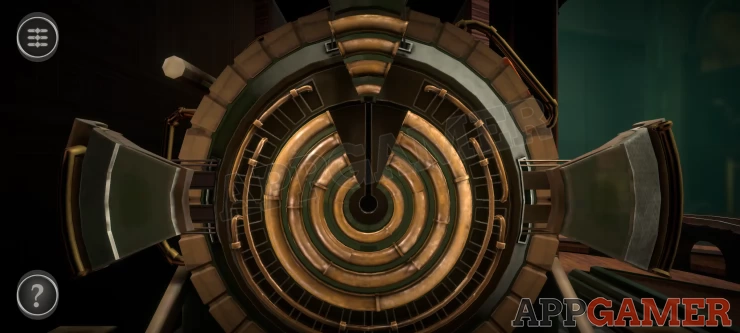
Now view the circles in the center of the back of the box. Tap the center of the circle to rotate the outer rings. Turn each one until it lines up horizontally across the center, you can then turn the next smaller one and so on.
When all are lined up you can slide in 2 switches to the center.
This opens the box to reveal a Minotaur statue and more seating.
Tap to view a section of the seats that are darker in color. Then slide it open to find a Mechanism Part to collect.
Next look on the top left of the box to see a small key hole.
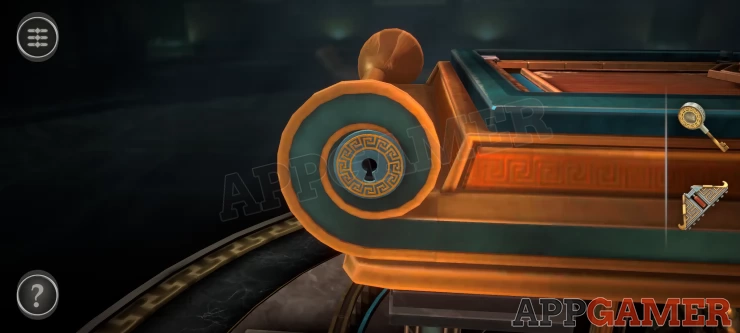
Use the key here to open a compartment and collect a Crossbow.
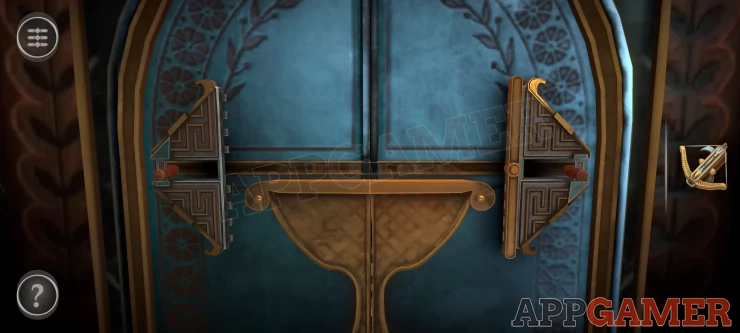
Turn back to the front of the box and view the blue doors in the center.
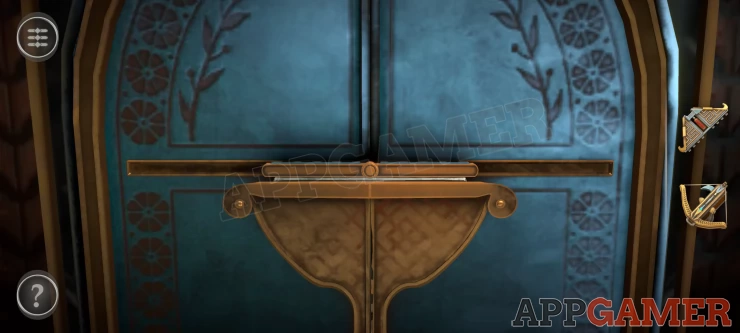
Place the mechanism part onto the center. Then turn the part clockwise to release 2 handles. Slide the 2 handles to the left and right to open the doors.
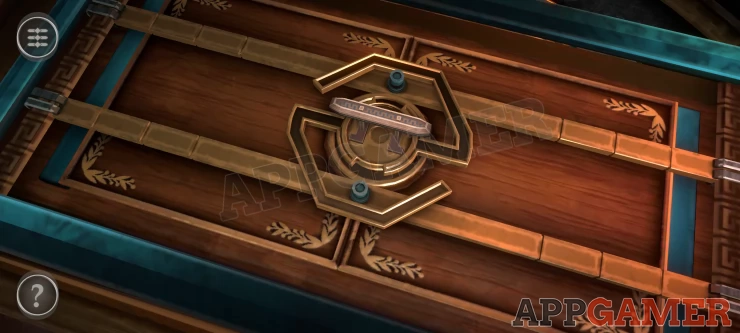
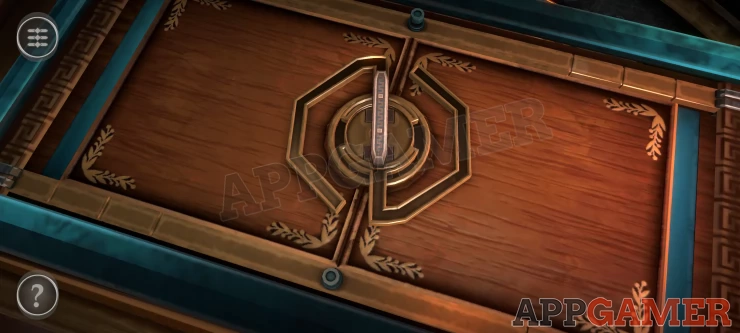
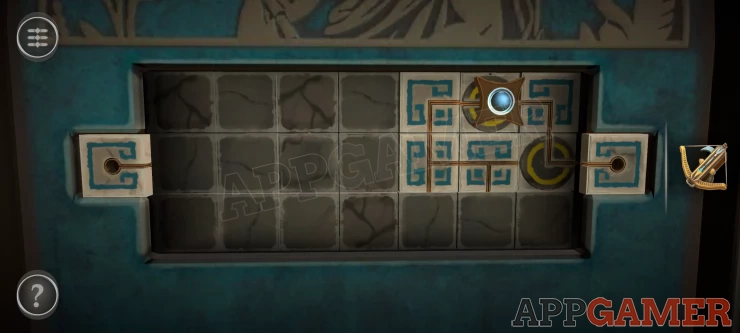
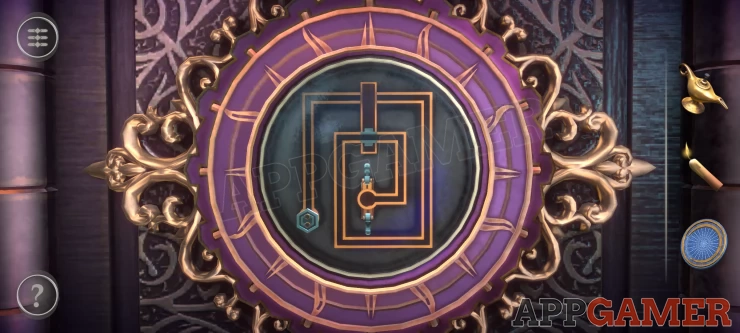
Square Block Puzzle
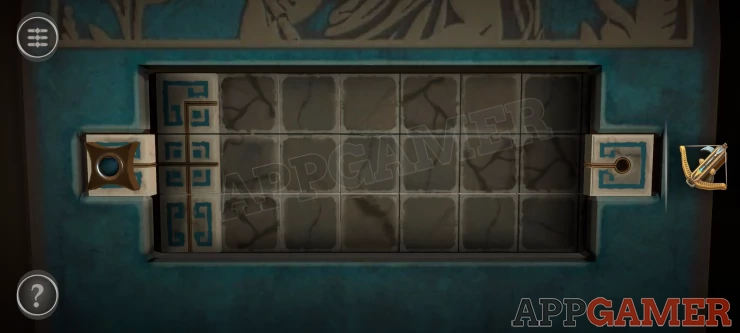
- The object is to move the sliding piece from the left over to the right.
- The blocks that make the path will only reveal themselves when you move near them.
- Some blocks have a black circle and can be tapped to rotate them to change the path.
- Find and make a way across to the other side.
This now opens the front so that you can see the back of the statue.
View the chariot model that is on the track around the box. Then place the crossbow on to it. This will start the chariot moving.
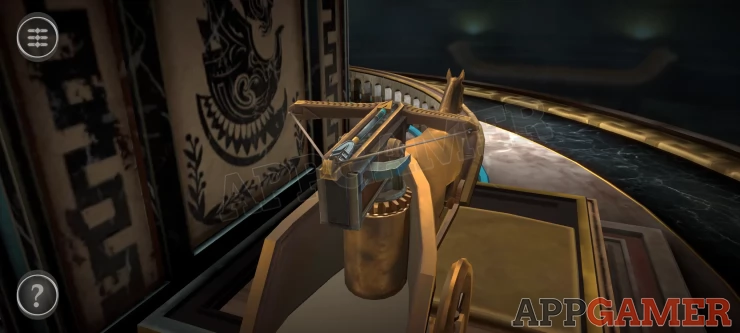
Chariot puzzle
- Move the cross bow to aim to the left as you move around,
- You need to aim and fire at the Minotaur as you pass around and view its back.
- Press the blue lever on the right of the crossbow to fire.
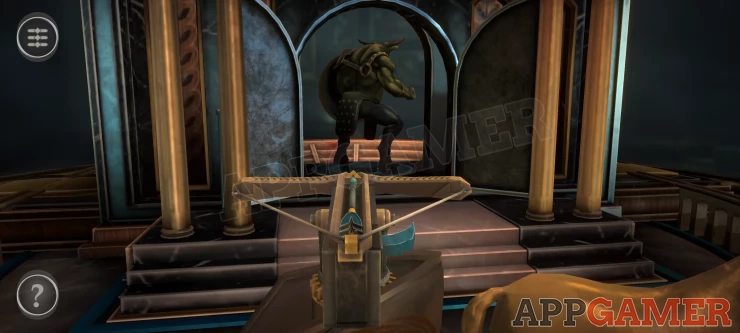
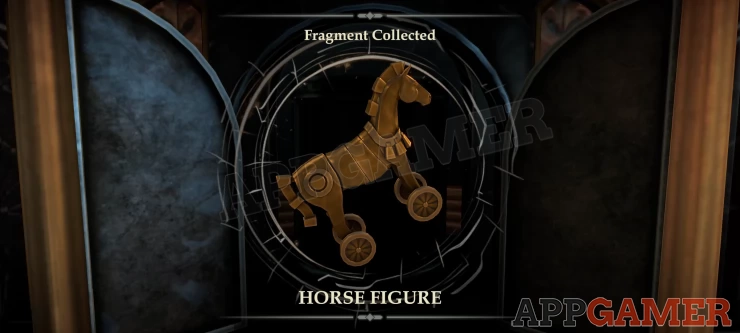
Once done you can then collect the Horse Figure Fragment and complete room 1.
Chapter 4 - Room 2 Walkthrough
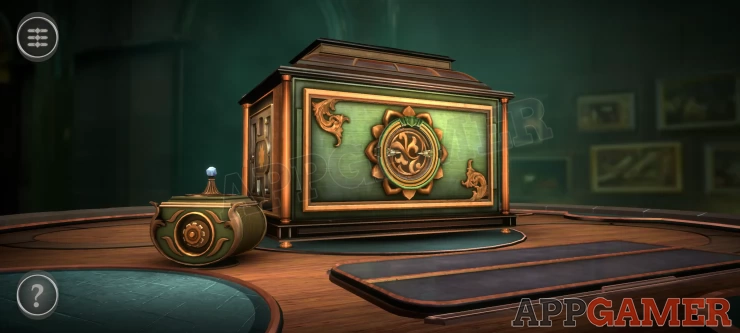
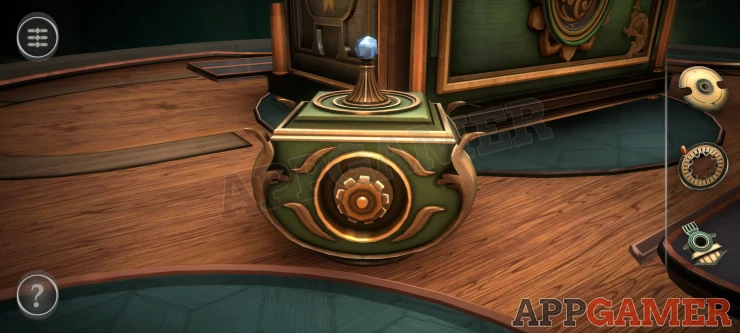
In room 2 we have another ornate box on a large round table.
First look around to the back of the box to see a Blue cap on the table.
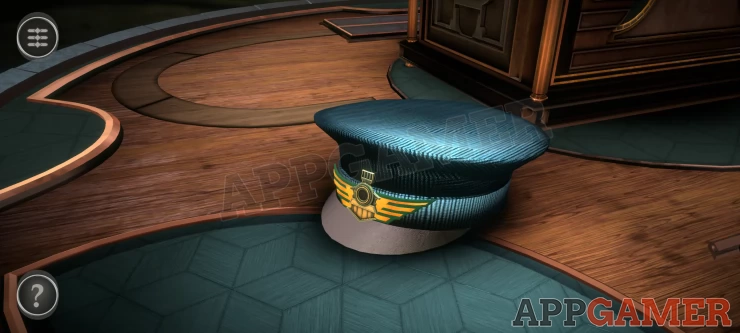
Collect the Conductor Hat. then view this in your inventory, look inside the hat and then you can collect the Metal Disk.
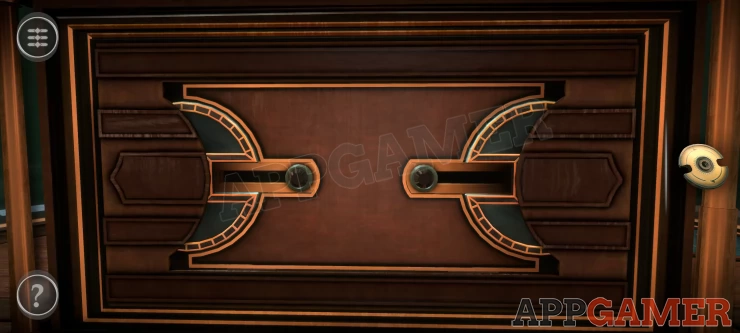
Now view the back of the box. Turn the 2 disks on either side to find slots, then you can slide back the buttons and open it.
Collect the Mechanical Wheel.
Then look at the top of the right corner column to see a switch.
Slide this across and then press the button underneath to reveal a Screwdriver to collect.
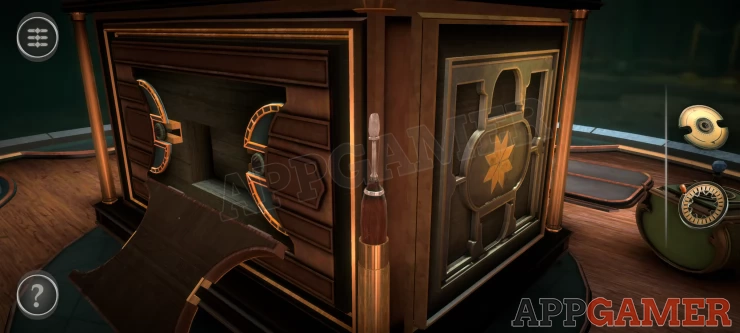
Turn to the left to the side of the box to see this panel. Use the screwdriver here to open it and then collect a Small Badge
Turn back to the front and view the small container on the table.
Add the Mechanical wheel to this and then you can turn it to open this box. Collect another Small Badge.

Now view the front of the box. There are 2 green catches on the left and right of the circle. Turn the outer gold disk to place a gap and allow each of the catches to be released in turn .
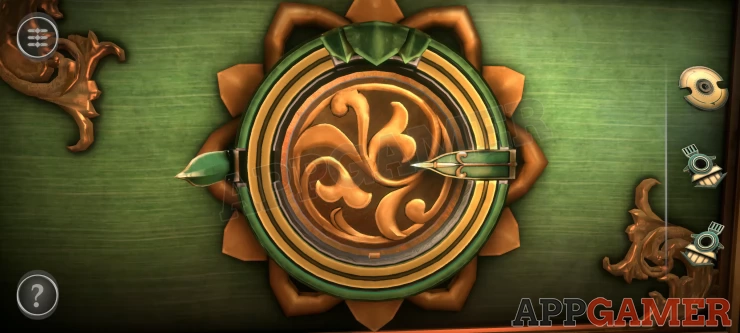
When it opens you can place the Metal Disk inside to start a puzzle
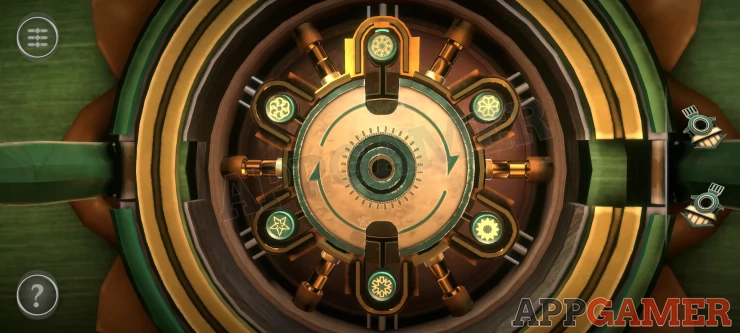
Metal Disk Puzzle
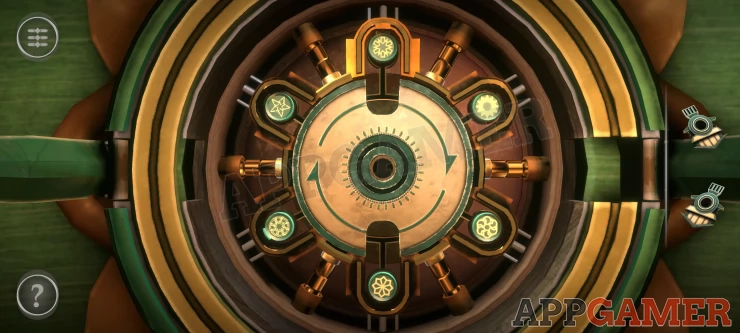
- There are 6 green tokens with symbols on them.
- You can swap the positions of the tokens by sliding them into the metal disk slots and turning it.
- Underneath each token is a symbol for that position.
- Arrange the tokens to match the symbols underneath.
Solution: Show
The front of the box will open and the sides will extend. View the front again and slide up on the 2 windows to open them.
Then you can place the 2 small badges into the slots.
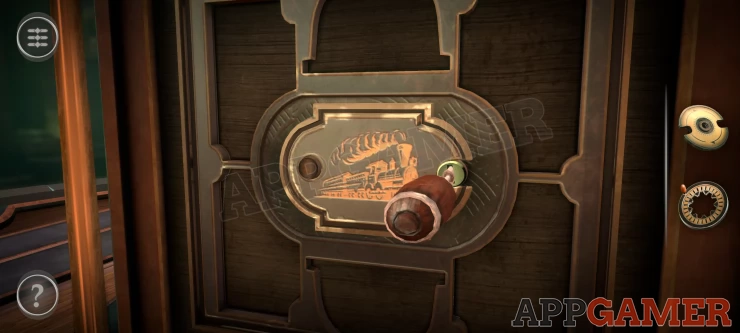
When the door opens pull the lever down and the box will open up to reveal a train engine and track will appear.
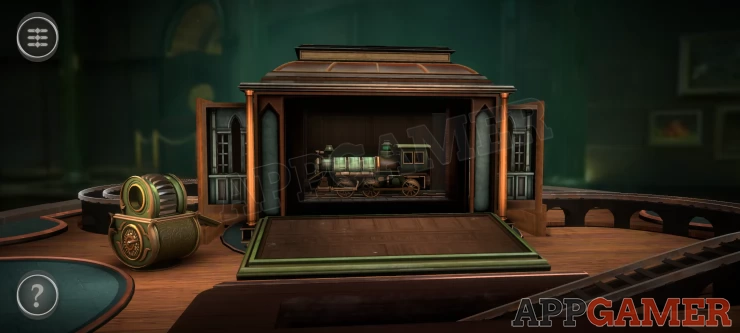
View the train engine in the box.
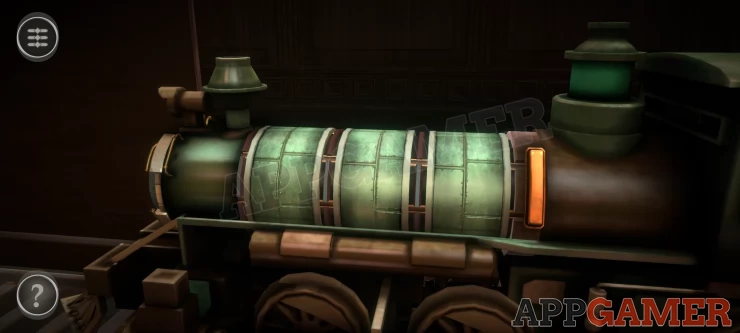
Turn the 3 sections of the cylinder to make a path and then slide the yellow lever to the left.
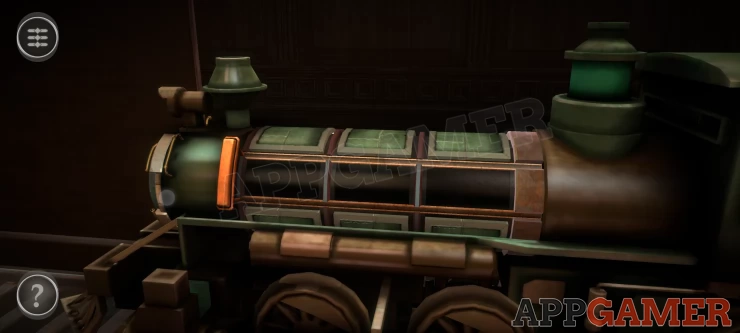
Train Front Puzzle
- This reveals a puzzle on the front of the train.
- There are 4 circle elements with gaps in them.
- As you turn each one others will also move.
- Turn these to align all of the gaps at the top
- Then slide down the top section to start the train.
When the train returns it has a car on the back view this.
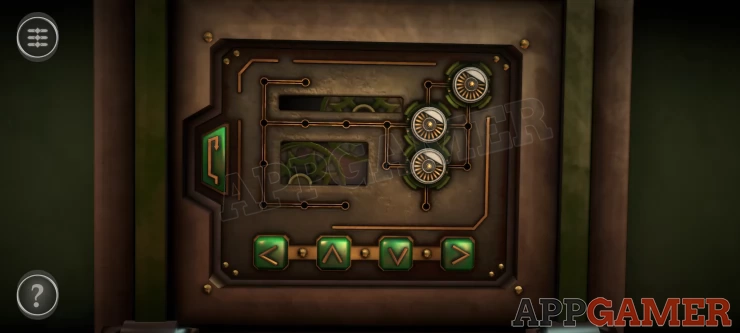
Train Car Puzzle
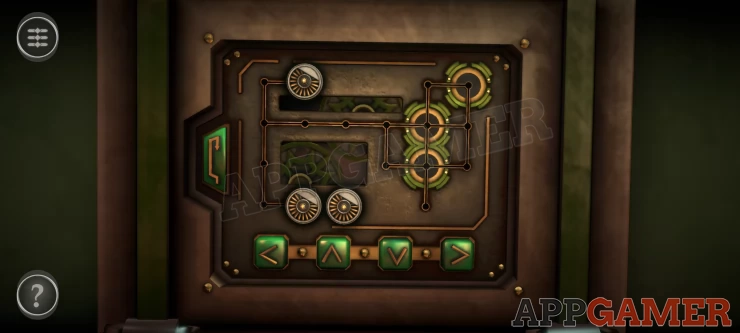
- There are 3 train wheels on the left side.
- Use the arrow buttons to move these to the 3 green spaces on the right.
- When you move, all of the wheels will move together if there is a space for them to move to.
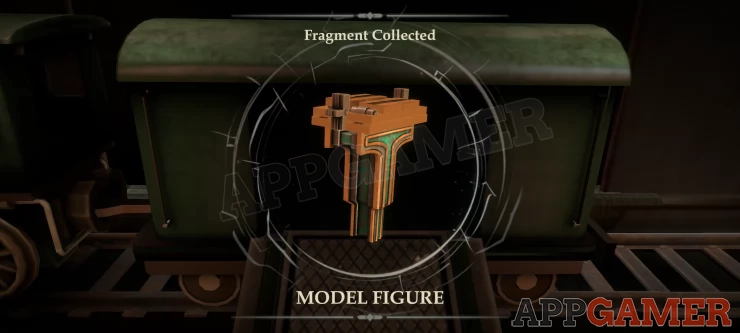
You can then collect the Model Figure Fragment and complete Room 2.
Chapter 4 - Room 3 Walkthrough
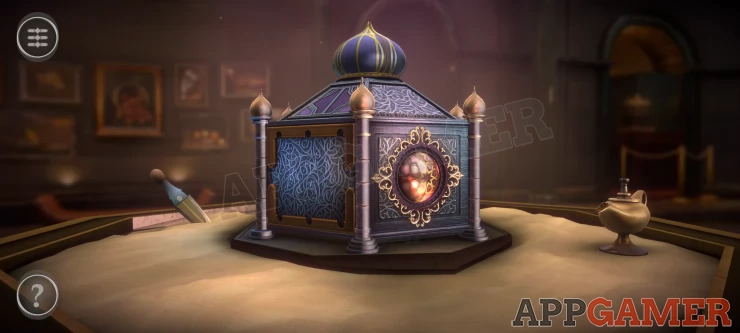
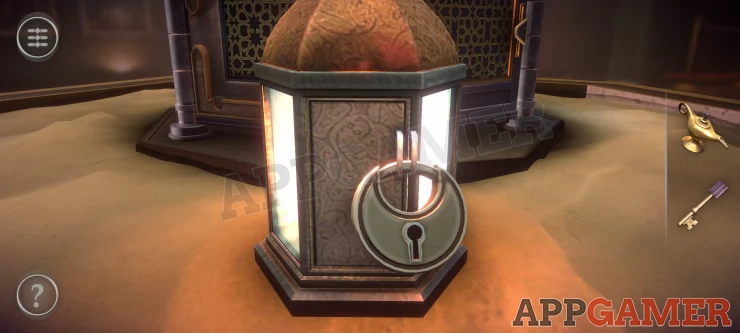
In room 3 we have a new puzzle box set in a table full of sand.
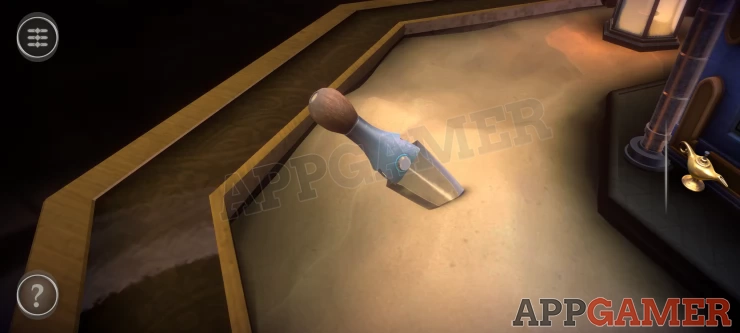
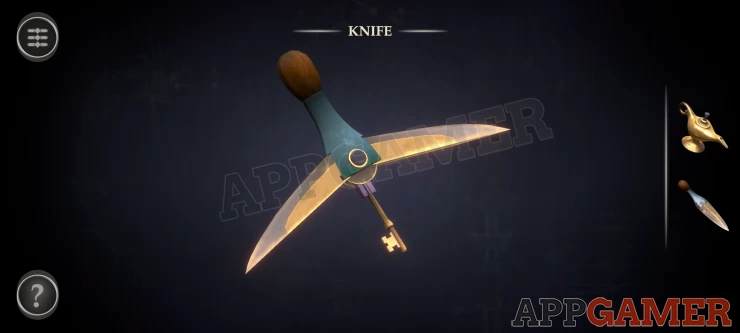
First collect the Oil Lamp from the right side and then look around the table to find and collect the Knife.
View the knife in your inventory and pres the button on the hilt to open it. Collect the Key.
Now find the lamp in the sand with a padlock and use the key to open it. Collect the Lit Candle
Next look at the side of the box near the Lamp that has 2 catches on the sides.
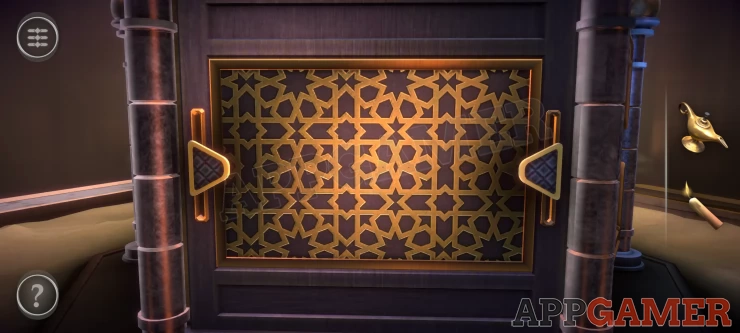
Slide the catches up and down to release the flaps and open them.
Symbols Puzzle
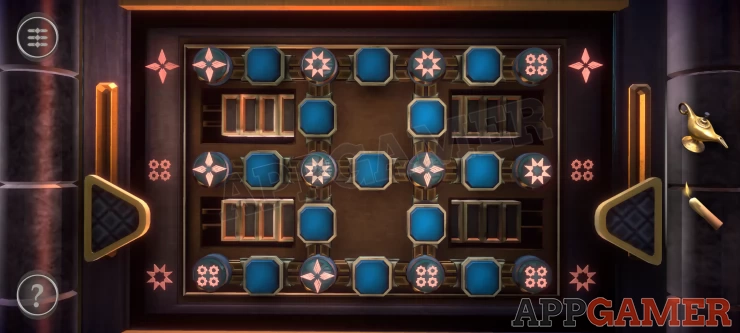
- This puzzle has 3 rows of symbols on circles that you can move around.
- Tapping the blue buttons will swap the adjacent symbols over.
- On the sides are symbols showing which ones need to be moved to those rows.
Solution: Show
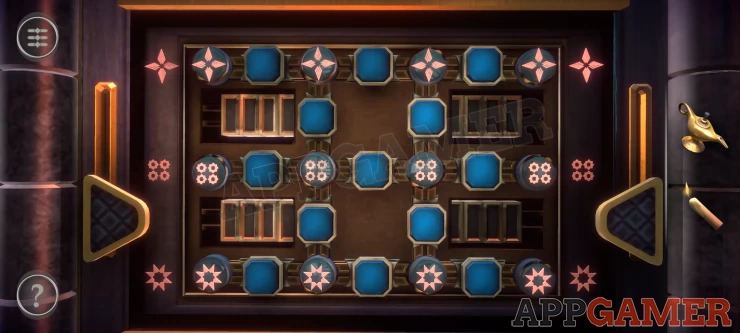
Once done chips will spill out of both sides of the box. Look among these and collect a Scorpion Figure from one side and a blue Coin from the other.
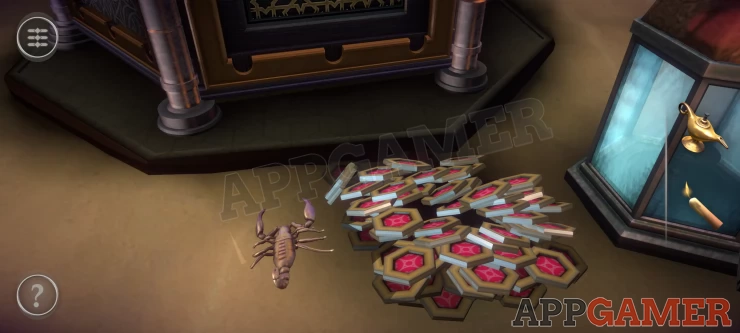
Now look on the top of the box for this slot and place the Scorpion on to it.
Slide the scorpion upwards to open the panel to find a wheel that you can turn, this will open the top of the box.
Collect the Metal Ring.
Turn to the front of the box and place the metal ring on the ornate dome.
It will open to find a puzzle.
Ring Puzzle
- Rotate the ring to turn the puzzle.
- The hexagonal piece on the outside will fall under gravity.
- Move the piece to the end point in the center.
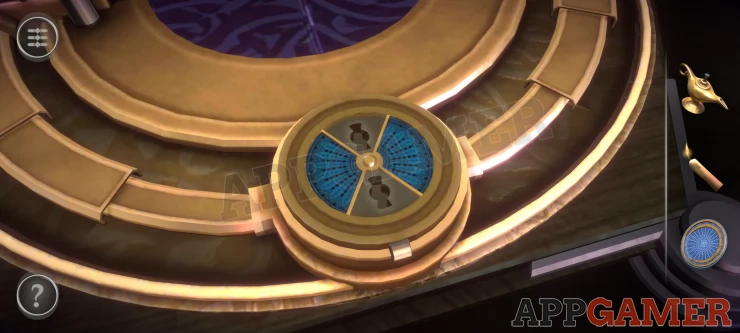
The box will open, view the small circular platform on the base. Turn the dial to reveal 2 slots and then you can place the blue Coin on to it.
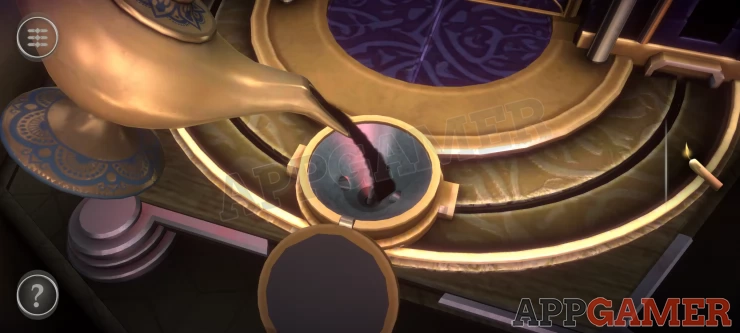
This reveals a small chamber. Use the Oil lamp on this and it will fill with oil. Then use the Lit candle to light the oil.
A small figure appears in the box with the Large face emblem. Tap this to turn it and enter the box.
Travelling puzzle
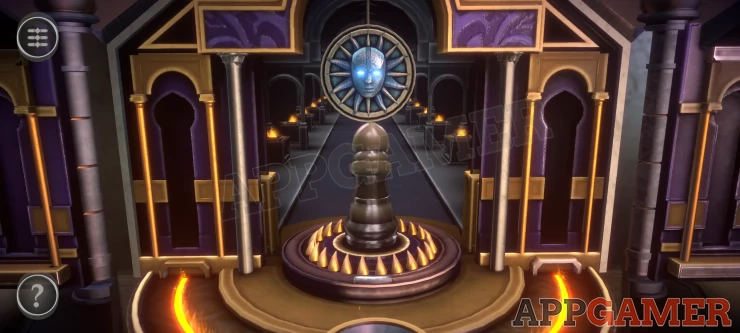
- Tap and hold on the figure to move forwards. You will follow the face emblem into the box.
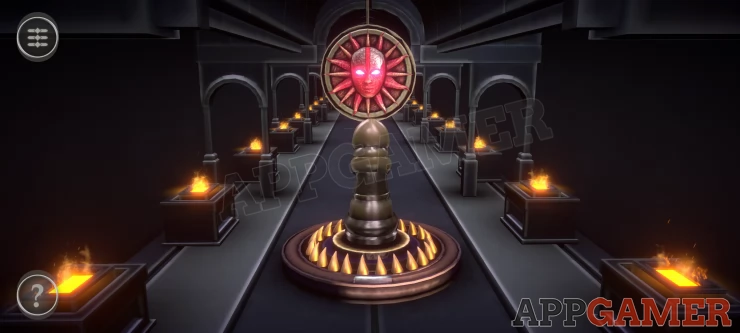
- When the face turns red you must stop.
- Then continue again when the face turn to blue again.
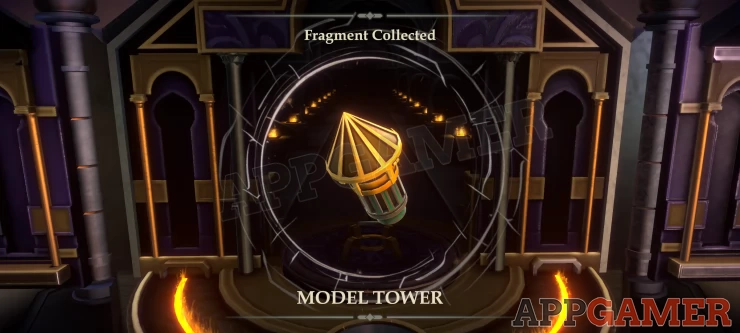
When you reach the center the figure is replaced with a new item.
Collect the Model Tower Fragment to compete room 3.
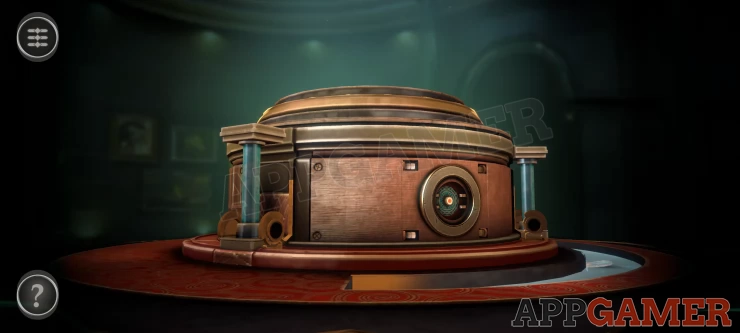
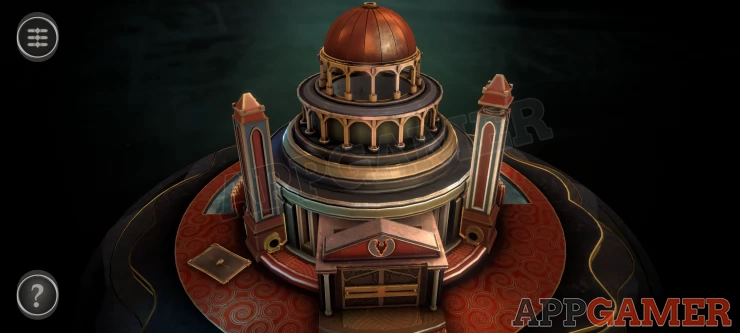
Chapter 4 - Room 4 Walkthrough
Room four contains a large round puzzle box with 3 small pillars on the side.
First turn to the back of the box to see a small panel with 2 sliding buttons.
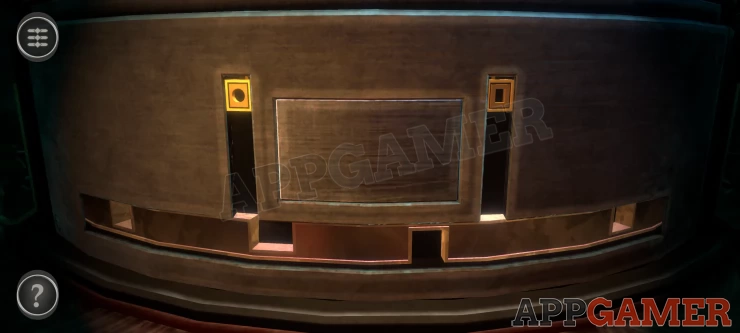
Rotate the wheel below this to find 2 cut outs that match the bottom of the sliding tracks. Slide the buttons down to open the panel and then collect the Wheel.

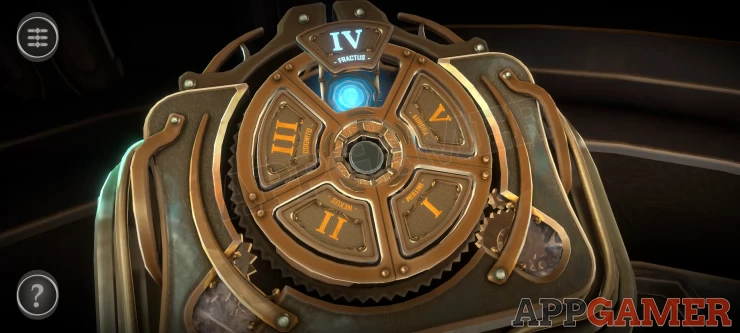
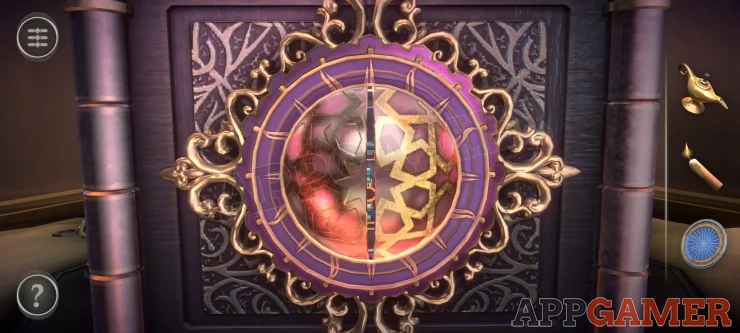
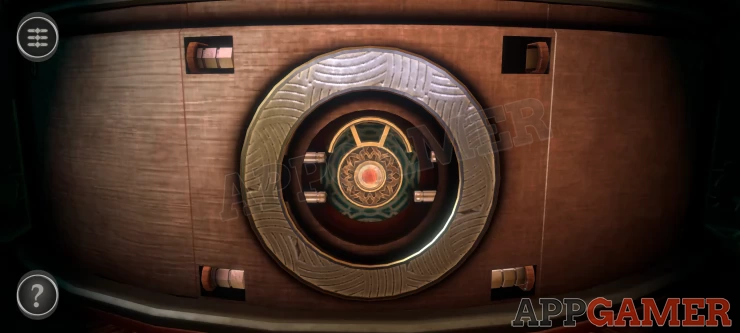
Turn back to the front side and view a round slot on the box. Add the Wheel to this. Turn the wheel to open the panel and find a puzzle.
Number Wheel puzzle
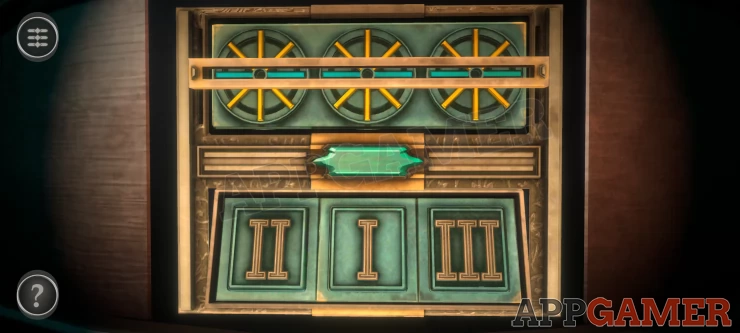
- There are 3 wheels at the top with yellow spokes and 1 green spoke.
- Below are 3 numeral cards (I , II and III)
- You can swap the cards around.
- When you press the green button in the center the 3 wheels will turn their spokes the number of times shown on the card below.
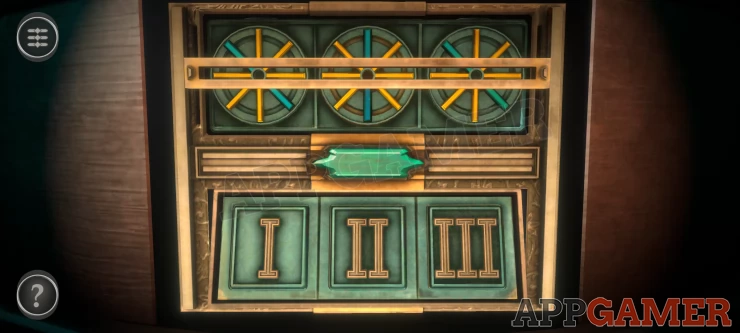
- The aim is to get all 3 wheels green spokes lines up horizontally.
Once you complete this once there will then be a second level to complete in the same way.
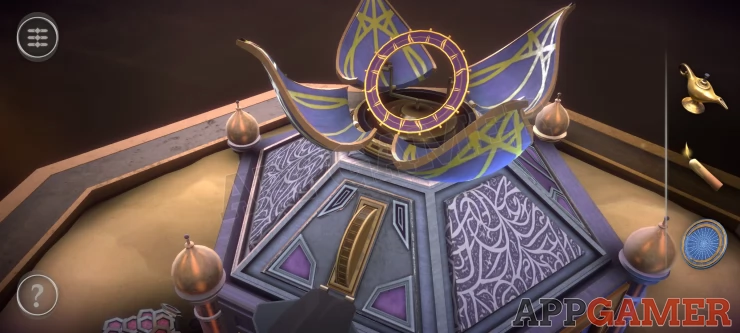
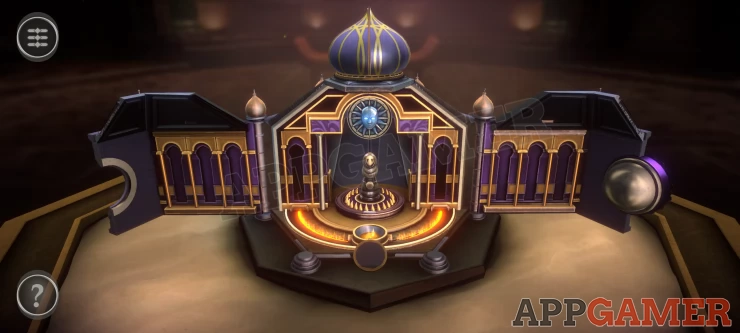
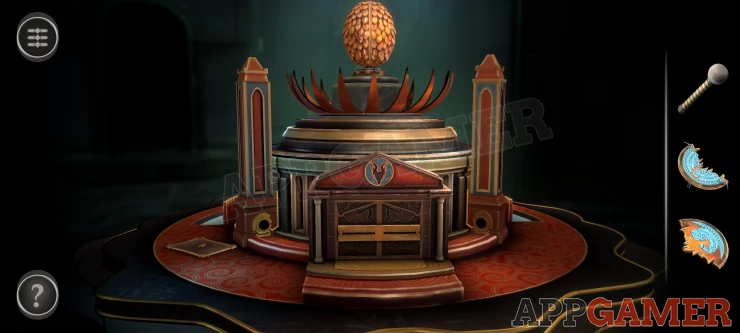
When completed slide the switch to the left and the box will transform into a building with a center dome and 3 square columns.
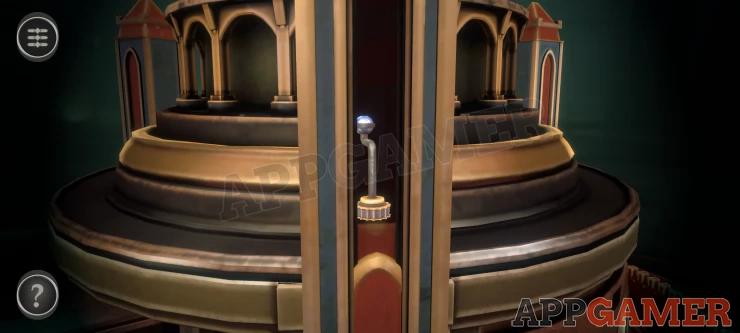
First view the top of the tower on the right.

Turn the top to screw it downwards until a panel opens, Collect the Rotating Handle.
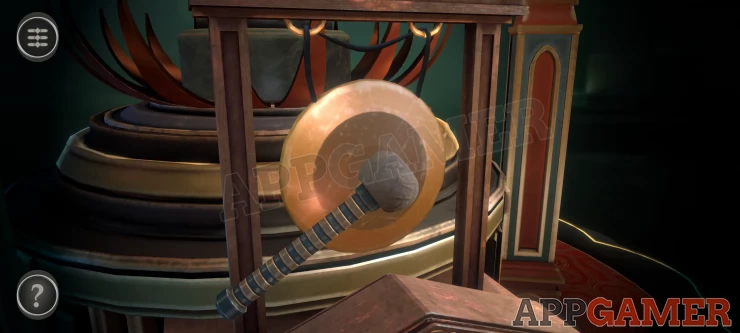
Then view the top of the dome in the center. Place the handle here.
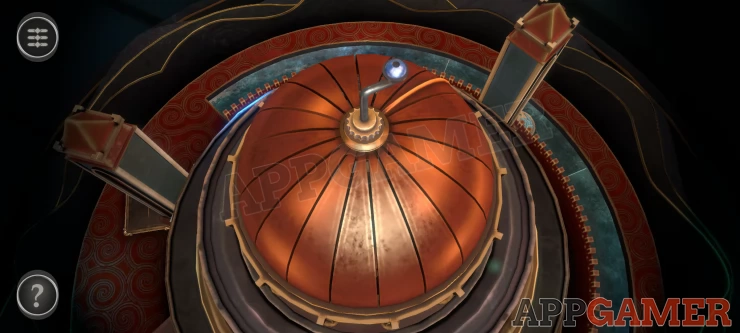
Turn the handle to open the dome. A large dragon egg appears. Turn to the other side and view the platform below the egg to find a panel. Open this to collect a Gong Mallet.
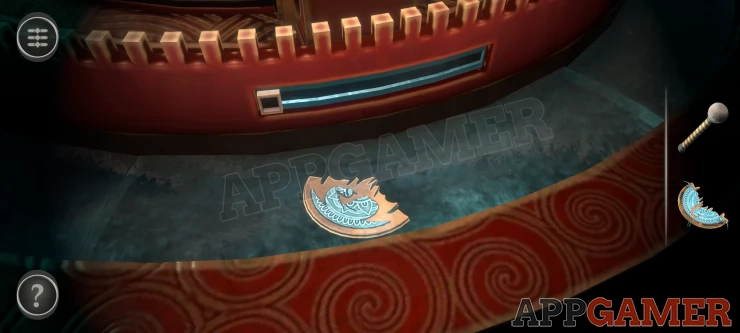
Next view another tower to the right of this to see a blue latch.
Pull this out to open the panel and then collect the Ornament Piece.
Next look at the wall of the building just below this tower. There is a button that you can slide to the right.
This opens the glass panel below and you can collect another Ornament piece.
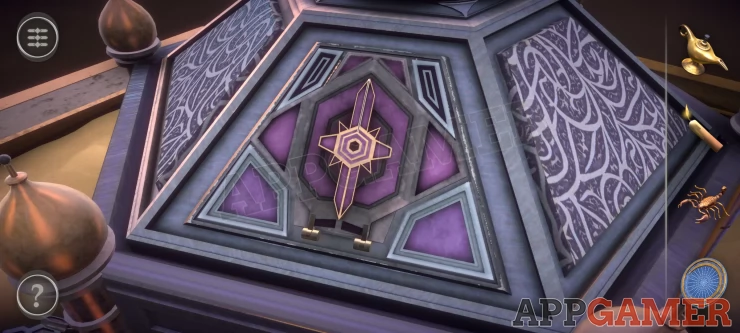
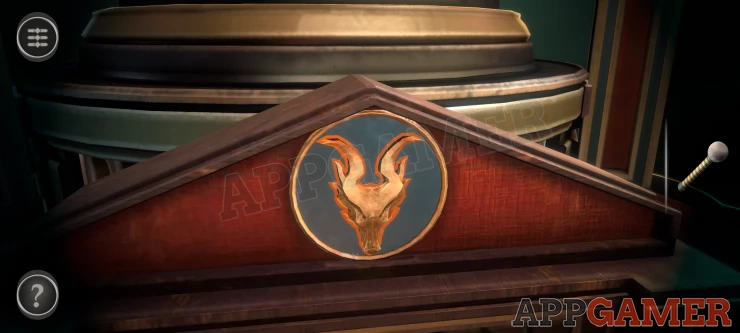
Turn to the front of the building to see the doors. Notice the dragon head symbol above them.
View the doors and add the 2 ornament pieces to the sliders.
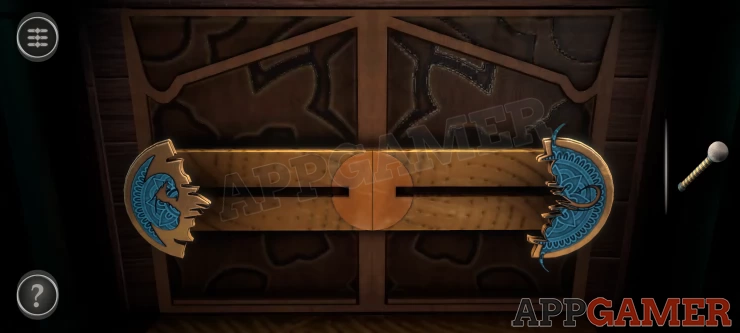
Slide these together to open the doors. Inside is a puzzle
Shield Puzzle
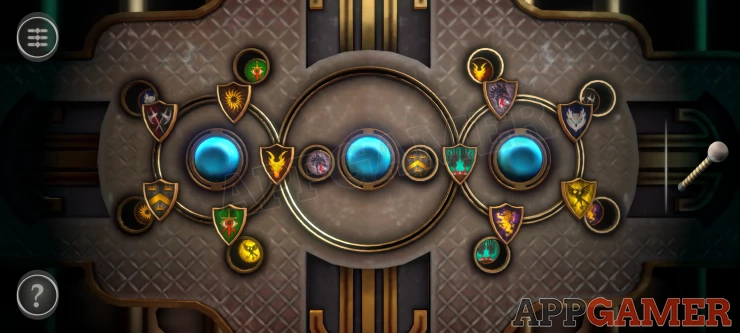
- There are 2 small rings of 5 shields with emblems on them.
- Connected by a large ring that lets you swap 2 at a time.
- Tapping the blue buttons will rotate the shields around the rings.
- Swap and arrange them to match the symbols in the circles around the outside.
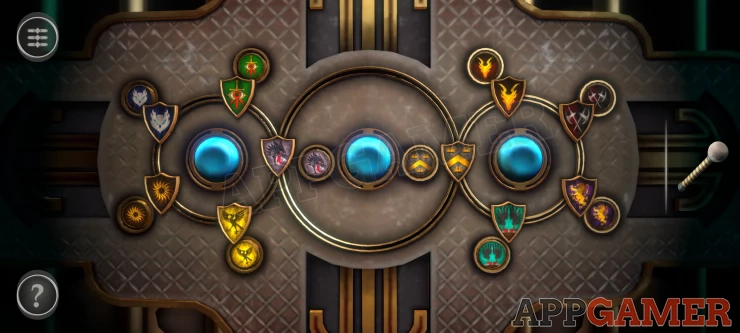
Solution: Show
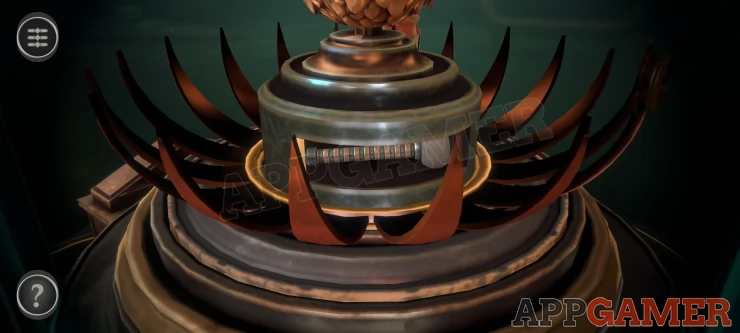
You can then collect the Dragon Medallion from the throne. Place the dragon medallion into the slot above the doors. A gong will appear.
Use the Gong Mallet on the gong and then a Dragon will appear and breathe fire on the egg.
When the Egg opens, collect the Dragon Figure Fragment.
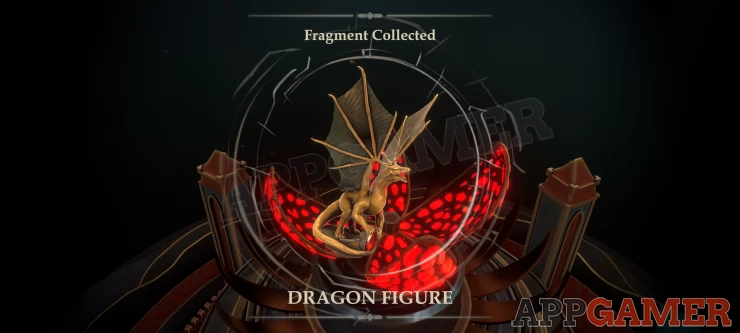
This competes room 4
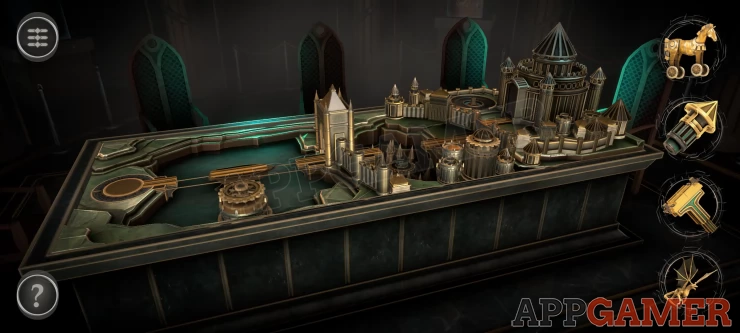
Use the Fragments
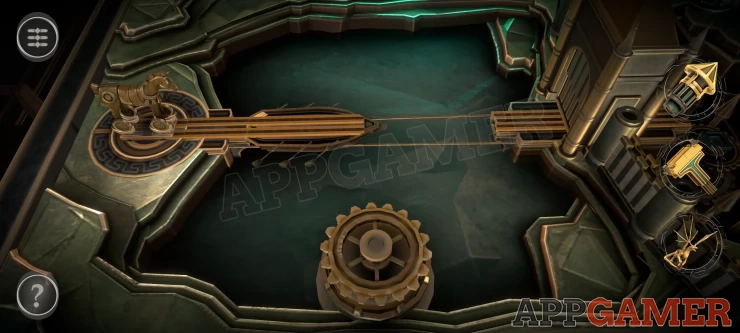
Back in the main room turn to the other side to see a large table with a model on it.
First view the section on the left with a bridge.
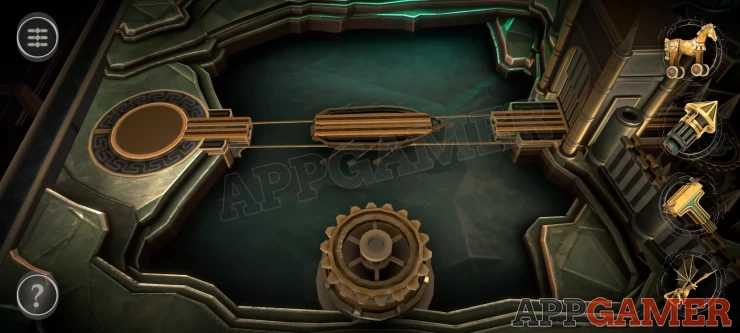
Turn the gear wheel at the bottom to Slide the bridge piece to the left to connect with the round platform.
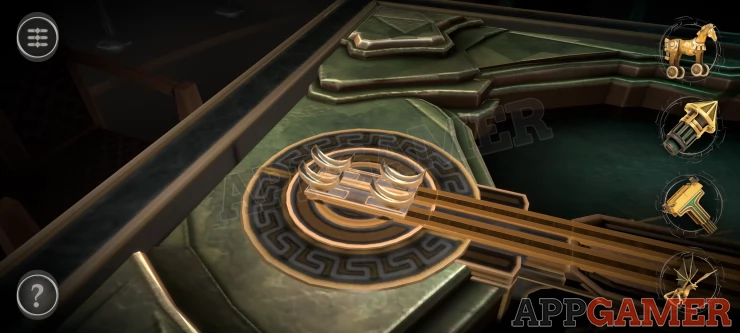
Place the horse figure onto the holder that appears.
Now slide the horse on to the bridge and then turn the gear again to move it over to the gate on the other side.
When the gate opens slide the horse through to the next area.
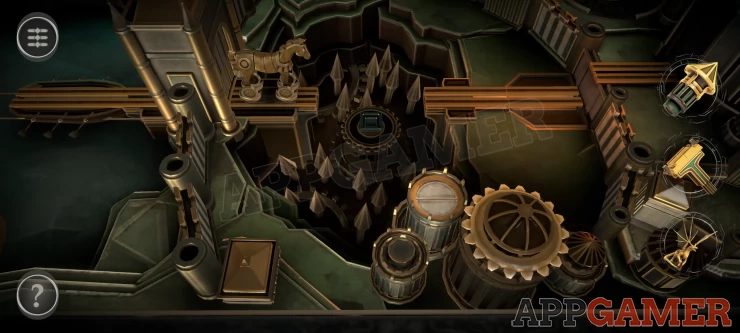
Take the Model Figure (T shaped piece) and place it into the gap in the pathway, it will open up. You can then then slide the horse forwards again to the next platform .
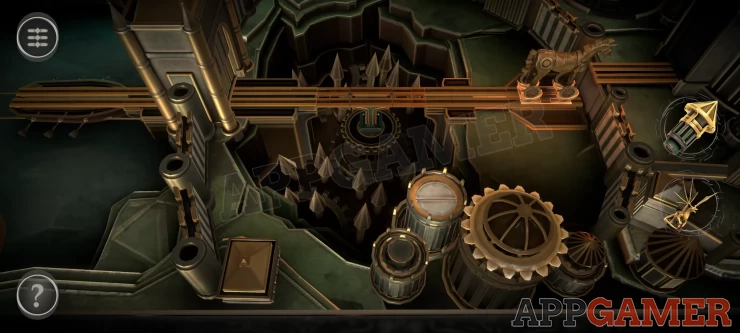
Next turn the gear wheel on the lower right to open up a Tower top next to it. Then place the model tower into the opened gap. It will open up to reveal a handle.
Turn the green handle to raise up the horse so that it can move on to the upper track.
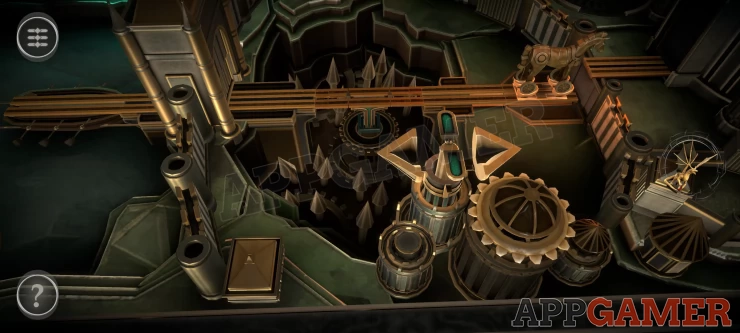
Next view the round section to the left of the horse. Place the Dragon figure here.
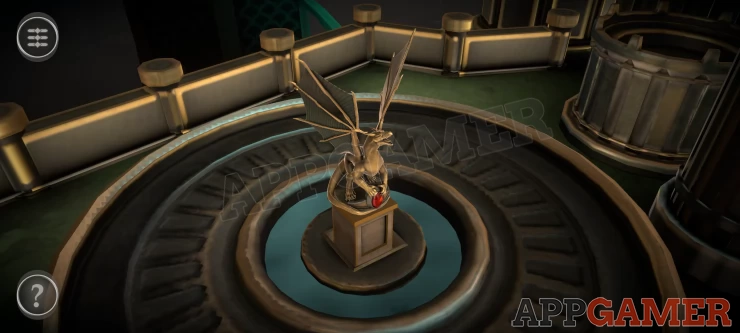
This will reveal a clue and open a door on the main building.
View the door of the building for a puzzle.
Door Puzzle
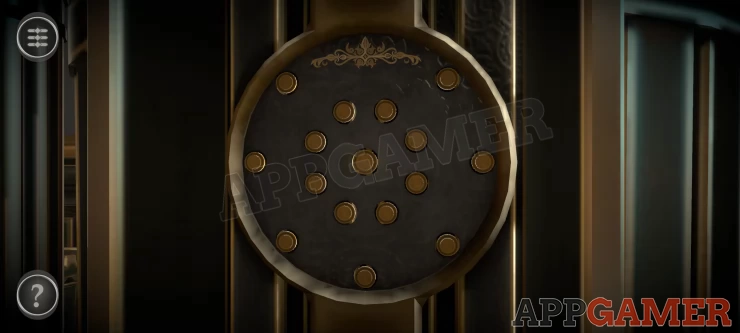
- Tap any of the buttons on the door to light them up and then connect them together.
- Tap them in the correct order to make a pattern matching a clue.
- This will open the door.
Solution: Show
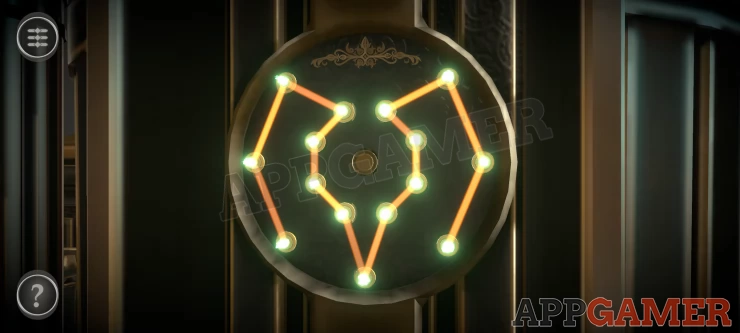
Slide the horse into the building and the top will open, Then you can collect the Token Fragment to complete Chapter 4.
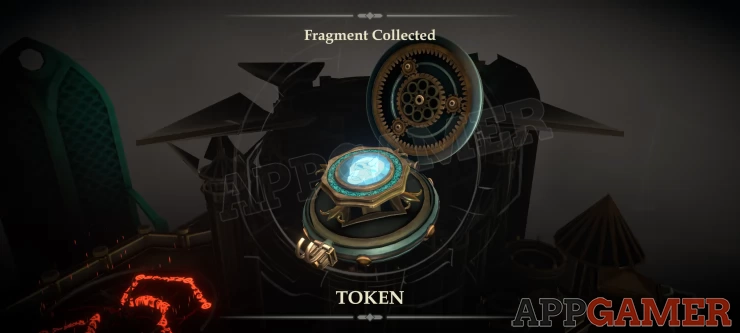
Take this to the pedestal again and use it to move on to Chapter 5.
 With 20 years of experience in creating video game content for the internet and over 30 years as a gamer, Mark is now a passionate mobile App Gamer. Loving a challenge, he is always ready to get stuck in to both survival builders and puzzle solving games. He has been providing content for AppGamer since 2014.