Part 5 - Fifth Floor
More Beyond the Room
This is Part 5 of our guide to Beyond the Room, a creative escape room mystery story game from Dark Dome. The game begins with the story of an abandoned building and a dream where Darien finds himself in the building. After completing part 4 you have now access the elevator and can make your way up to the fifth floor.
Beyond the Room Part 5 - Fifth Floor Walkthrough
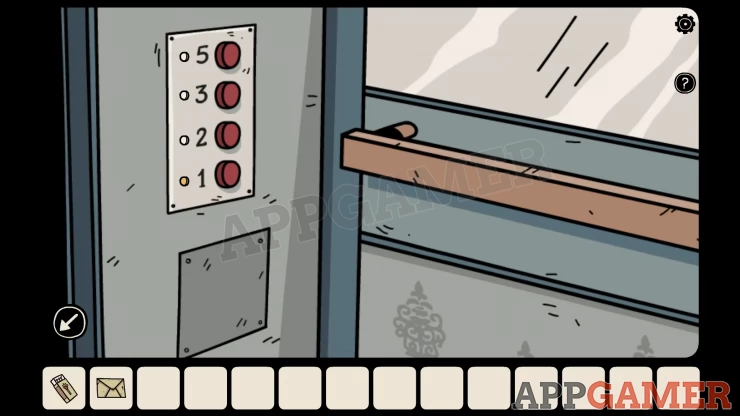
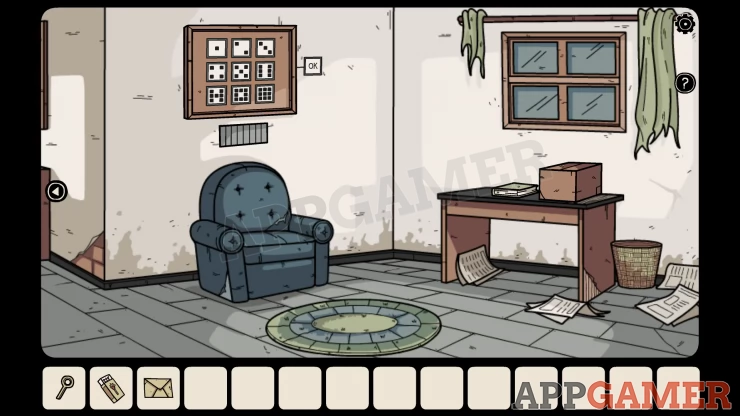
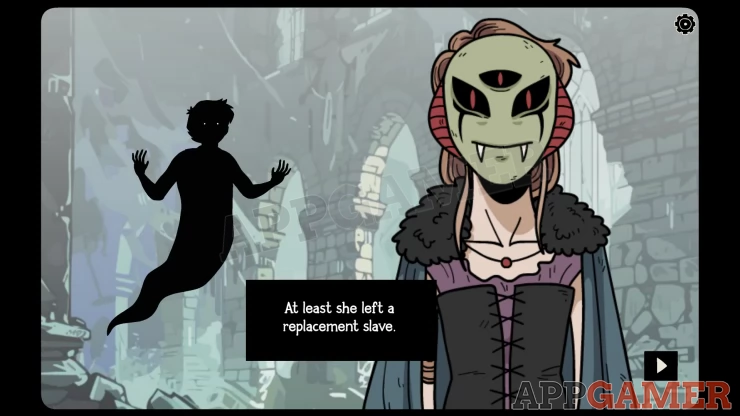
Press the button for the 5th floor and then exit the elevator to see a scene that leads you up to a top room and to meet Elena.
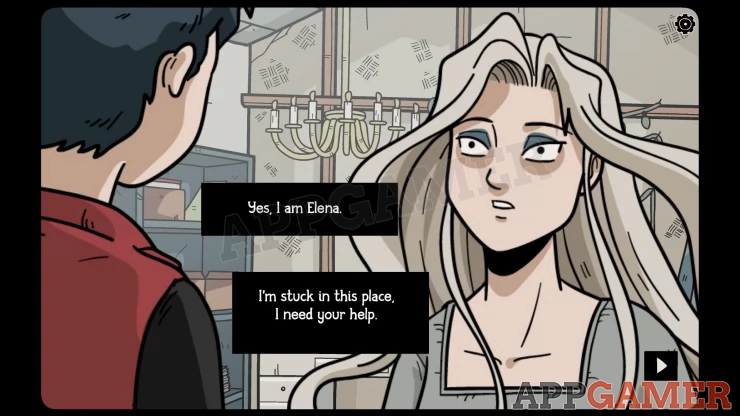
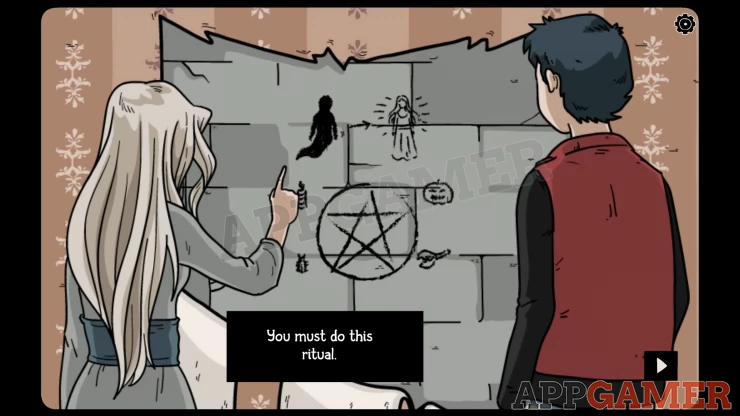
She tells you about a ritual to perform
Exit the room and go back down the stairs to the lower level.
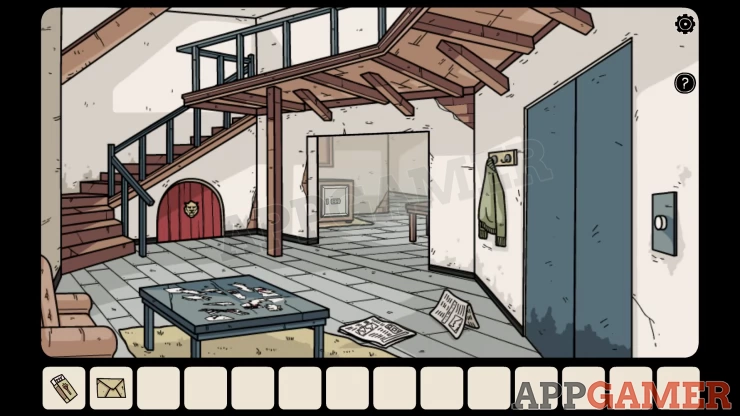
View the square blue table to see a puzzle with torn pictures.
Pictures puzzle
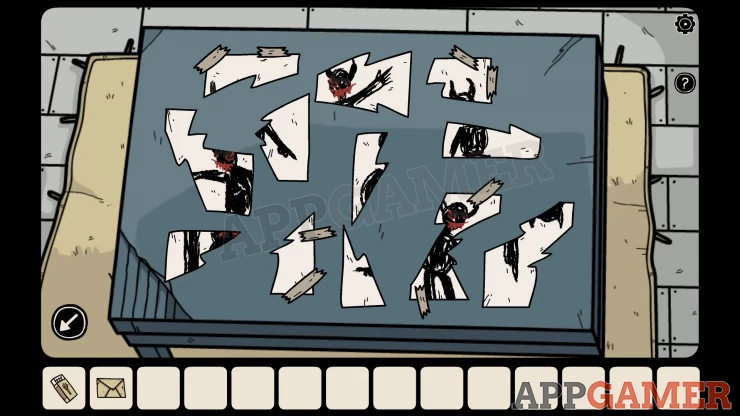
- Arrange the torn pieces to reassemble the pictures.
- The pieces with tape are stuck to the table.
- There are 4 small pictures to fix.
Solution: Show

Notice that each of the 4 pictures contain a figure pointing.
Tap to move through to the room on the right.
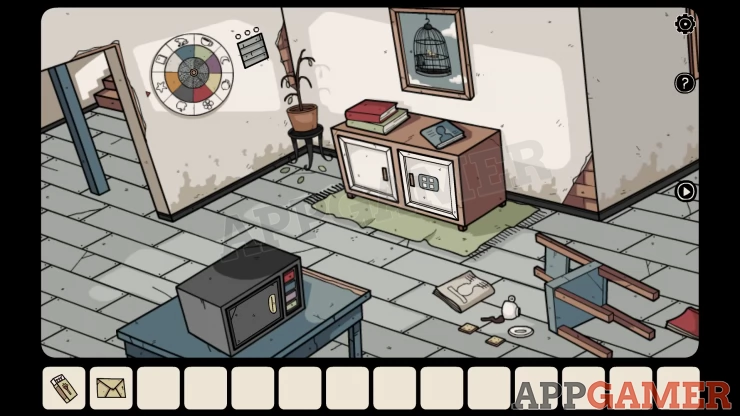
View the cupboard with white doors. You can now use a clue to open the door on the right.
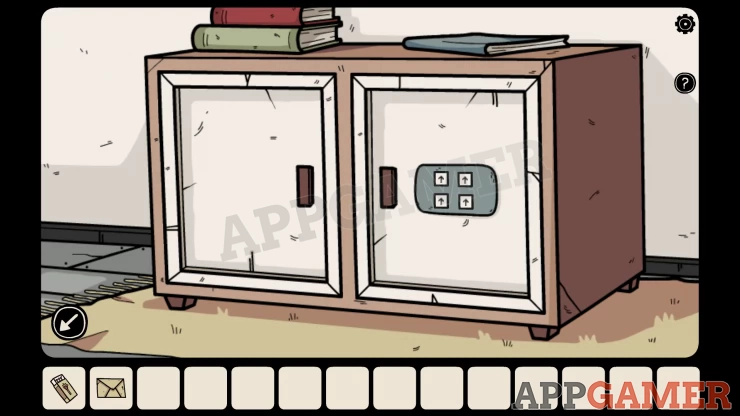
Tap the arrows to change the direction they are pointing in
Solution: From the 4 picturesShow
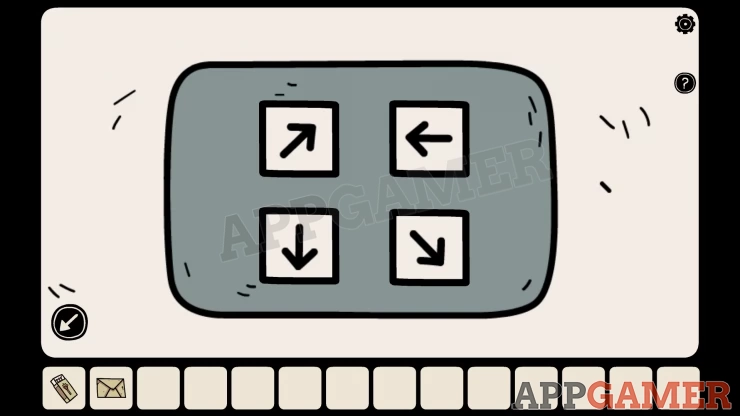
Collect a Key Handle
Turn again to the right.
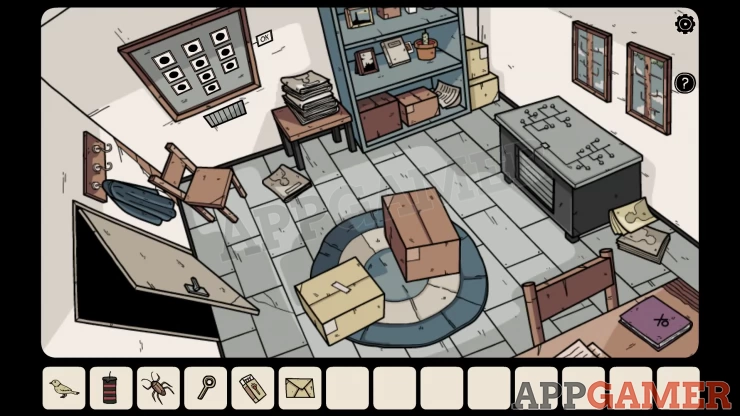
First tap on the round rug an then move it to see a hatch in the floor. Open it.
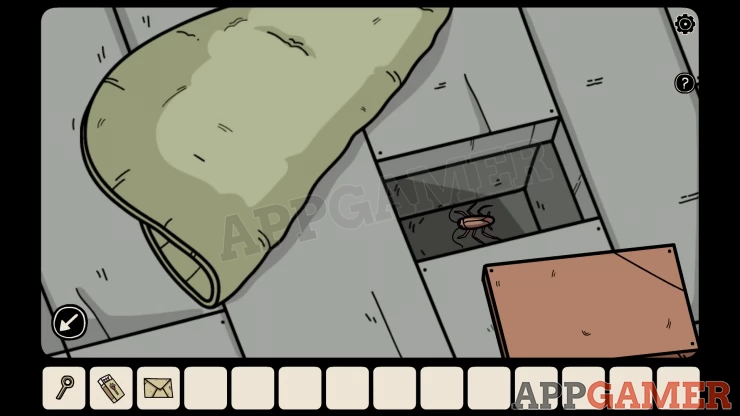
Collect the Cockroach. Then view the rubbish bin on the right of the table.
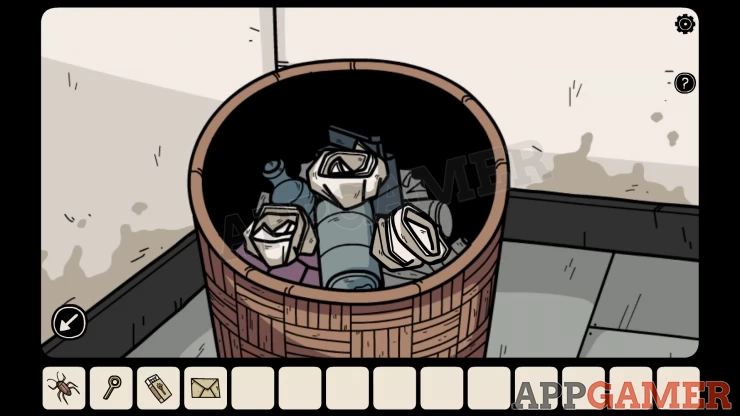
Inside are 3 balled yup papers Tap each one to open it a view it.

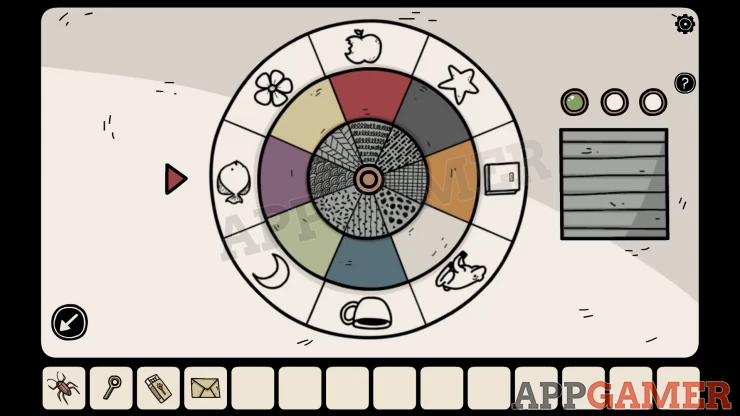
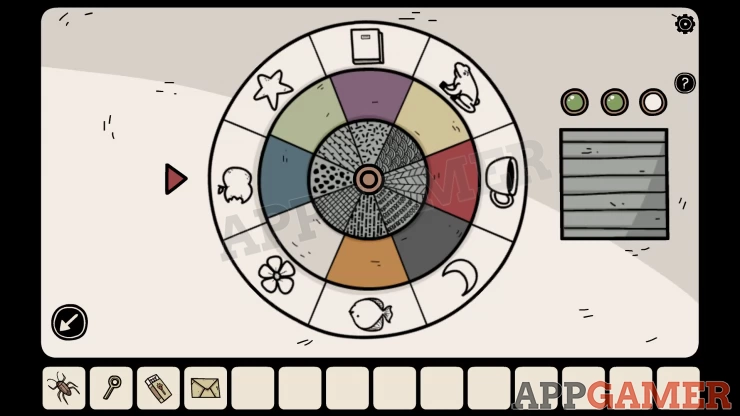
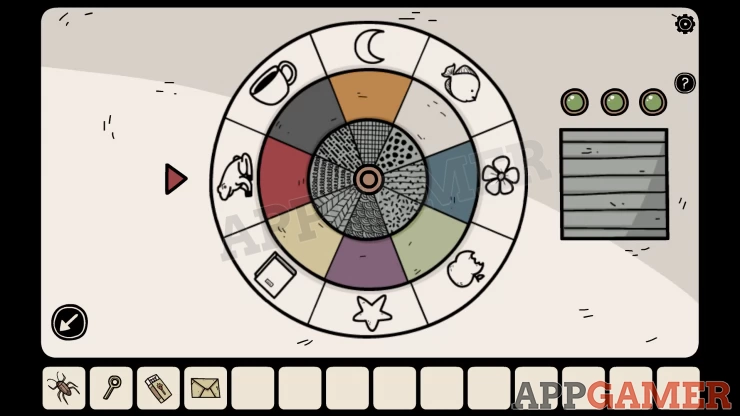
Go back to the middle room and view a round puzzle on the wall.
Circle Puzzle
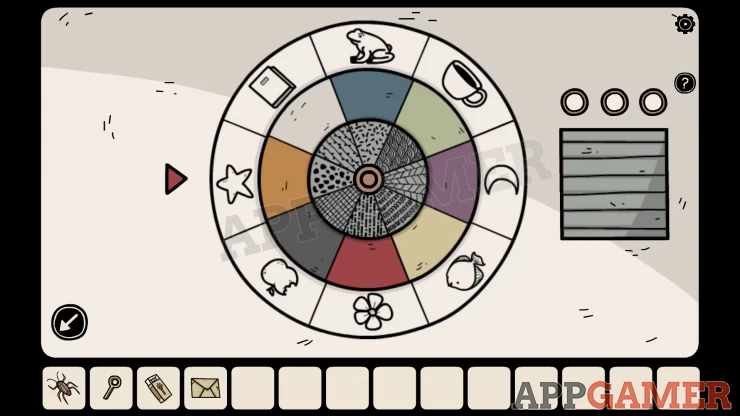
- There are 3 disks that you can rotate.
- The outer one has items, the next one has colors and the inner one has patterns.
- Turn these to line up the correct combinations with the arrow on the right.
- This will light up the 3 lights on the right.
Solution: From the 3 papers in the bin you have the following:
Purple fish with scalesShow
Blue apple with dots.Show
Red Frog with loopsShow
Collect a Red key and a Black Candle.
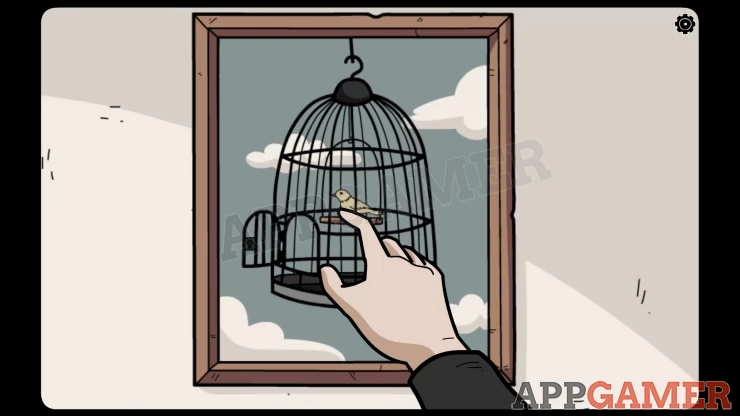
Now view the picture of the bird in the cage on the wall.
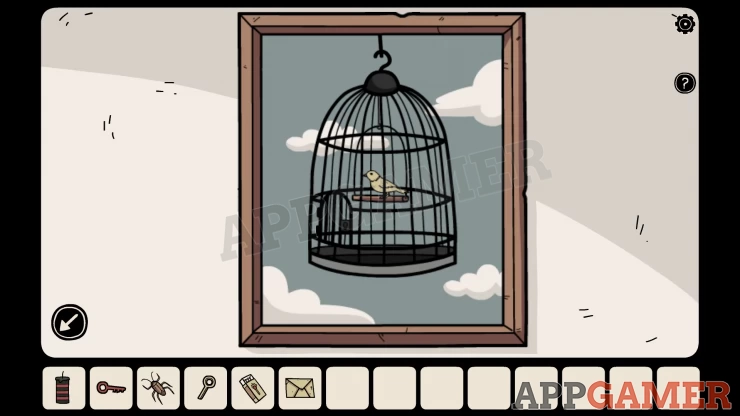
Use the red key on the cage door to open it and then you can tap the Bird to collect it.
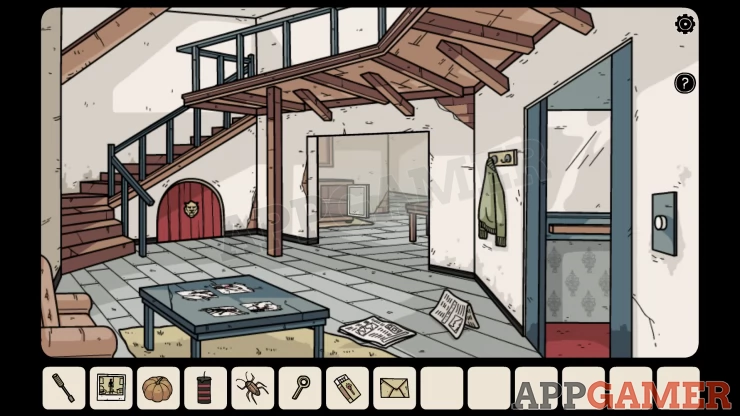
Go back to the stairs and up to the upper level, then open the gray door on the right and go inside.
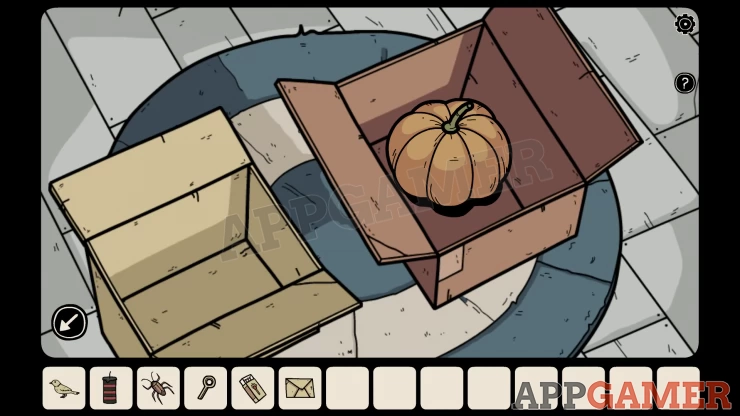
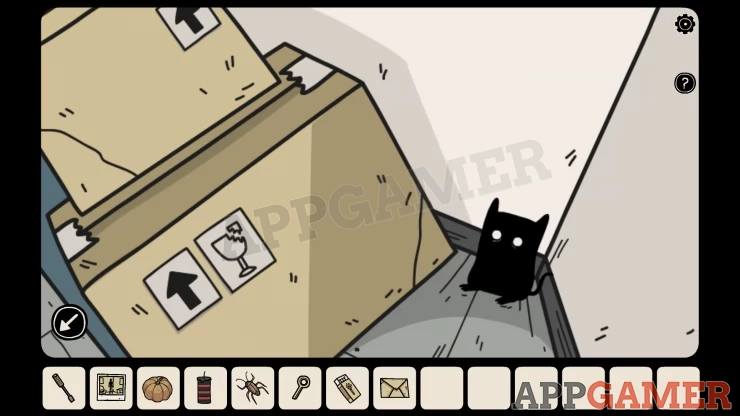
View the boxes on the rug on the floor and open them. Collect the Pumpkin.
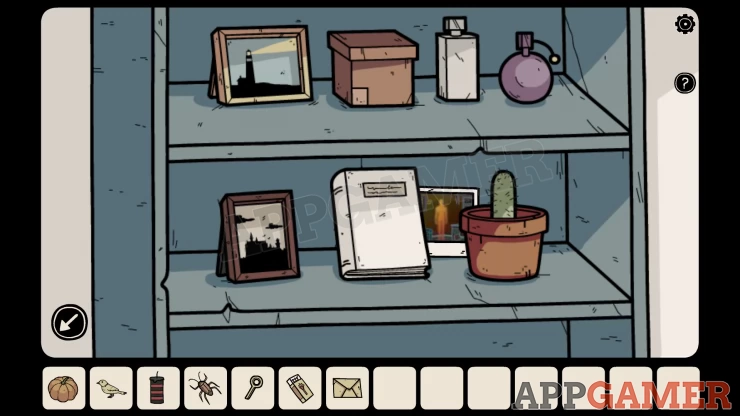
View the blue shelves at the back and collect from it a photo
Then view the 2 pictures on the wall on the right. Add the bird to the picture on the right.
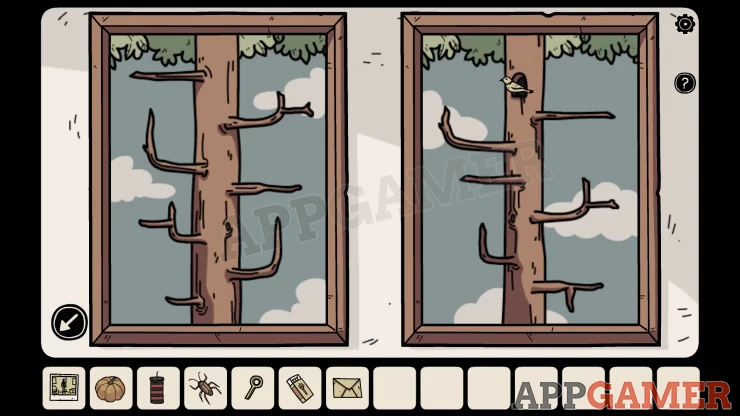
Tap the bird and it will fly to 4 branches make a note of these.
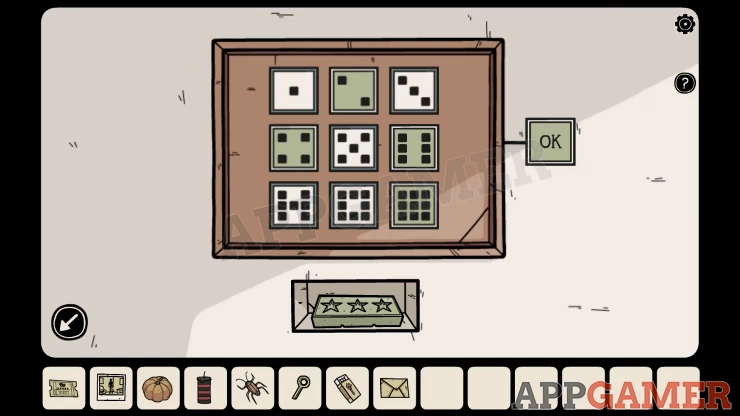
Now tap on the desk below the pictures to see a pattern of lines and buttons that match the trees in the pictures.

Tap the 4 buttons that match the branches that the bird landed on to light them up.
Then press the OK button.
Solution: Show

Collect a Screwdriver.
Hidden Shadow Cat: tap the yellow boxes in the back corner by the blue shelves.
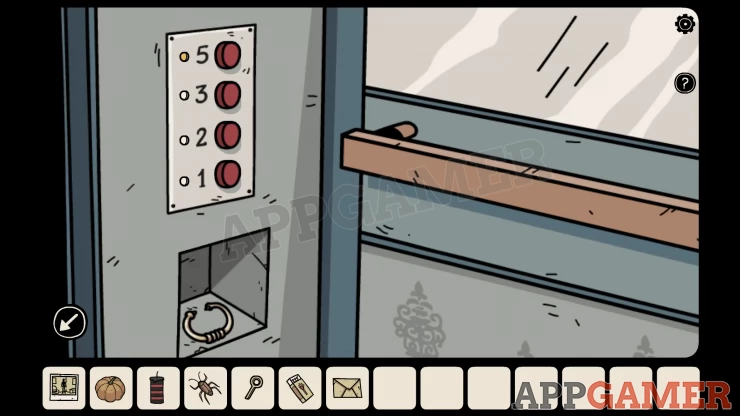
Exit the room and go back down then open the doors to the elevator on the right.
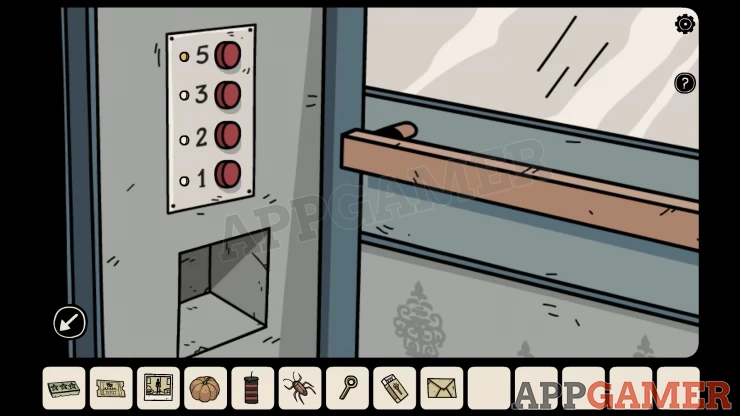
Enter the elevator and use the screwdriver on the panel below the buttons to open it. Collect a Door Knocker.
Now view the small red door under the stairs. Add the door knocker to it.
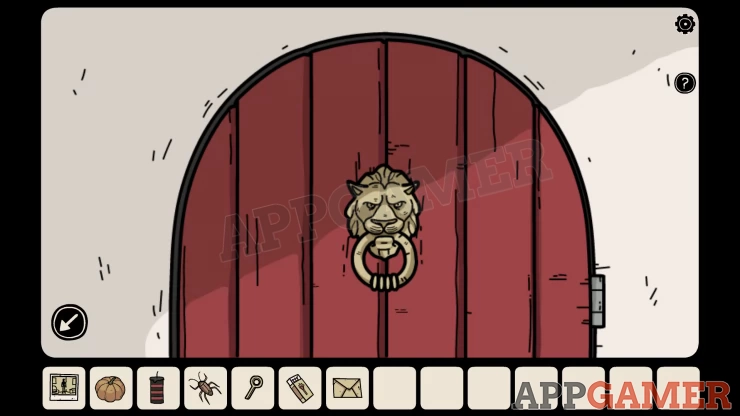
Tap the knocker and the door will open.
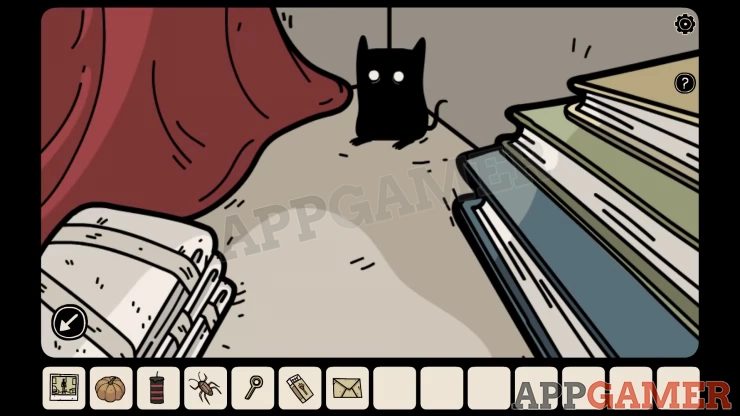
Hidden Shadow Cat: tap the red sheet on the back right to look in the corner and find it.
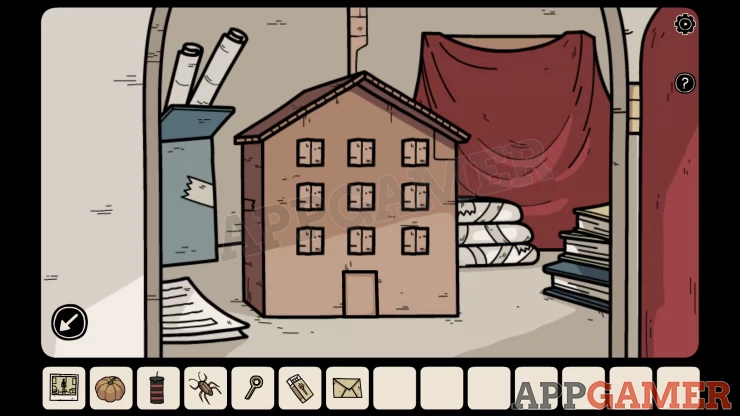
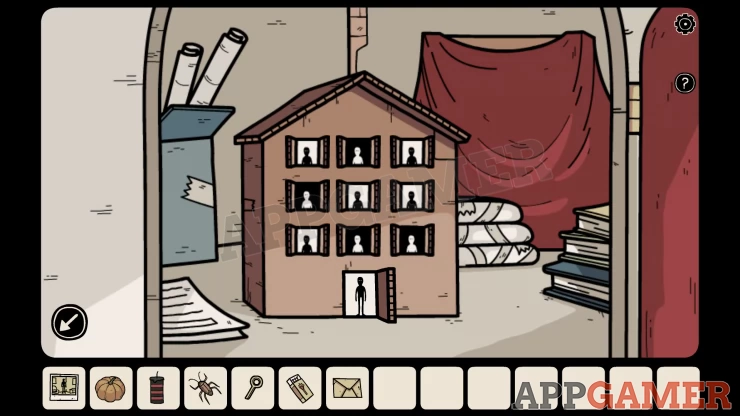
Open the windows and door on the model house to see black or white figures, remember this pattern.
Show
Now move back up stairs and into the room on the right. There is a frame on the left wall with black dots.
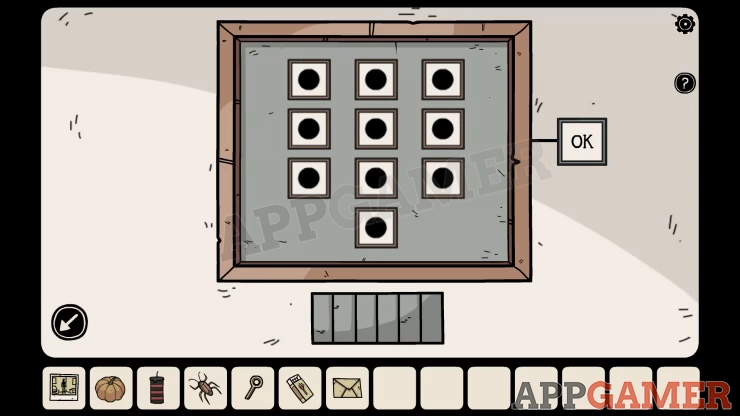
- The layout is the same as the windows and door on the model house.
- Tap and of the squares to toggle it between black dot on white or white dot on black
- Match the pattern of the model house. Then tap the OK button.
Solution: Show
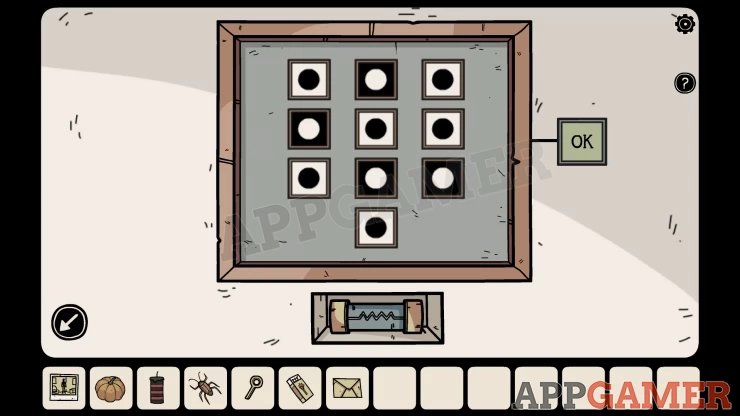
Collect an Electrical Fuse . Go to the other room upstairs with the red door where you met Elena.
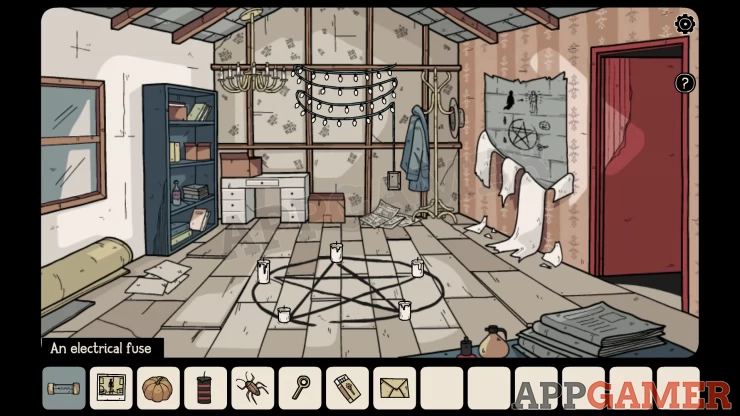
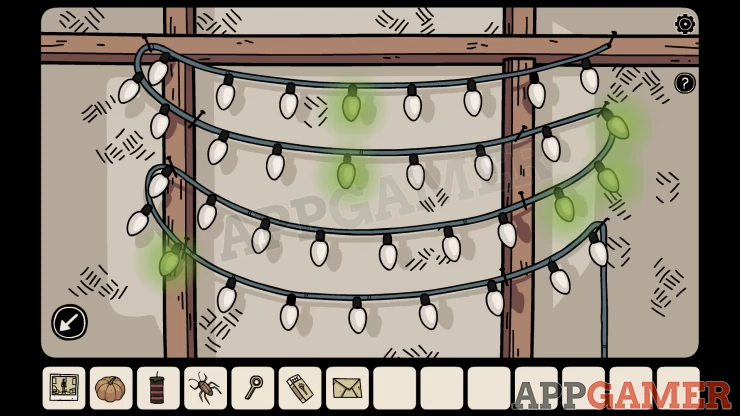
On the back wall is a string of lights and below it by the coat stand is a small socket.
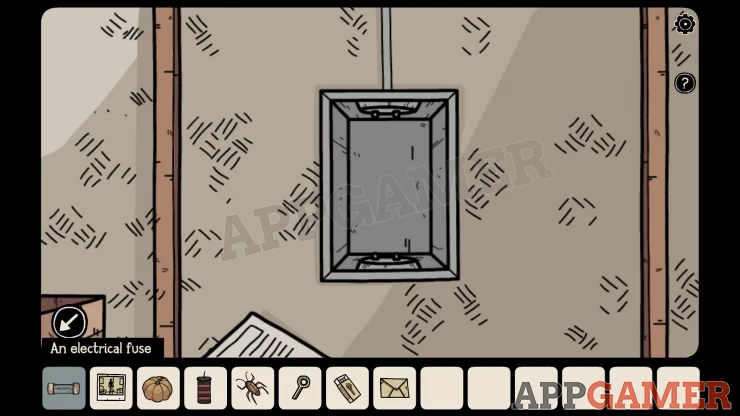
Add the electrical fuse to this and then you will see the lights come on in 4 different colors. This is a clue.
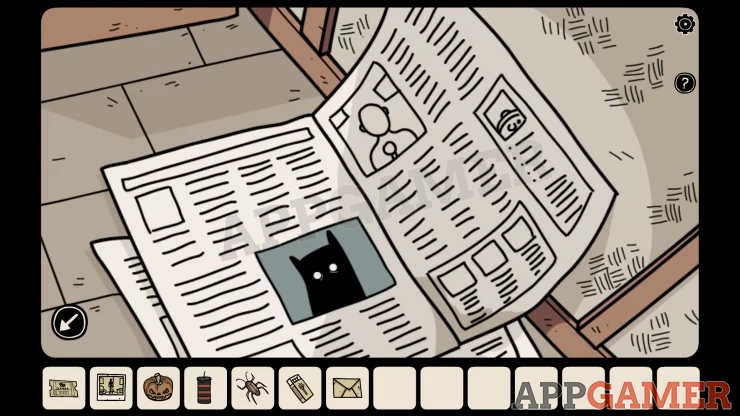
Hidden Shadow Cat: While looking at the socket for the fuse tap the news paper corner that you see at the bottom to look down at the newspaper.
Now go back down to the middle room with the Bird cage picture. On the table is a black box with 4 buttons.
Black box
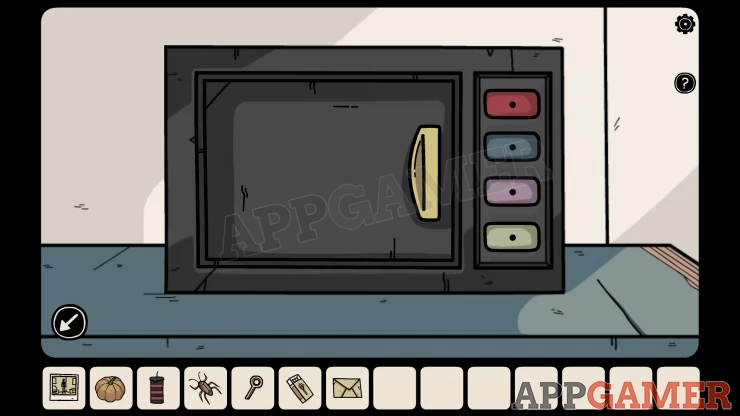
- Tap the buttons to set a number of dots on each one to make a combination.
- There are 4 different colors
- The clue for this is the lights that you activated upstairs.
Solution: 4 8 3 6Show

Collect a tin of Red Paint and a Ticket
Now turn to the right and you can view the green book on the table to see a clue about there being something in the room that cannot be seen.
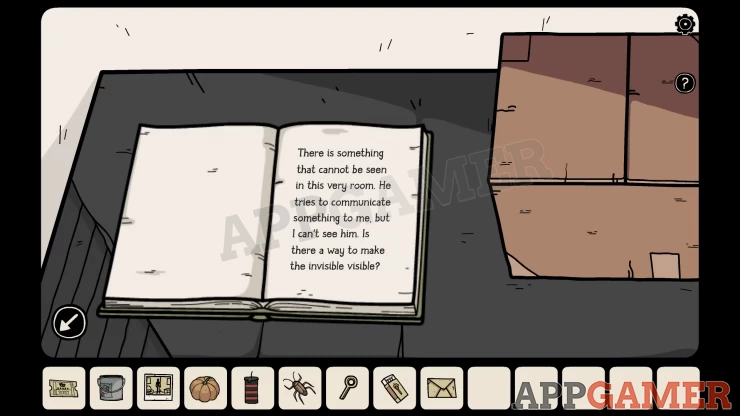
Check the photo that you collected earlier to see s figure in the room by the chair. Now use the red Paint and tap the corner of the room to throw it.
You will then see the man Tap this painted man and he will hold up some fingers, count the fingers to get 4 numbers.
Now view the frame on the wall to the left, tap the 4 numbers shown by the red man.

Solution: Show
Collect an Ice Bucket (tray).
Return to the Elevator and open the doors so you can get in.
Press the button to move to Floor 3. Then exit.
Go back in to the apartment on floor 3 and move to the Kitchen. View the sink and place the Ice Bucket (tray).
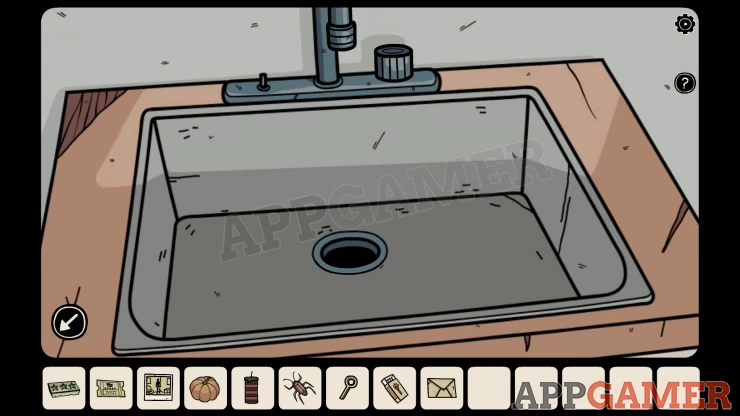
Use the tap to fill it with water and then collect the Ice tray filled with water. Now open the top Freezer section of the red refrigerator. Put the Ice tray inside and then place the Key Handle in it.
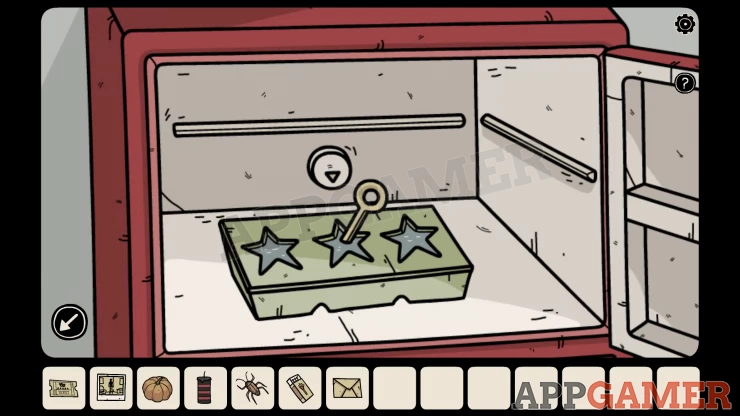
Close the door and then open it again and you can collect a Key handle with star-shaped ice. Go back out to the hall outside the apartment and use the key on the wall box with the star hole to open it.
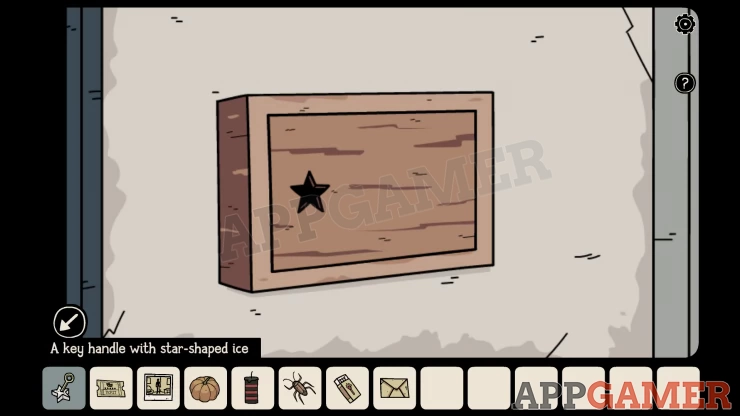
Collect a knife.
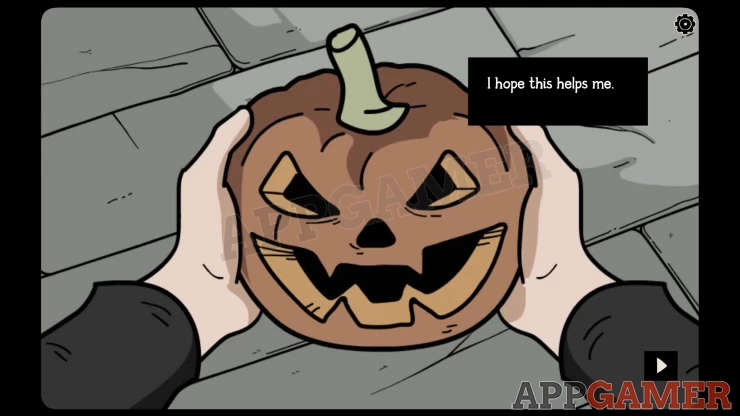
Now select the pumpkin in your inventory and then select the knife and you will carve a face.
Use the Elevator to return to floor 5. Then go upstairs. View a slot on the wall next to a shuttered window. Add the ticket to the slot to start a puzzle.
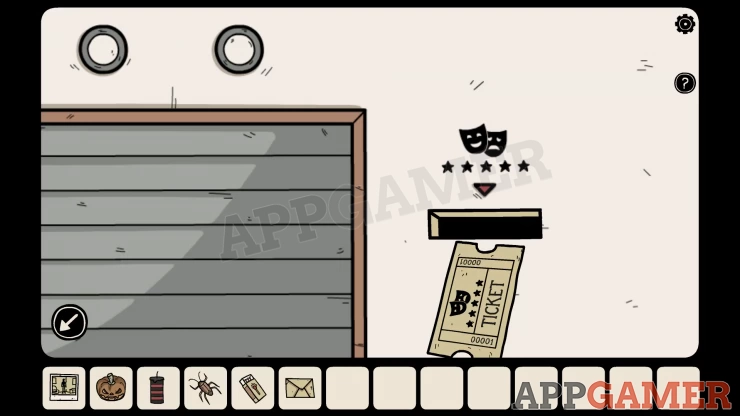
Hats Puzzle
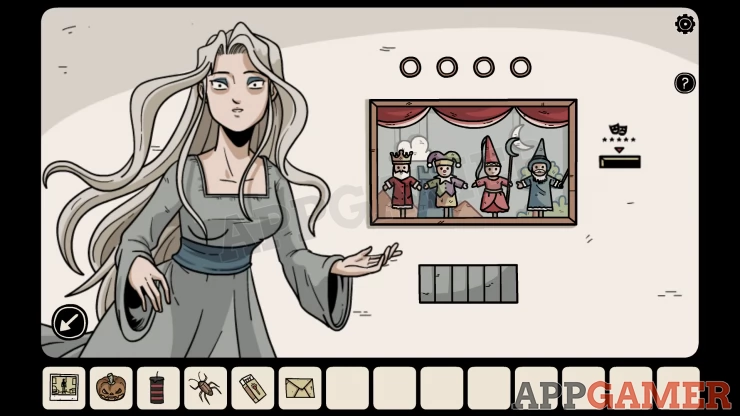
- Tap the curtain and you will be shown 4 puppets with different outfits.
- Then after a few seconds Elena will show you 4 combinations of hats.
- Choose the order of hats that matched those you saw on the puppets.
- Repeat this process 4 times to complete the puzzle.
Solution: Select the following options. 1, 4, 2, 3Show
Once done collect the Crab Claw.
Enter the Room with the red door again and view the pentagram on the floor. Place the Pumpkin, Crab claw, black candle and cockroach.
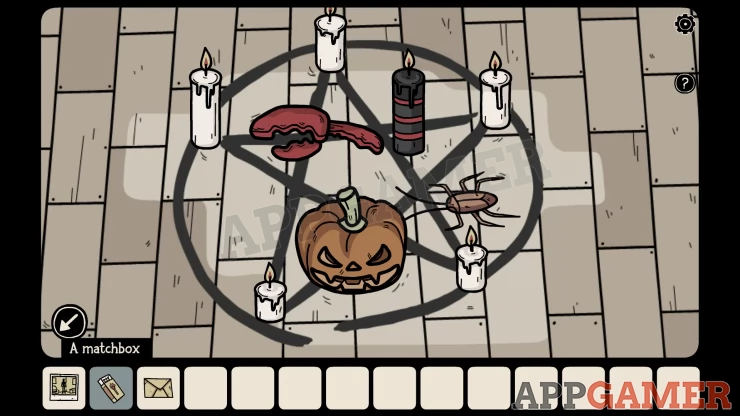
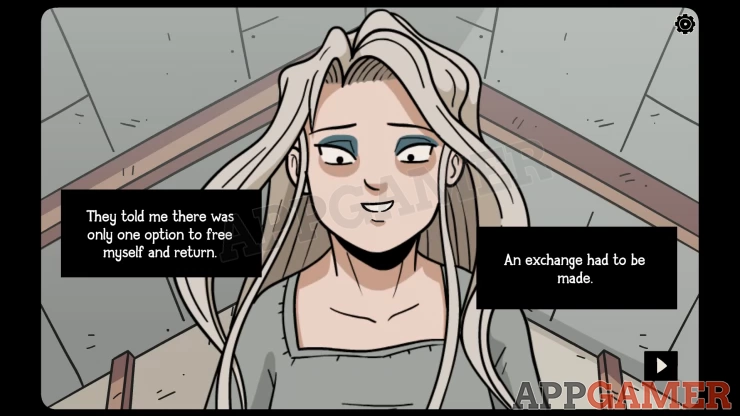
Then use the matches to light all of the candles. Elena appears and now you can watch the final scenes to see the end of the main game.
You can now move on to the Premium Content.
We have questions and answers related to this topic which may also help you: Show all
 With 20 years of experience in creating video game content for the internet and over 30 years as a gamer, Mark is now a passionate mobile App Gamer. Loving a challenge, he is always ready to get stuck in to both survival builders and puzzle solving games. He has been providing content for AppGamer since 2014.