Part 3 - Second Floor
More Beyond the Room
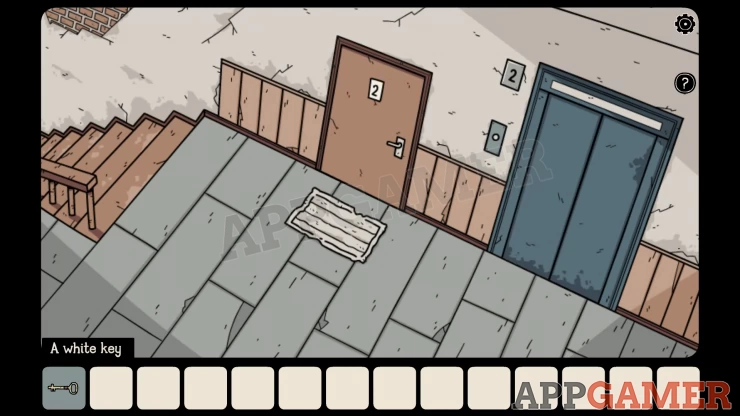
This is Part 3 of our guide to Beyond the Room, a creative escape room mystery story game from Dark Dome. The game begins with the story of an abandoned building and a dream where Darien finds himself in the building. After completing part 2 you have discovered the white key and can now head up to he second floor to continue your progress.
Beyond the Room Part 3 - Second Floor Walkthrough
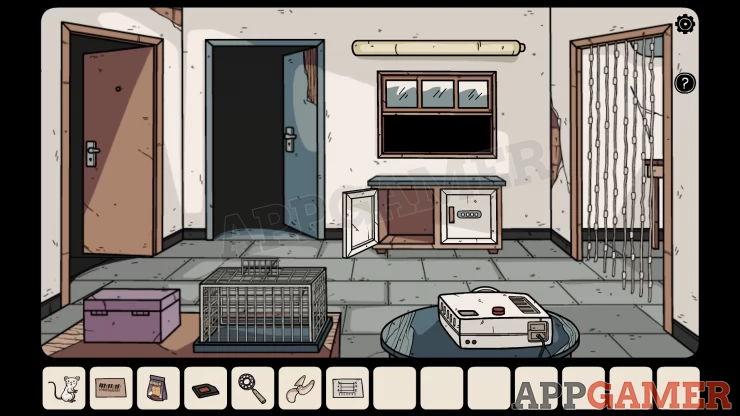
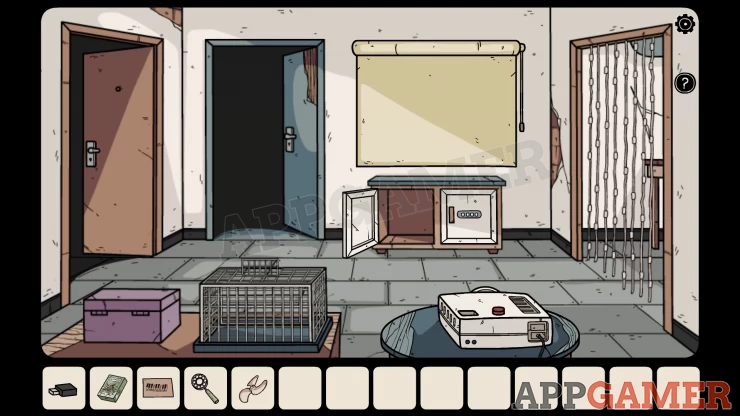
Use the white key on the door to apartment 2 and enter.
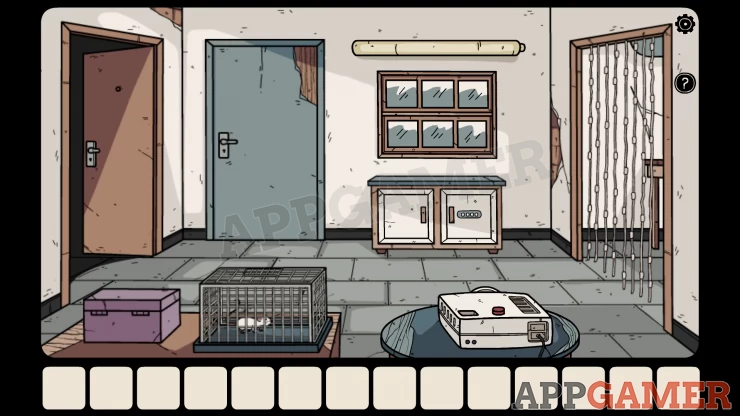
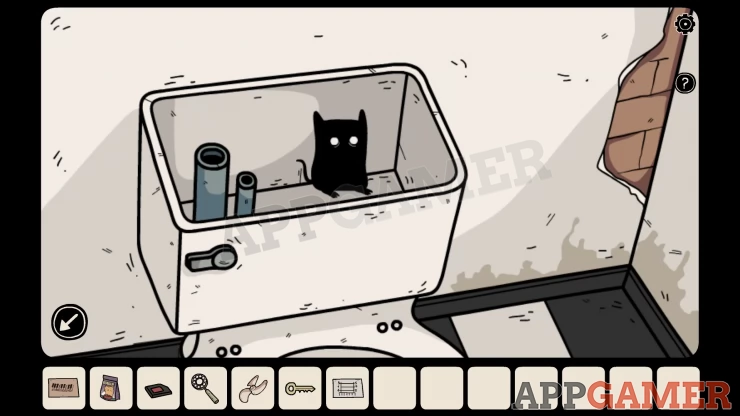
View the cabinet with the white doors under the window and open the left side. Collect a paper with a clue.
Go through the doorway on the right to the next room.
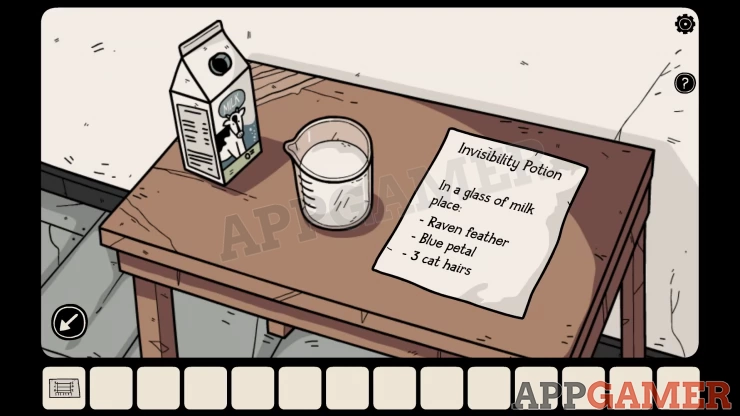
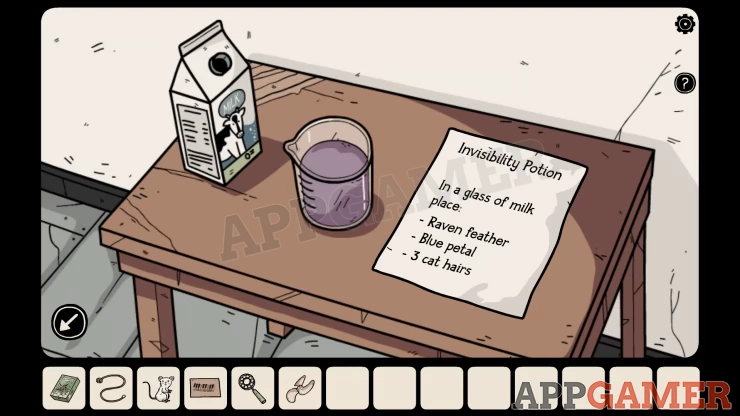
View the table on the right to see a note about an Invisibility Potion.
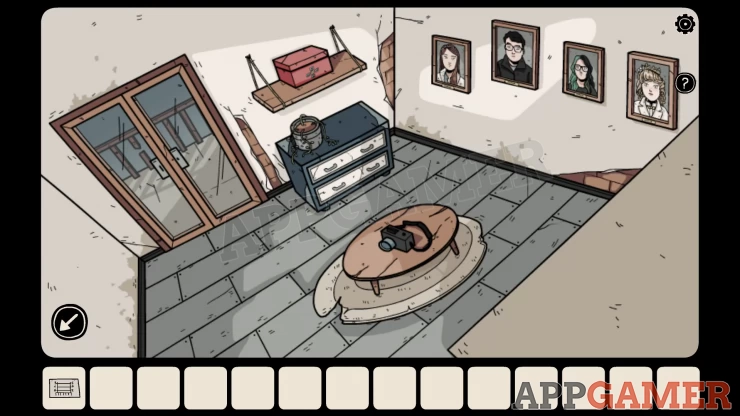
Then tap the arrow on the right to move through a corridor to another room. Notice the camera on the table.
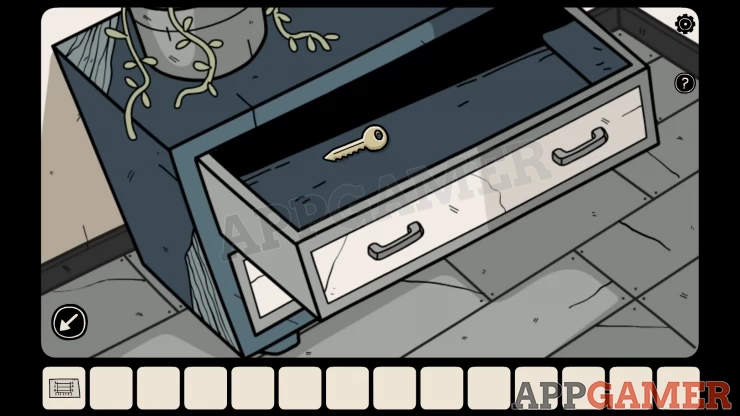
View the set of drawers and open them to collect a Small Key and a Fan Blades.
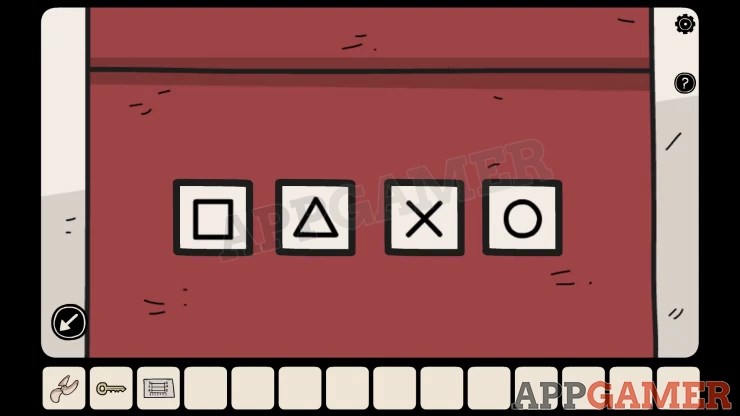
Now view each of the pictures on the wall. Tap them and you will see hands make a shape. Remember these.

Back up to the previous room and view a red box below the cat on the vent.
Unlock this box with a code from the shapes seen in the pictures.
Solution: Show
Collect a Bubble Wand and a Small Drinking Glass.
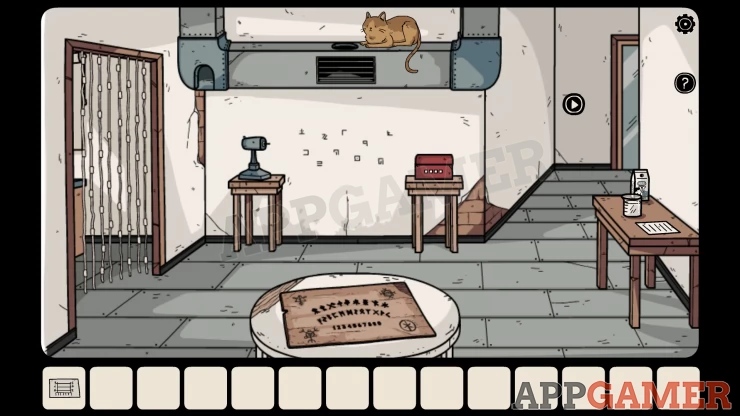
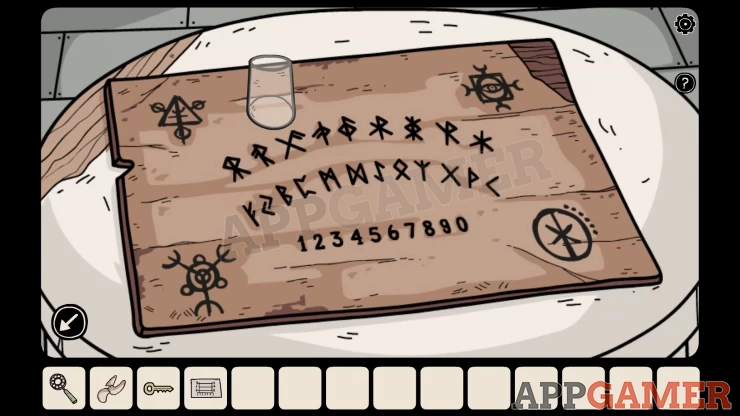
Now look on the round to table to see a type of Ouija Board. Add the drinking glass to it to see a cut scene.
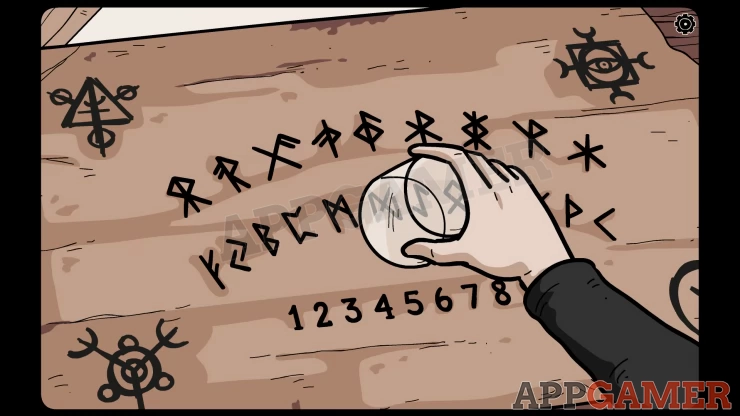
After this tap the glass again to see it make 4 moves to pick out 4 symbols. Remember these.
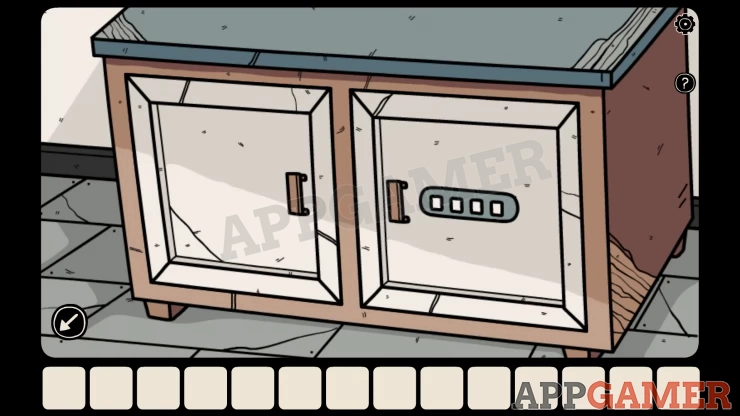
Now back up to the first room to the left and open the gray door next to the window to enter the bathroom.
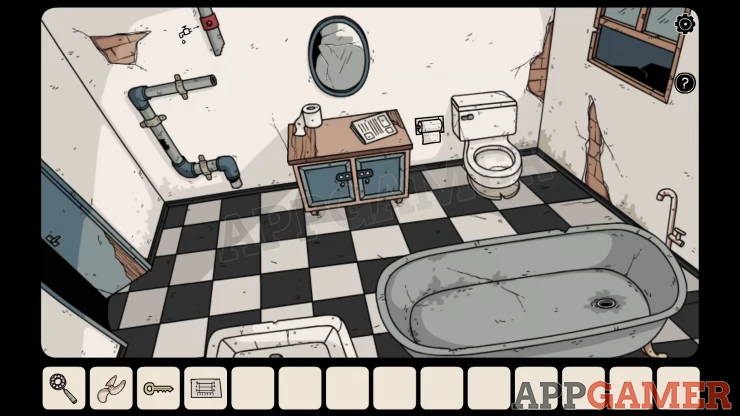
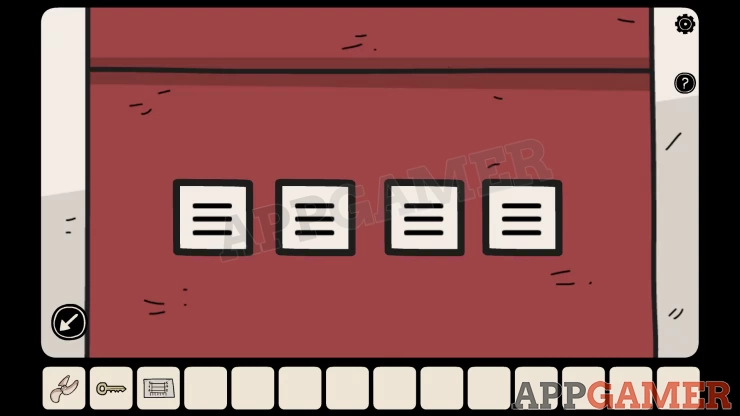
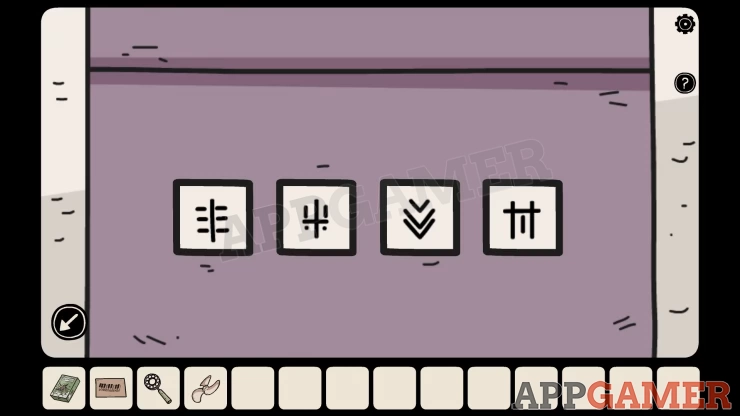
View the cabinet below the mirror. You need to enter a 4 symbol code. Use the clues from the Ouija board.
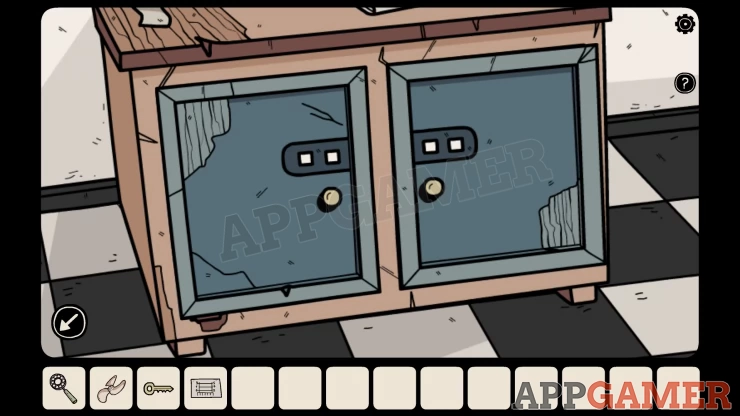
Solution: Show
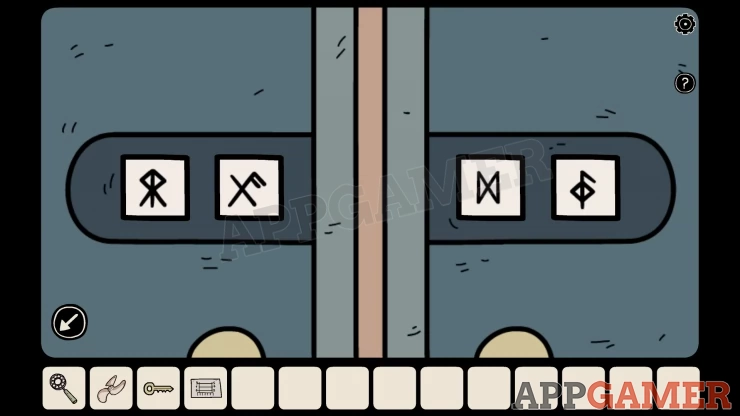
Open both doors and then collect the Memory Card and Cat food.
Next view the toilet paper roll by the toilet.
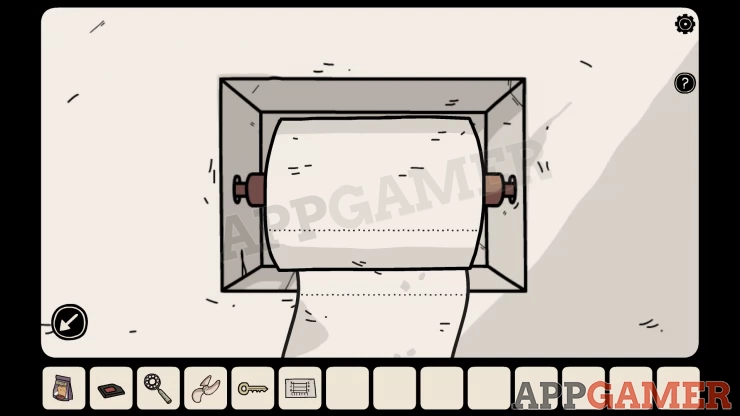
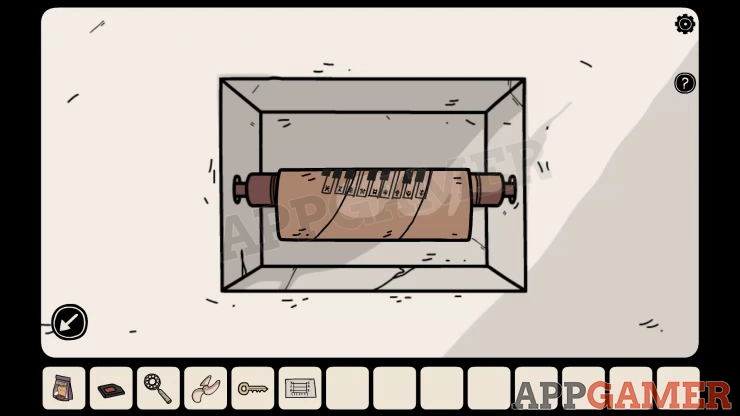
Tap this several times to unroll it and then you can collect the center tube with a clue on it.
Hidden Shadow Cat: View the tank of the Toilet and open it.
Exit the bathroom and view the mouse in the cage. Use the Small key to open the cage and collect the Mouse.

Now open the window on the right of the bathroom door.
Tap to go through it and onto a balcony.
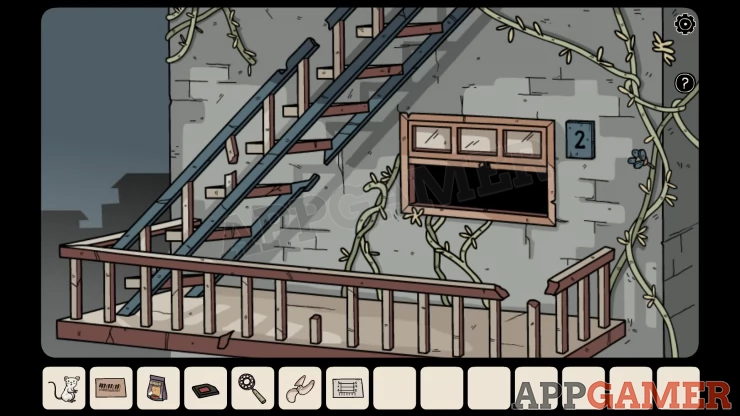
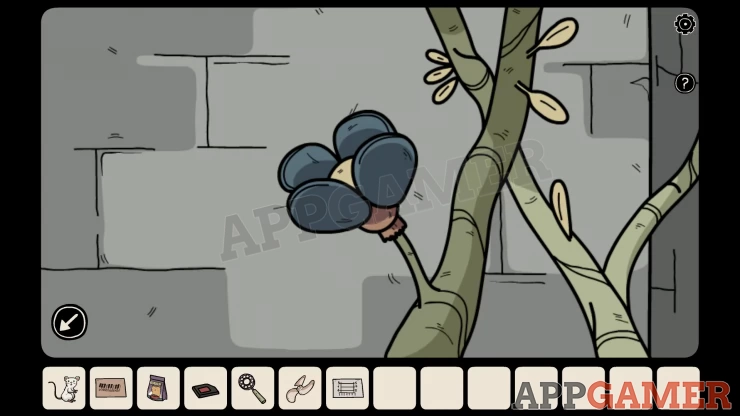
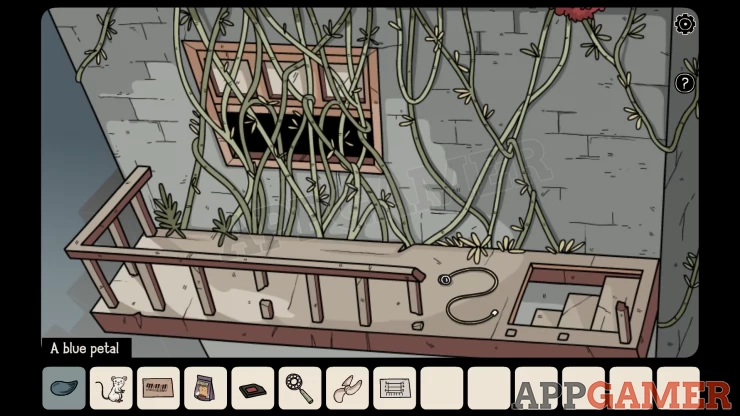
View the blue flower growing on the right. Collect a Blue petal.
Tap the steps to go up to the next level, here you can collect a Cord for a projector screen.
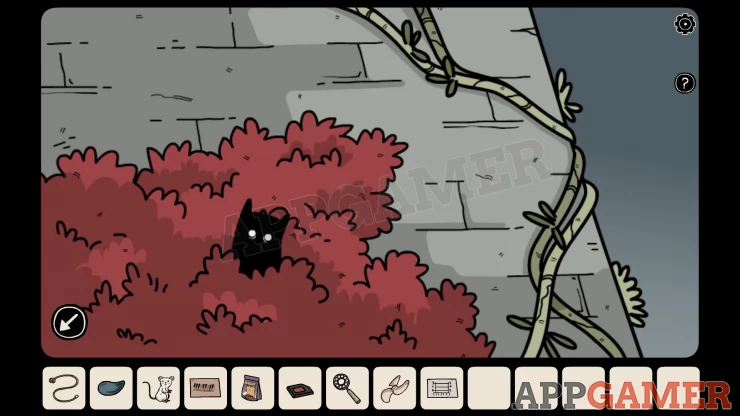
Hidden Shadow Cat: Tap a small red bush that you can see in the top right to look up and find it.
Go back down and re-enter floor 2. Go back through to the right to the room with the Camera on the table. View this.
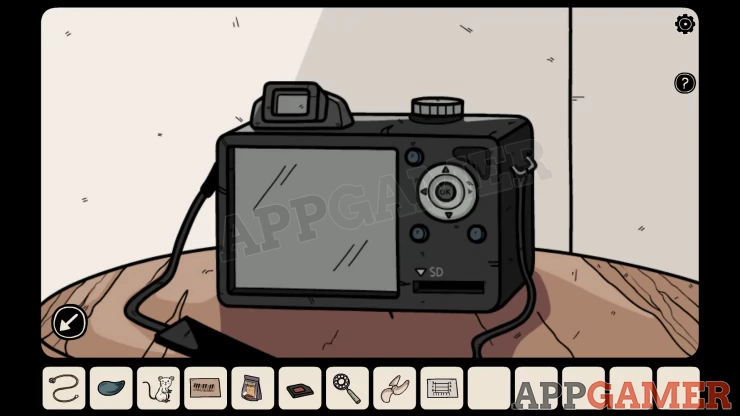
Add the Memory card to the camera and then press play on the screen to watch a short video. You will see a ghost figure appear from different sides of the bed. This is a clue.

Now view a red box on the shelf above the drawers. This has 4 direction buttons to press.
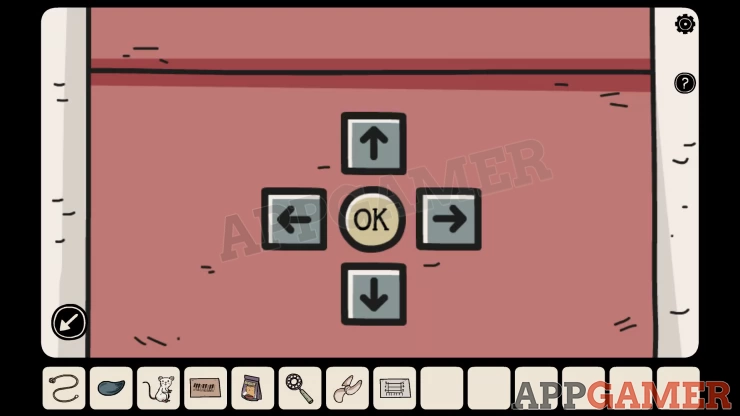
Solution: The clue is the positions of the ghost when it appears in the video.Show
Code: Up, Left, Up, Down, Right, Left - OKShow
Collect a Box of soap powder and a Key
Use the key to open the glass doors to the left. Go outside.
Washing Line Puzzle
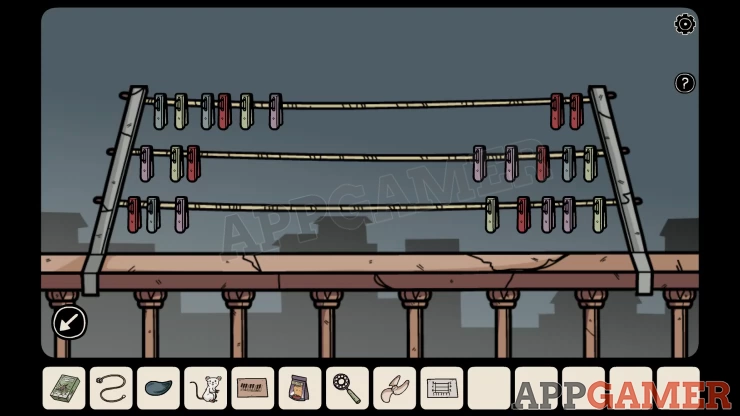
- There are 3 lines with pegs
- You can move the pegs to the left or right.
- Check a clue on a paper found previously.
Solution: Show

A raven lands on the railing, tap it to collect a raven feather.
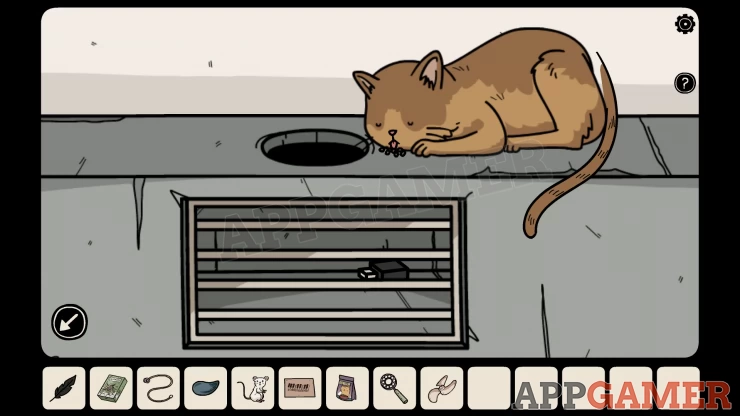
Go back to the room with the cat and tap on it to see it sitting above a hole in the vent. Place the cat food by the cat. Then you can tap the cat to collect Some cat hair.
Now view the table on the right again. Add the Raven feather, the blue petal and the cat hair to the beaker of milk. Then you can collect the Invisibility potion.
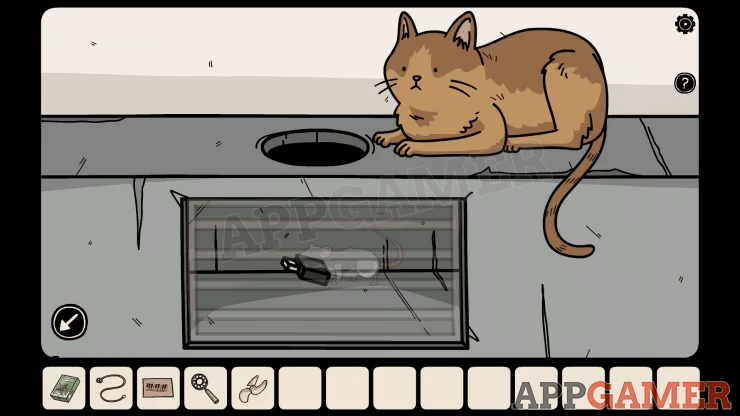
Now tap the left side of the vent to see a hole. Place the mouse here. If you tap it to move it will enter the vent but the cat will stop it.
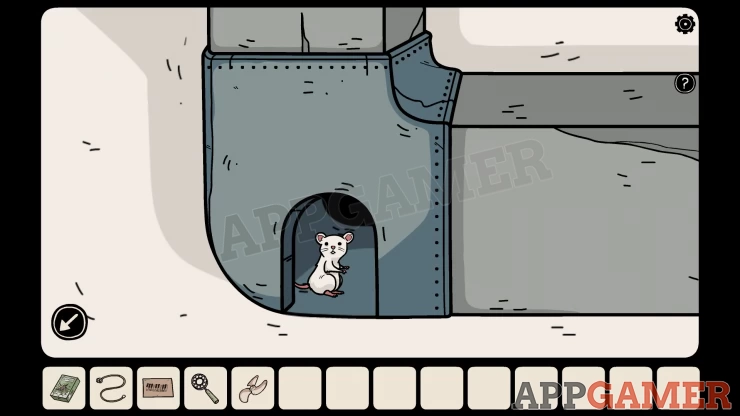
Instead add the invisibility potion to it and then it will move into the vent and bring back the USB drive for you to collect.
Go back to the room on the left. (first room). Add the Cord for the projector screen to the rolled up screen above the open window. You can then tap this to lower the screen.
View the projector that is on the lower right and add the USB drive to it.
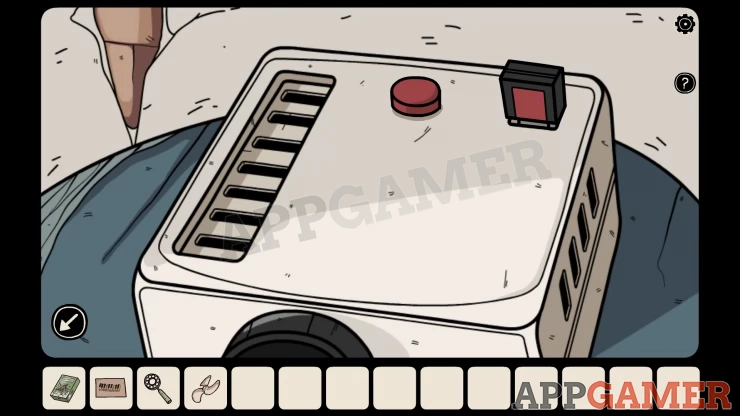
Press the red button to watch the video of a piano being played. Note the 4 keys that are pressed.

Pink Box
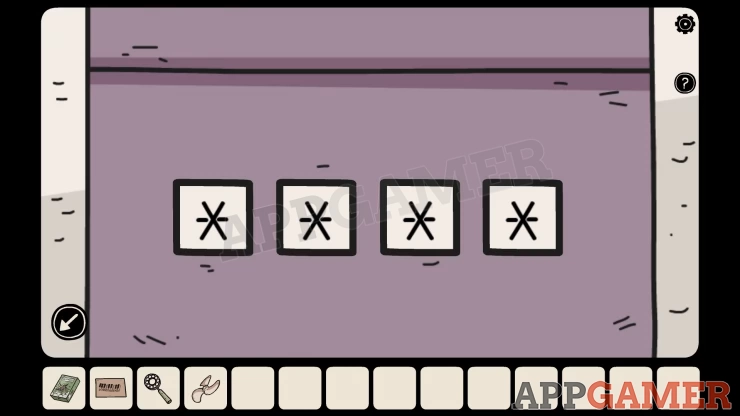
- View the pink box on the lower left now.
- Use the piano clue and the clue from the toilet roll tube to solve this.
- Get the symbols from the keys played.
Solution: Show
Collect a Bathtub Plug.
Return to the bathroom and tap on the bath.
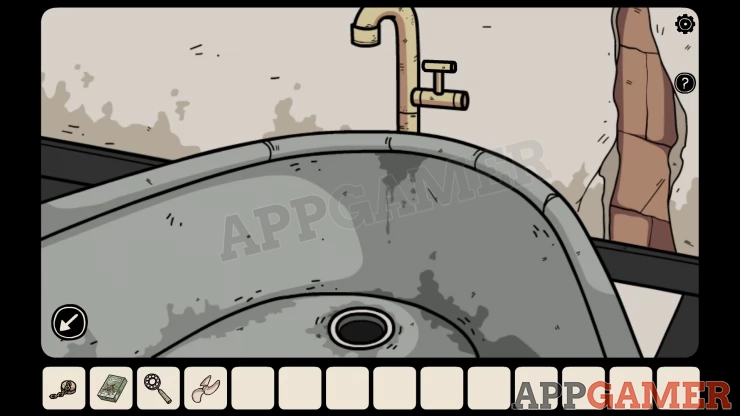
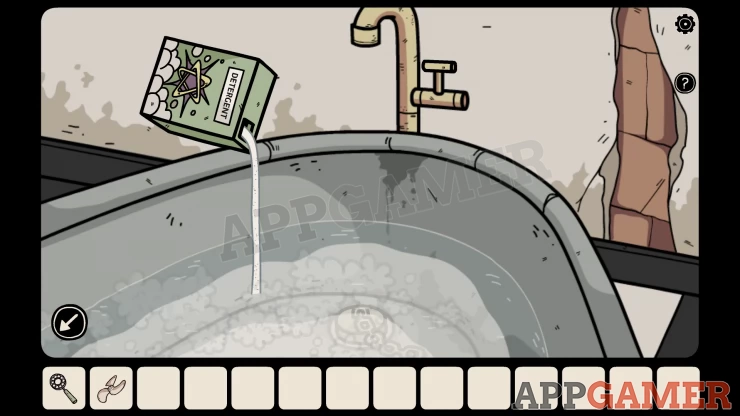
Add the plug to it and then turn on the water. When it is full add the soap powder.
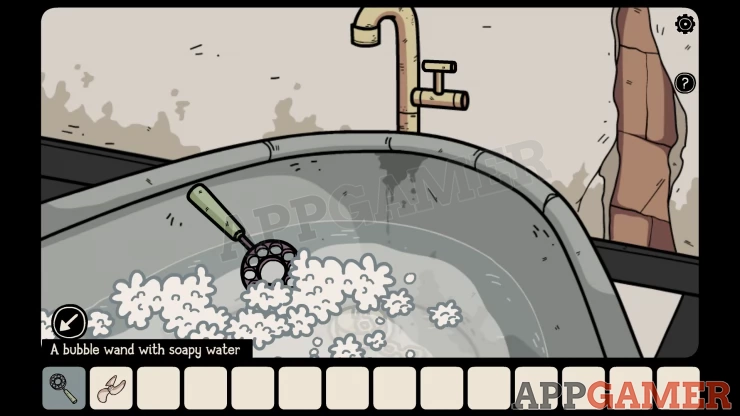
Then use the bubble wand on it to collect a Bubble wand with soapy water
Go back to the room with the cat and view the fan base below the vent.
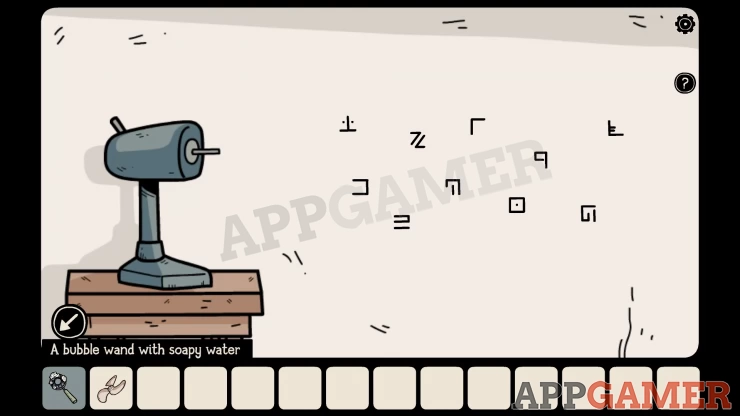
Add the fan blade to the fan base and then tap it to turn it on. Quickly add the Bubble wand to this and bubbles will appear over the symbols on the wall.
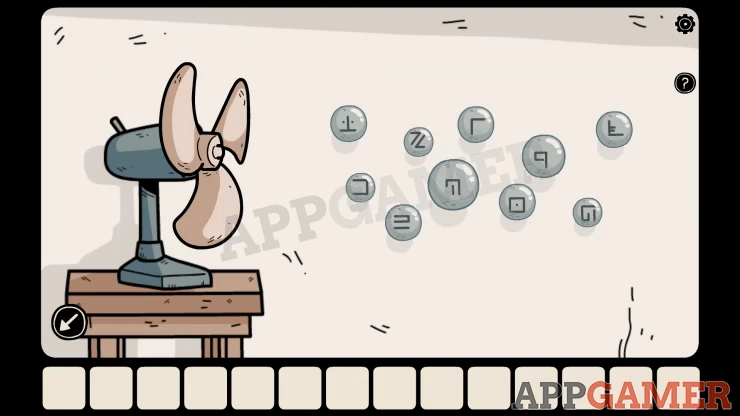
Now tap each of the bubble to pop them, 4 of them will not pop. Remember those symbols.
Show
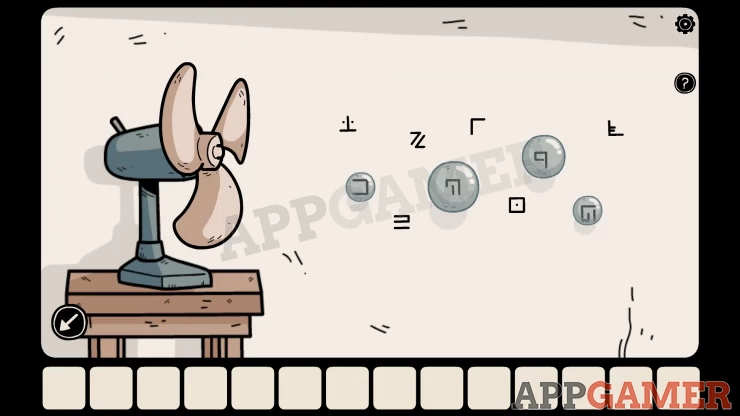
G back to the first room again and now view the locker white cabinet door.
Use the 4 symbols from the bubble to unlock this.
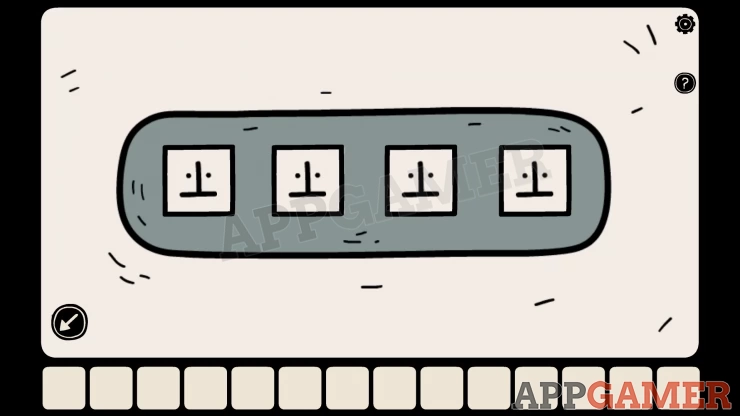
Solution:

Open the door and collect the Sickle.
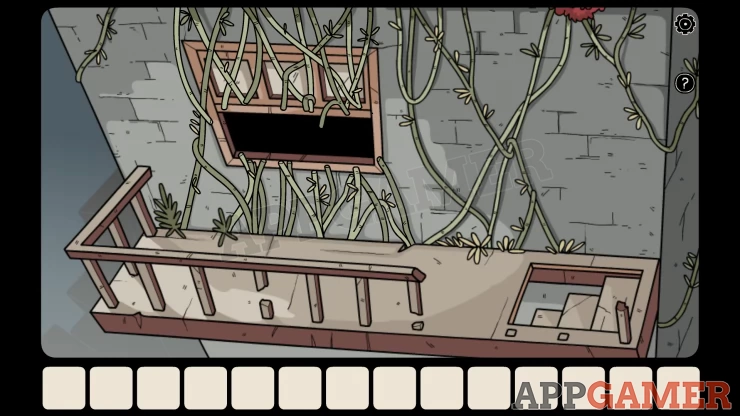
Now go out through the window again and up the steps to the next level. Use the sickle to cut the vines covering the window. Then you can enter the third floor.
Continue the guide in Part 4
We have questions and answers related to this topic which may also help you: Show all
 With 20 years of experience in creating video game content for the internet and over 30 years as a gamer, Mark is now a passionate mobile App Gamer. Loving a challenge, he is always ready to get stuck in to both survival builders and puzzle solving games. He has been providing content for AppGamer since 2014.