Level 31: Redcliff Walkthrough
More 50 Tiny Room Escape
Continuing on in 50 Tiny Room Escape, after completing Level 30 you have moved on to a new level that is based on the popular Tiny Room Stories game from the same developer.
Act IV : Eve
The game is split in to Acts that revolve around stories of different people who are stuck in different locations. You helped Richard escape the 10 rooms of Act III and now Act IV involves Eve.
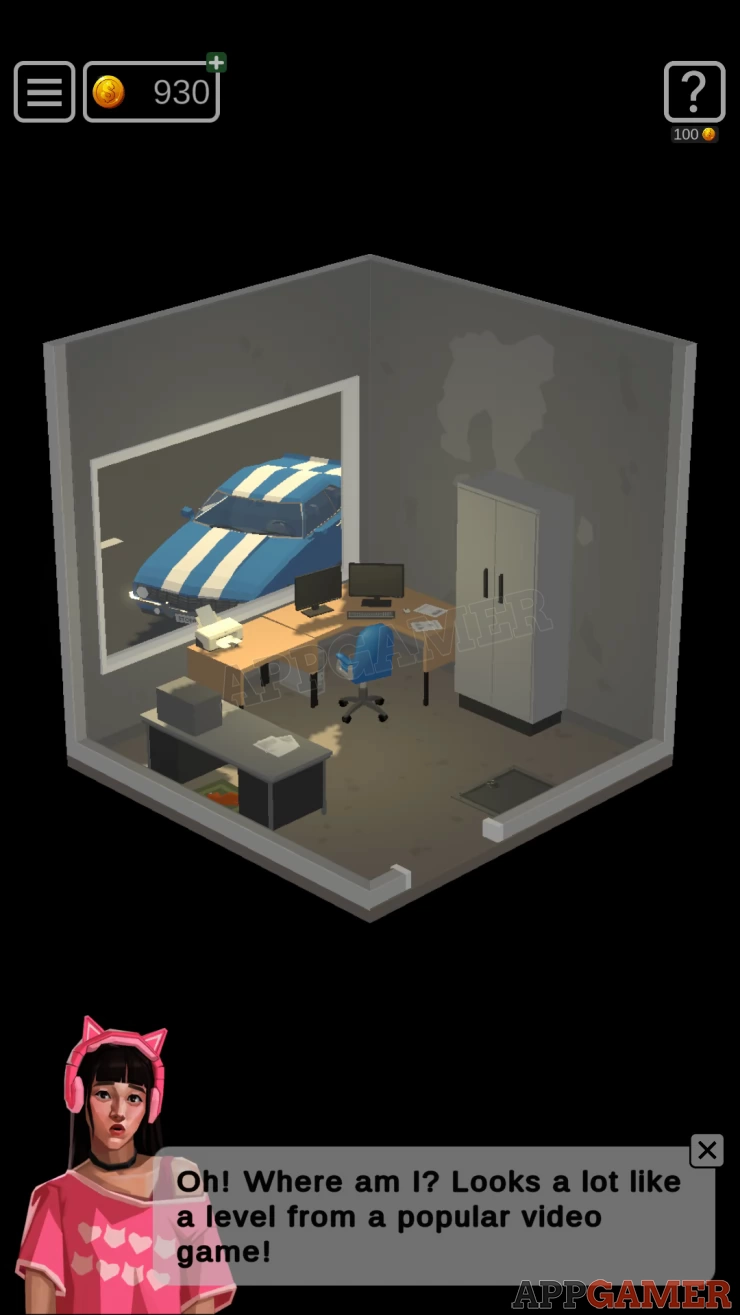
Level 31: Redcliff
There are some familiar touches in this level if you have played the Tiny Room stories game.
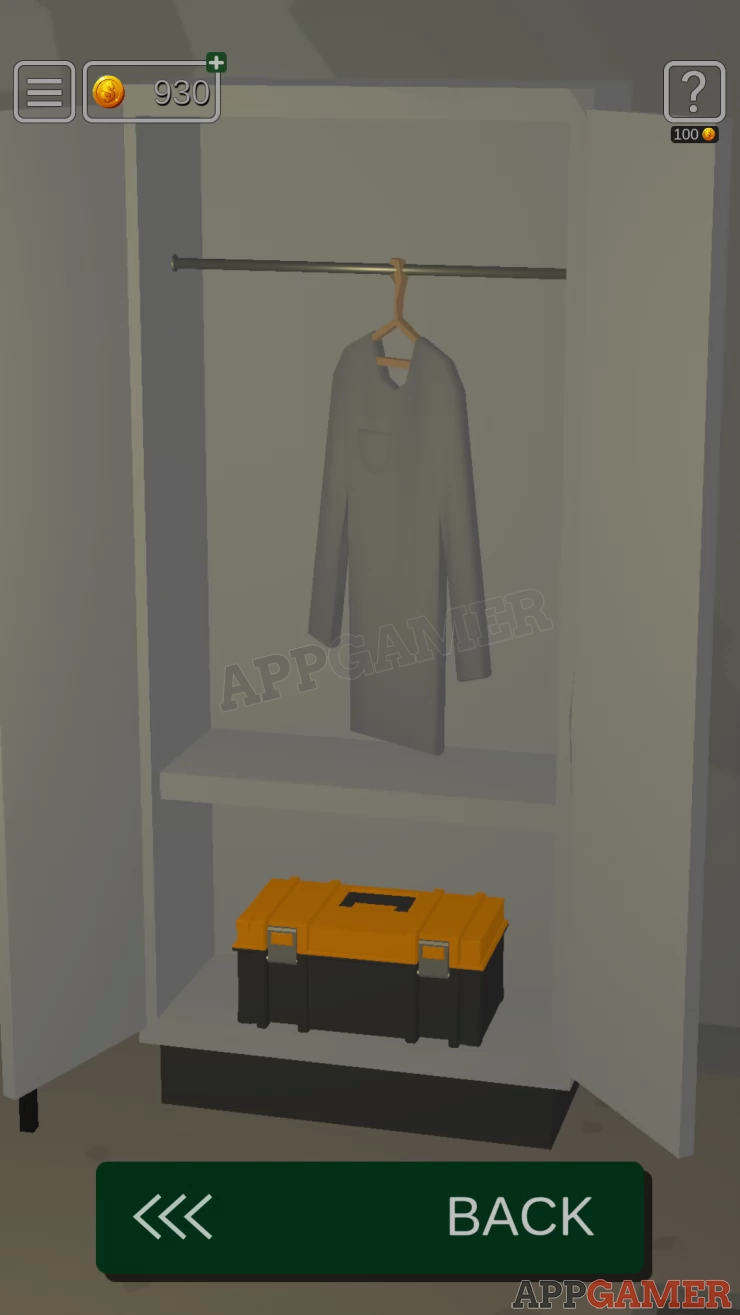
First open the white cabinet and look inside. Tap the pocket of the white shirt hanging and you will collect a Key
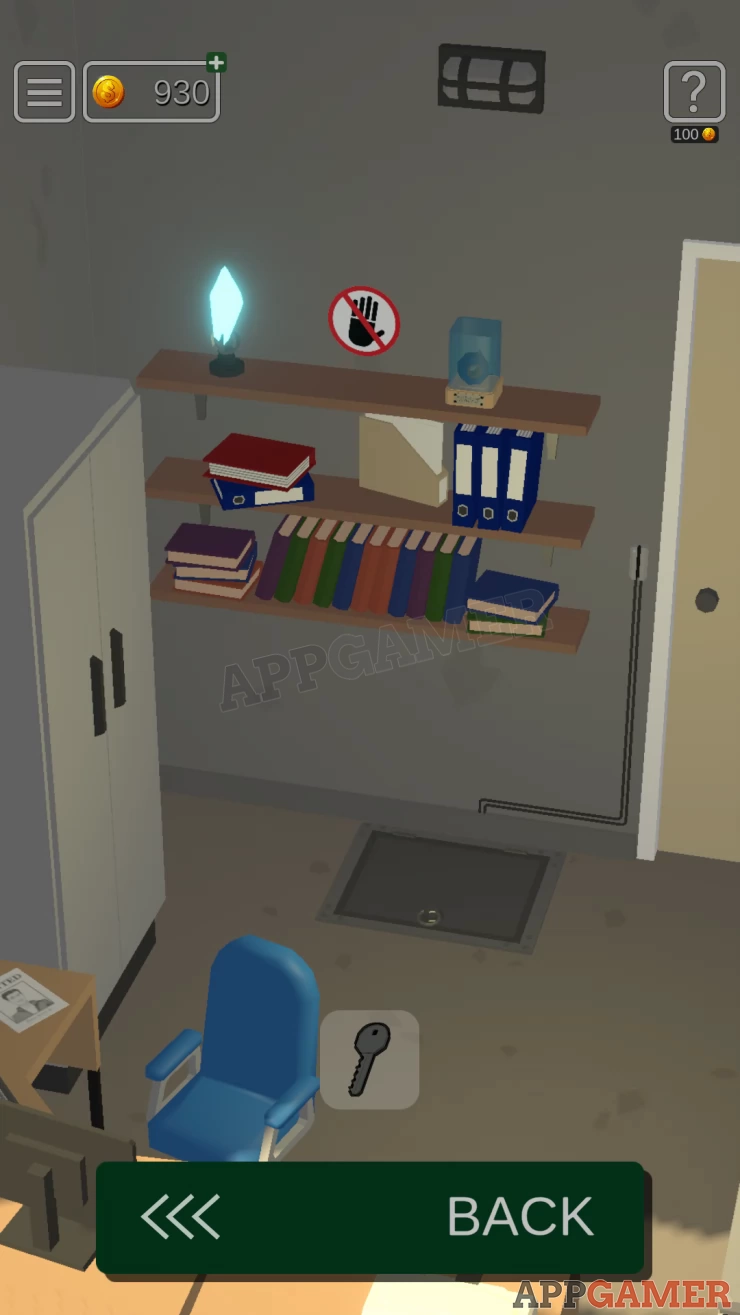
Turn to the right to see some shelves.
Collectible: Move a white folder on the center shelf to find a card
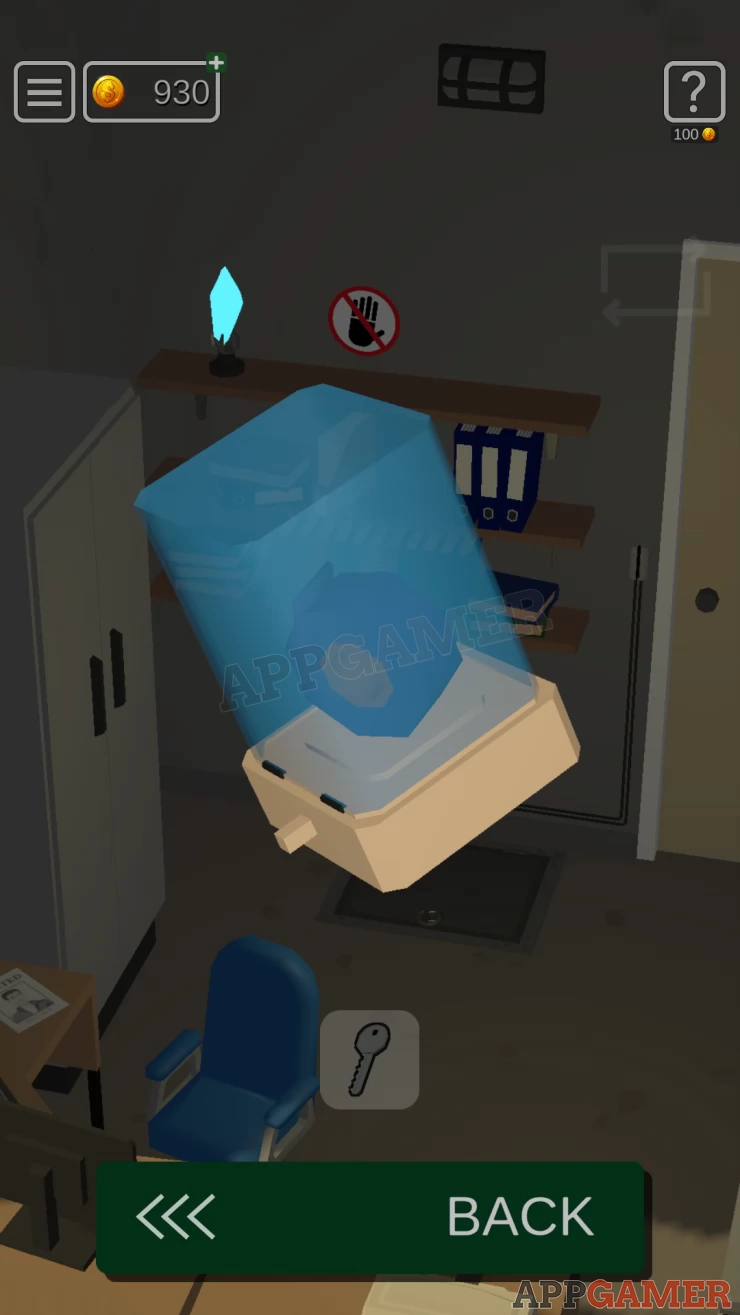
View a trophy item on the top shelf on the right.
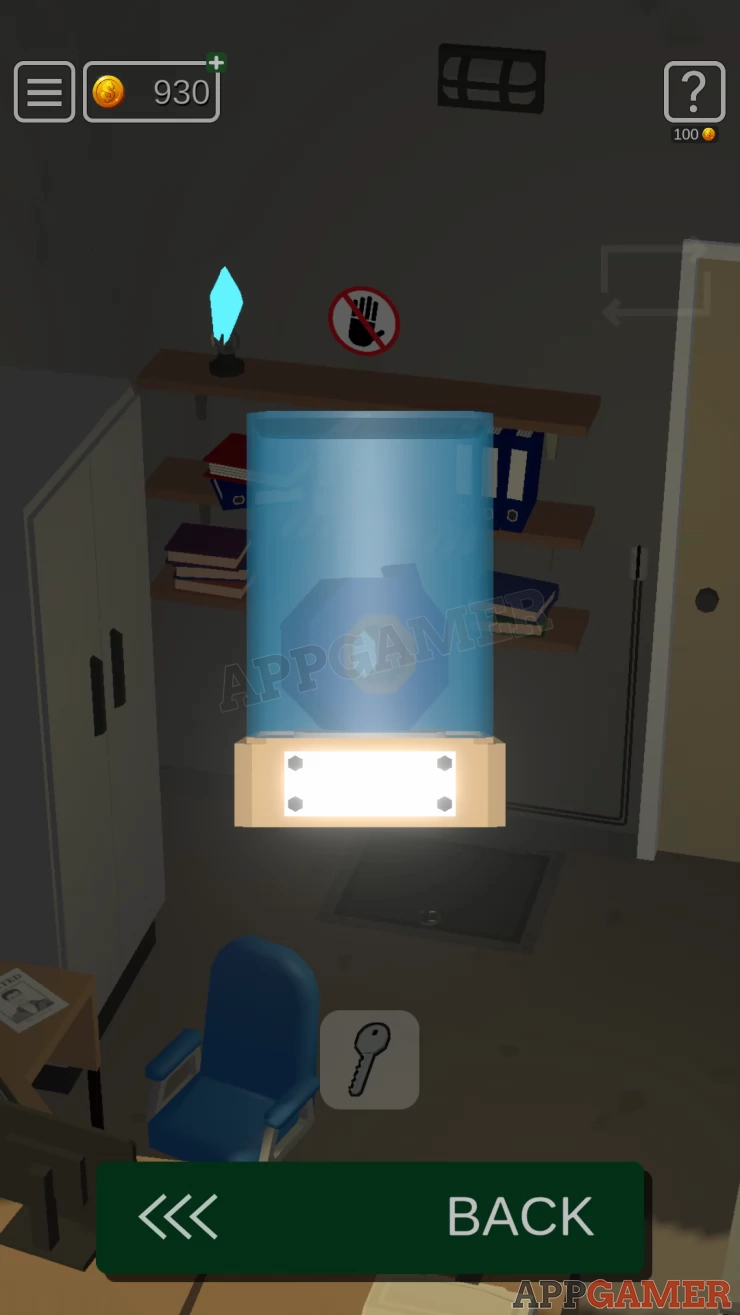
Turn this around to find a switch at the back that you can press. This will then make another switch appear underneath. Continue finding and pressing switches around the base (5 in total) until the top of the trophy opens and you can then collect the Insulation Tape.
Turn left again and view a sparking electrical box on the wall.
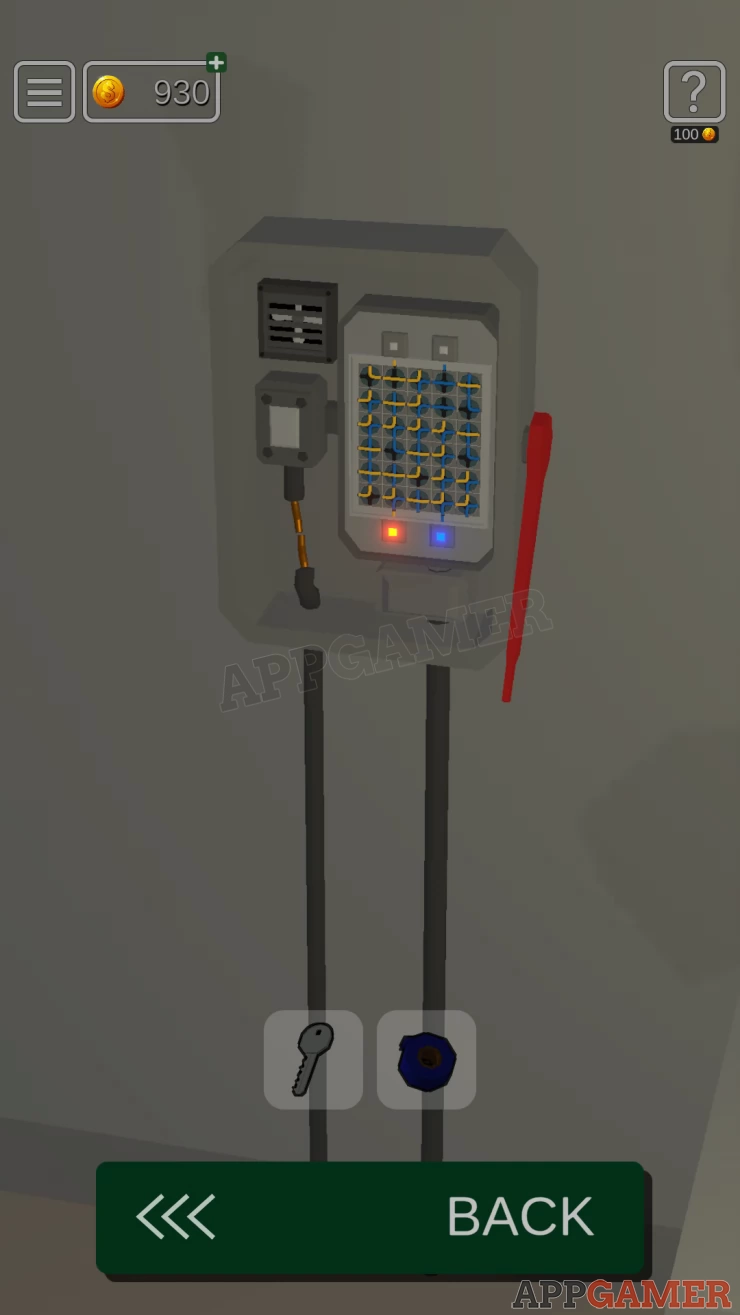
Tap the red lever to turn the power off, then you can add the tape to the exposed wire to fix it.
Now view the puzzle on the right.
Wiring Puzzle
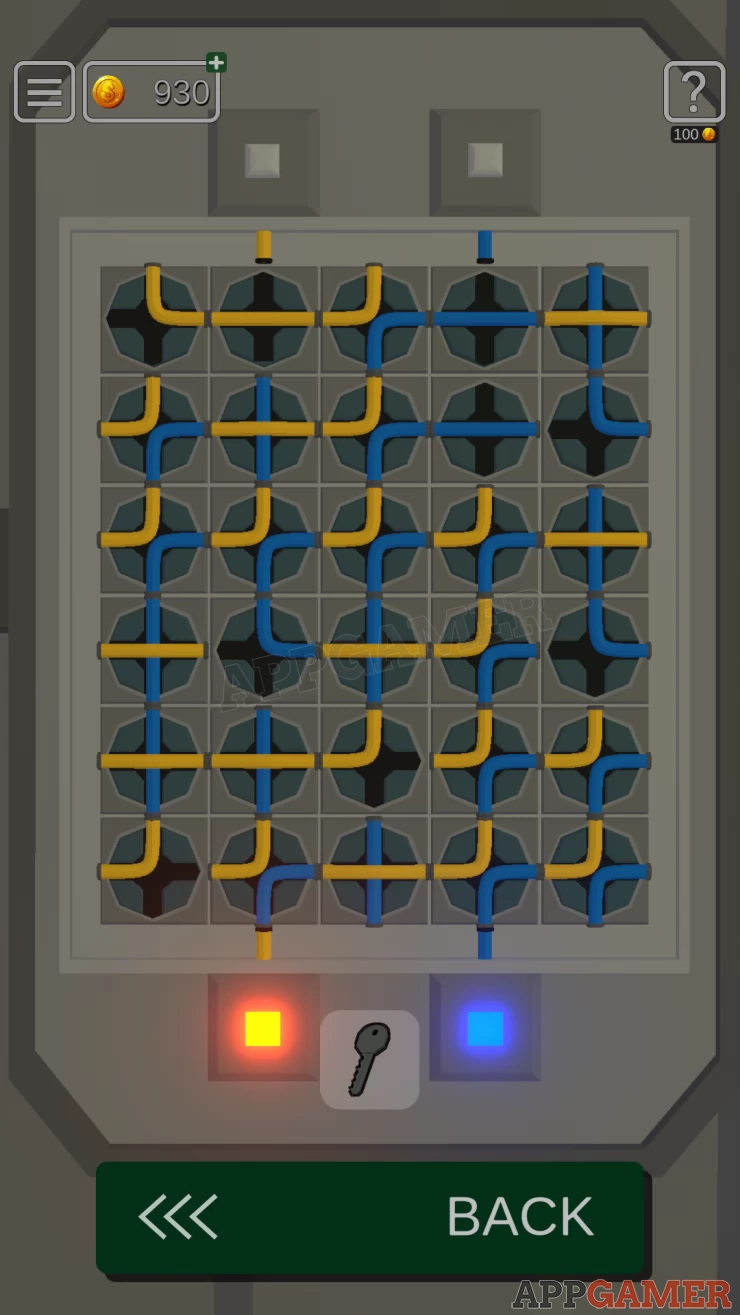
- Tap the wiring blocks to rotate them and make connections.
- You need to make 2 connection, one for the yellow cables and one for blue.
Solution: Show
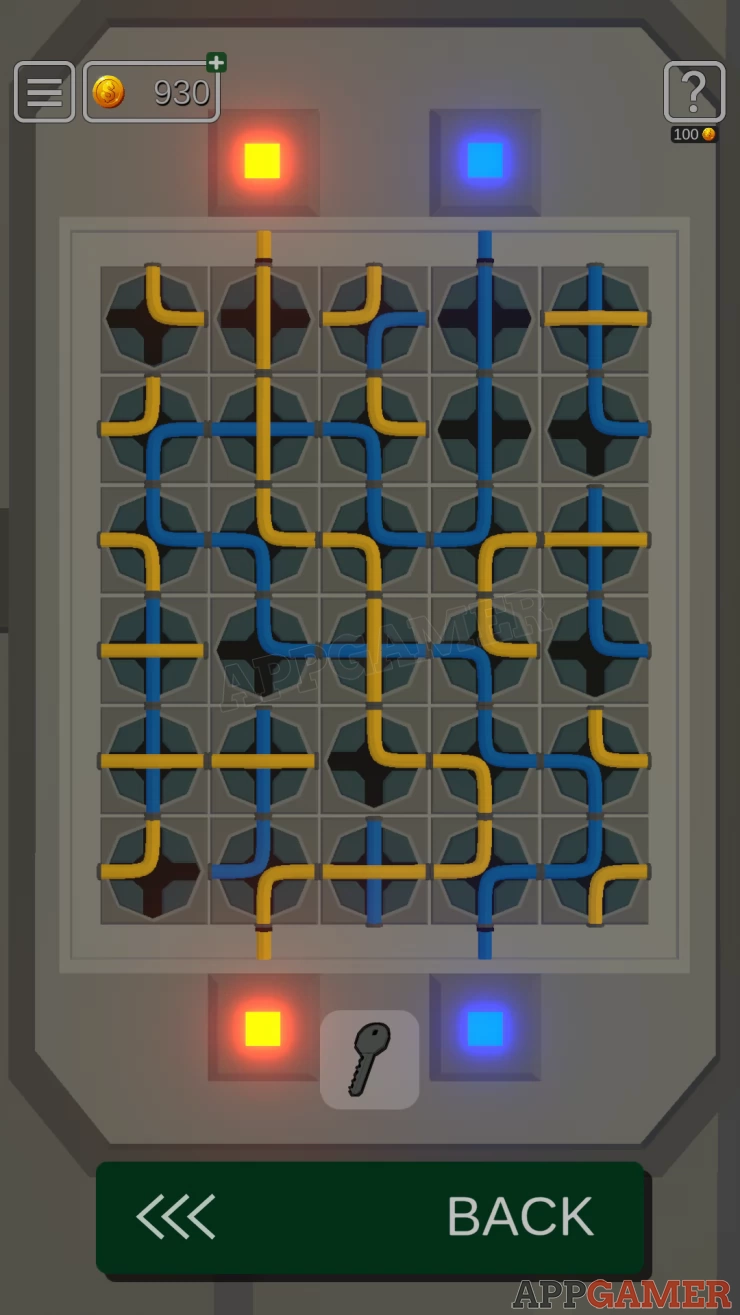
Once done tap the red switch to turn the power on in the room.
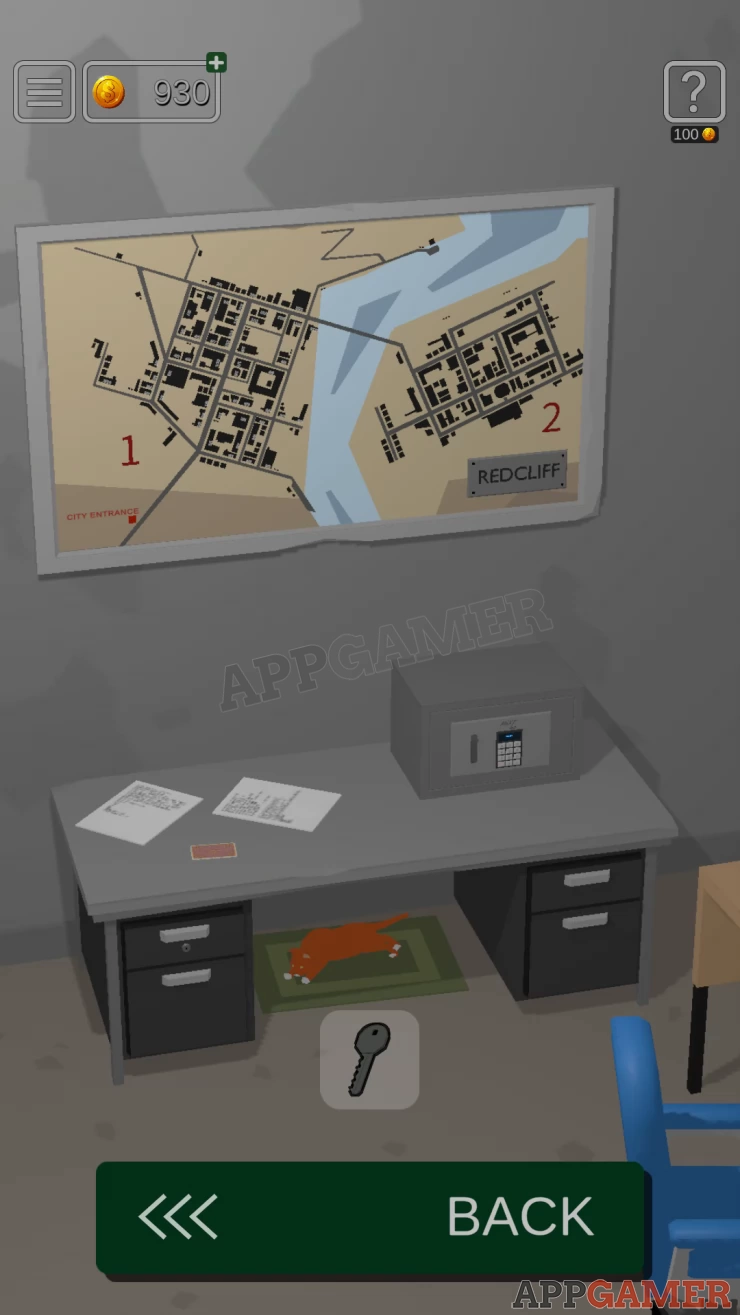
Now view the small desk under the map.
Collectible: Move the papers on the desk to find the card.
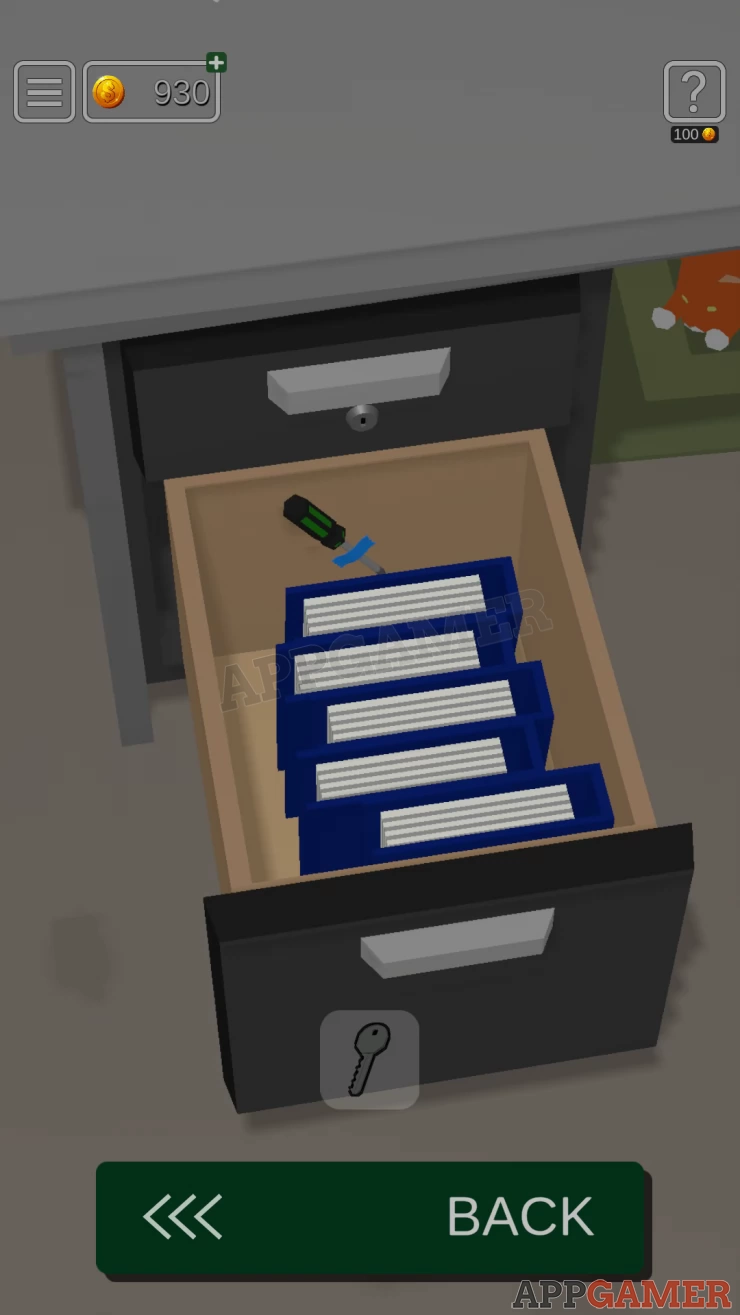
View the left side drawers and open the bottom one. Move all of the blue folders and then you can collect a Screwdriver.
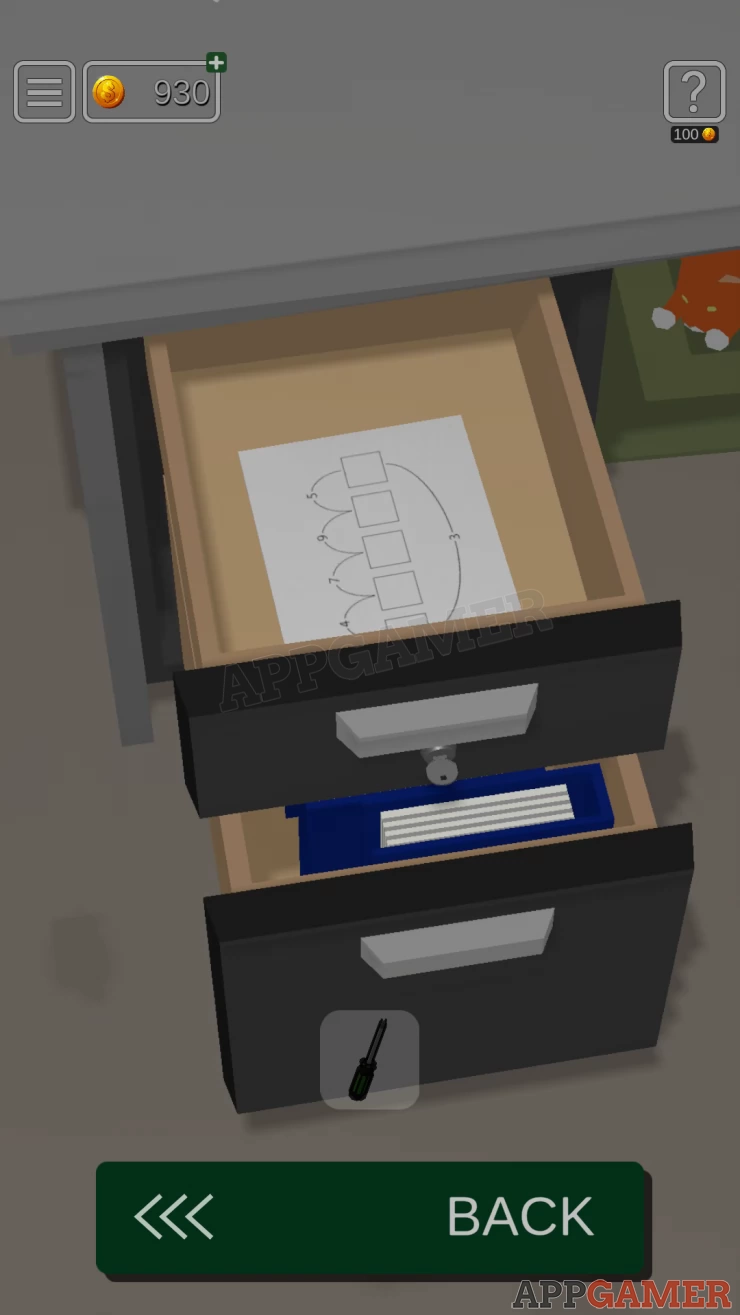
Then use the key to open the top drawer. Collect the Paper from inside.
View the right side drawers,
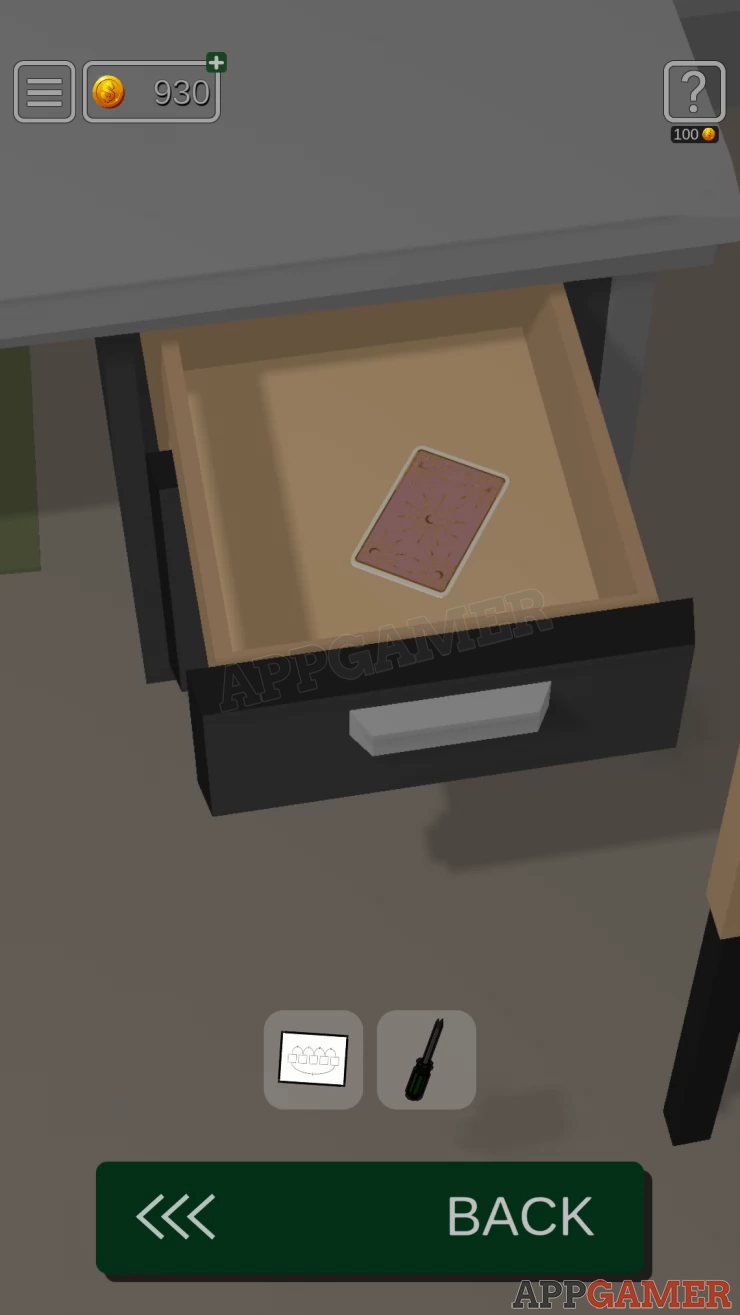
Collectible: Card in the top drawer.
Turn right again and view the large desk.
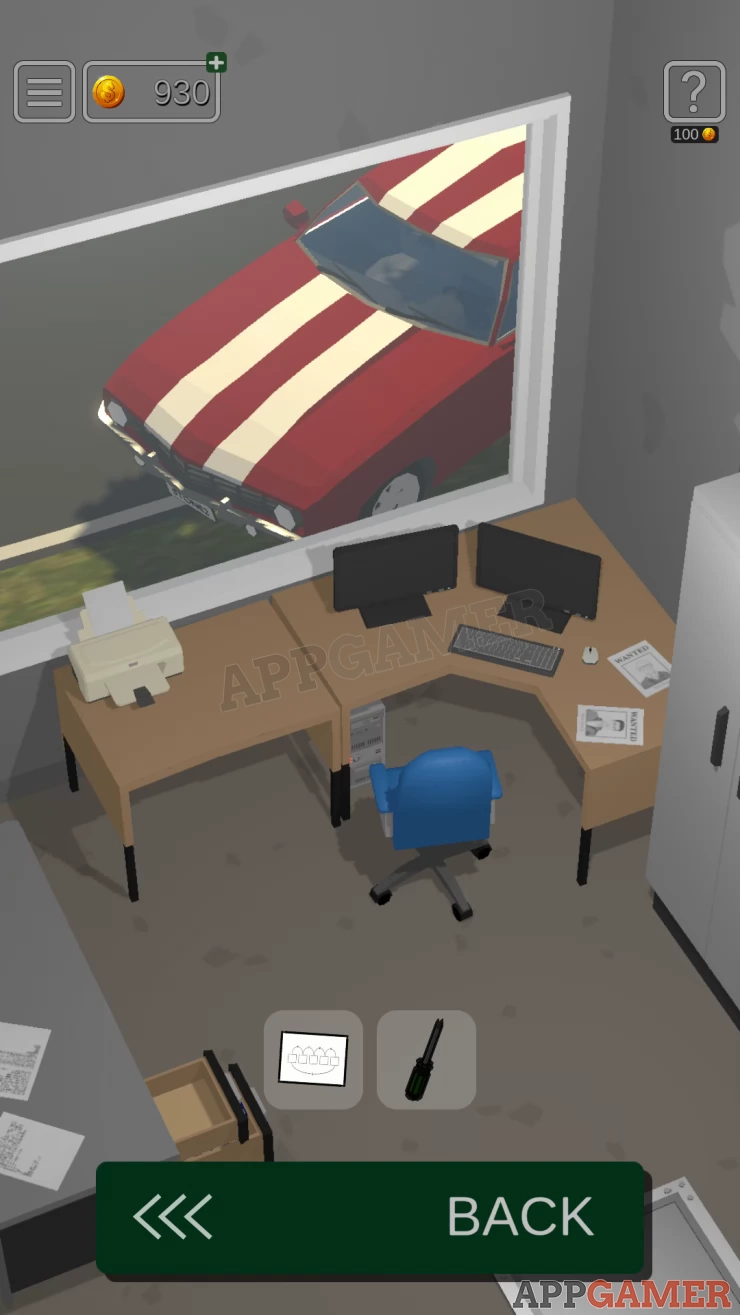
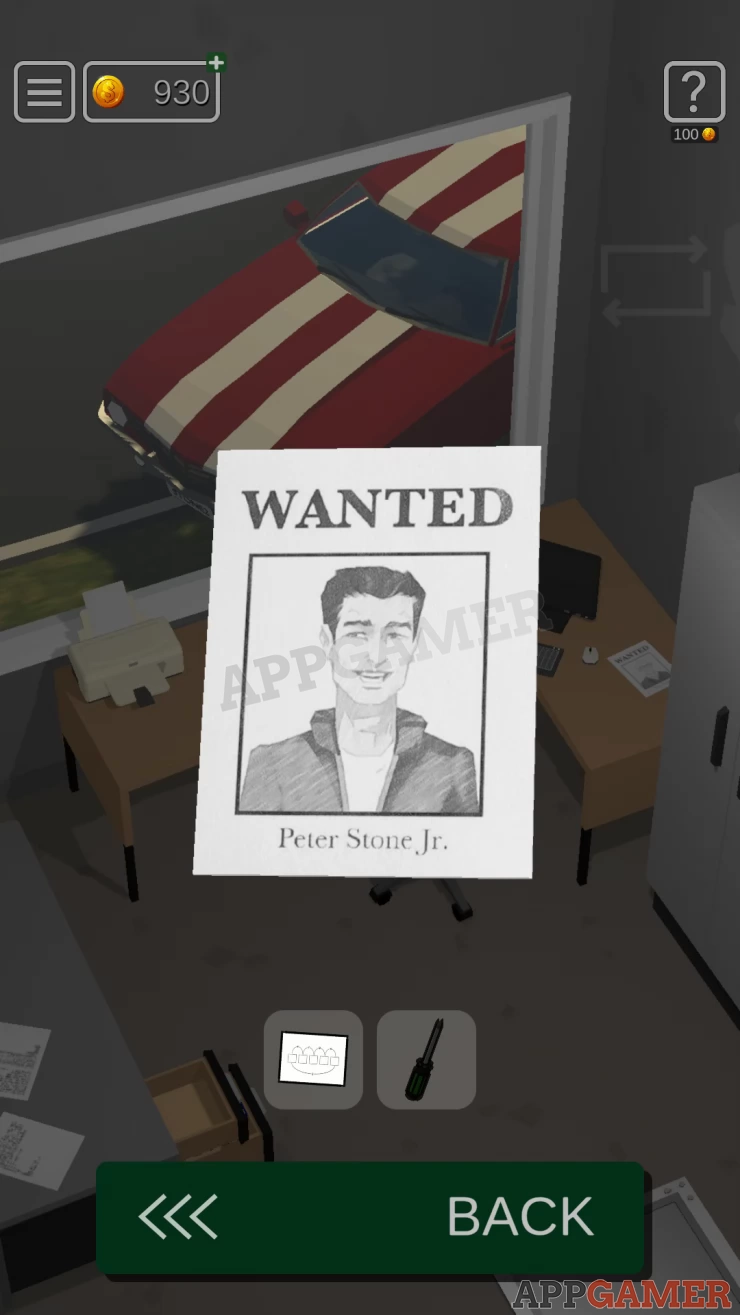
Collectible: View the 2 Wanted papers on the right and find the card on the back of one of them .
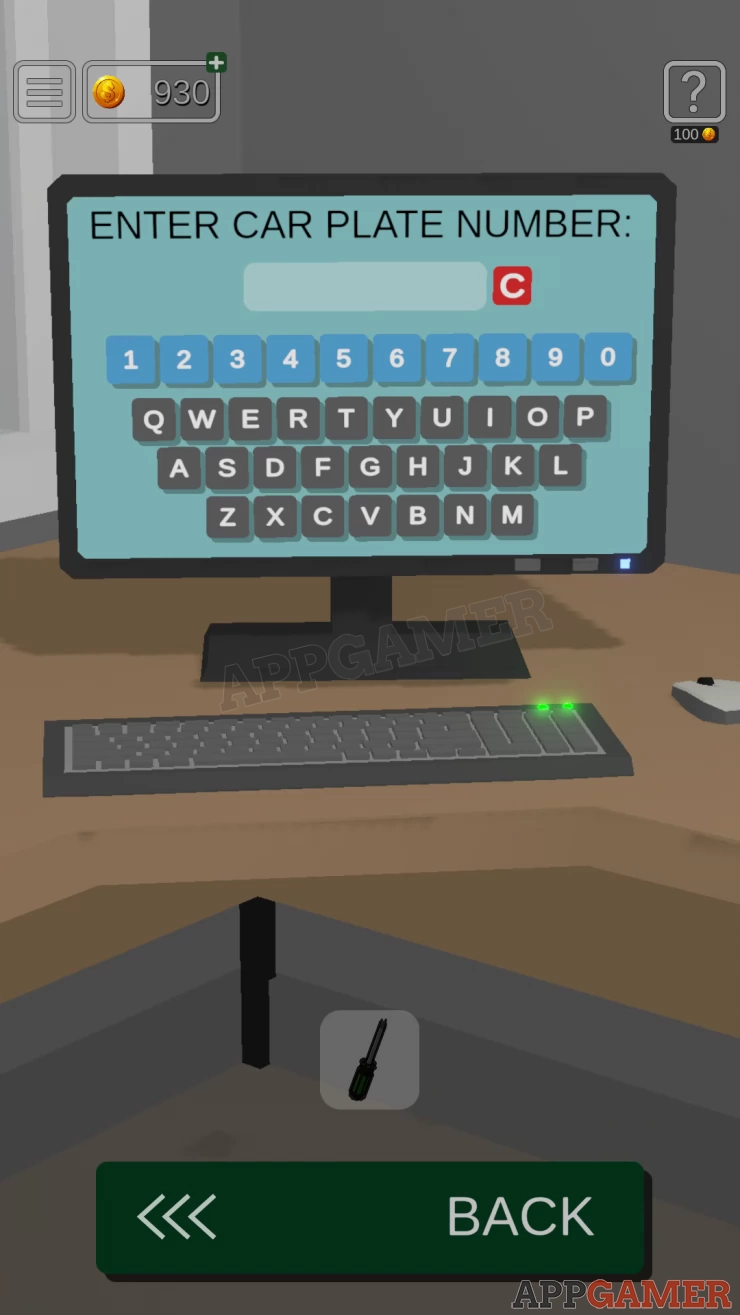
Tap on the computer under the desk and then tap the power button.
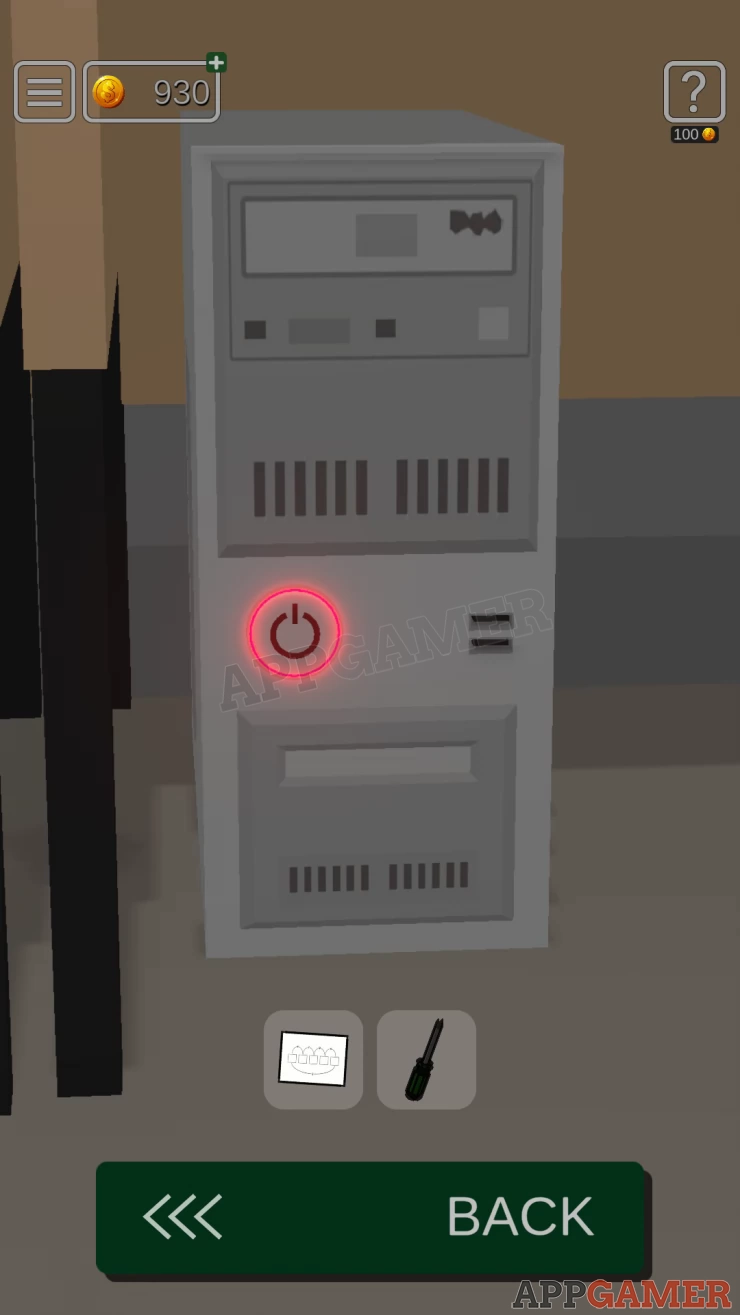
You now need a passcode. Look at the Paper for a clue.
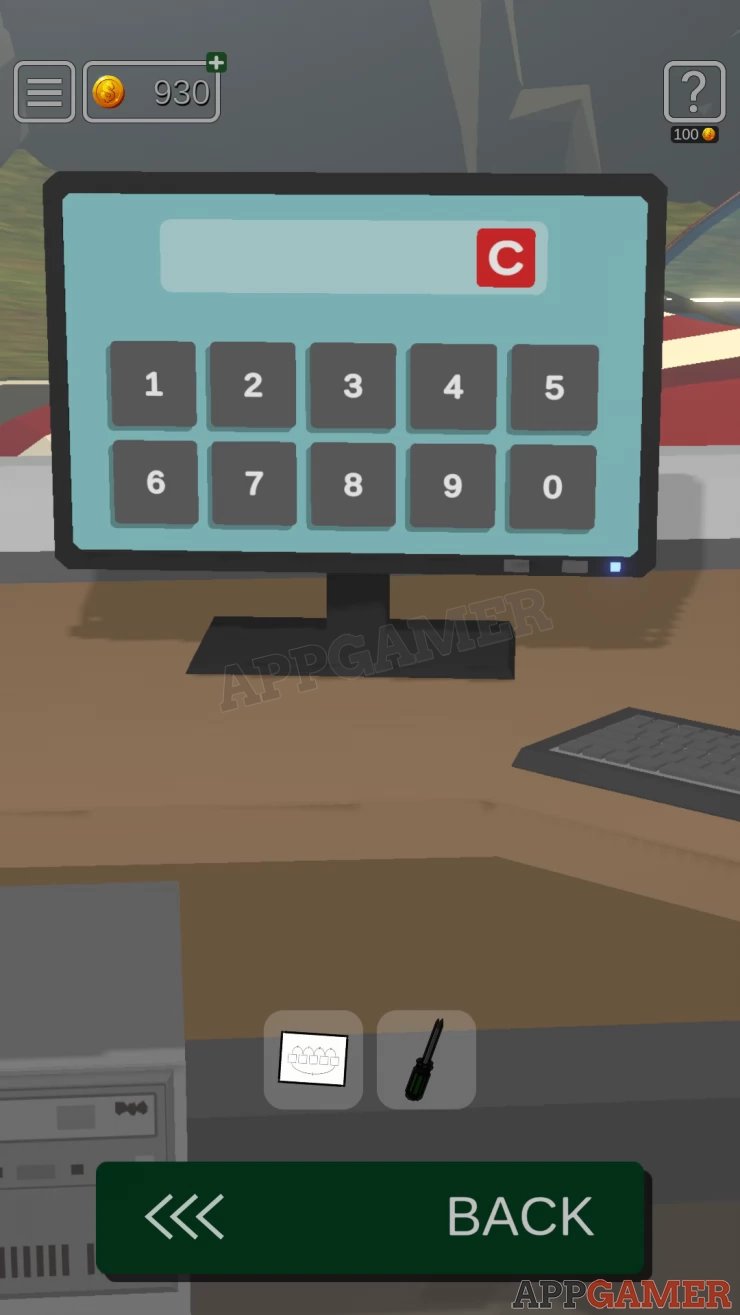
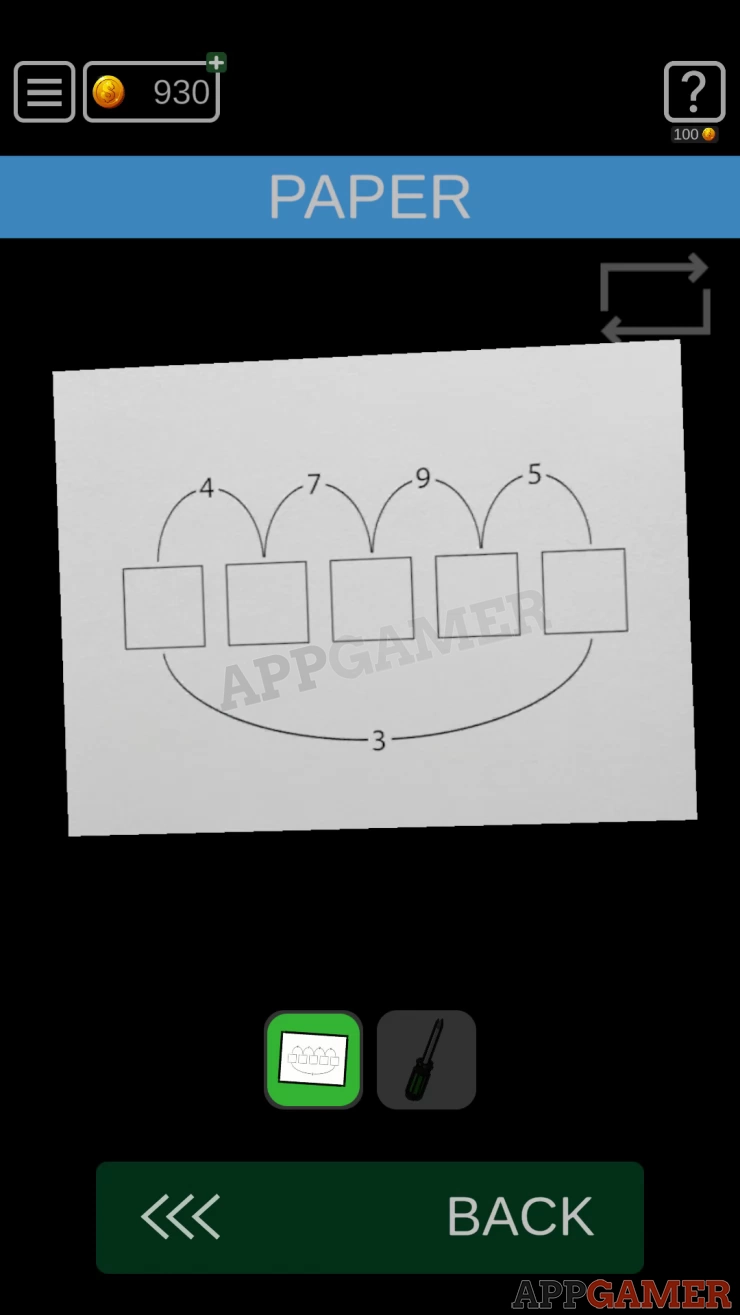
Solution: The connected number lines show the addition of the 2 numbers in the squares.
I.e. the first number connector is 4, so the 2 numbers in the squares could be 3 and 1 or 2 and 2.
Work out the 5 numbers that will fit the squares to match all of the connections.
Code: 22541Show
Enter this code into the computer and then tap on the Car Plate Check option. Next look at the plate on the car parked outside.
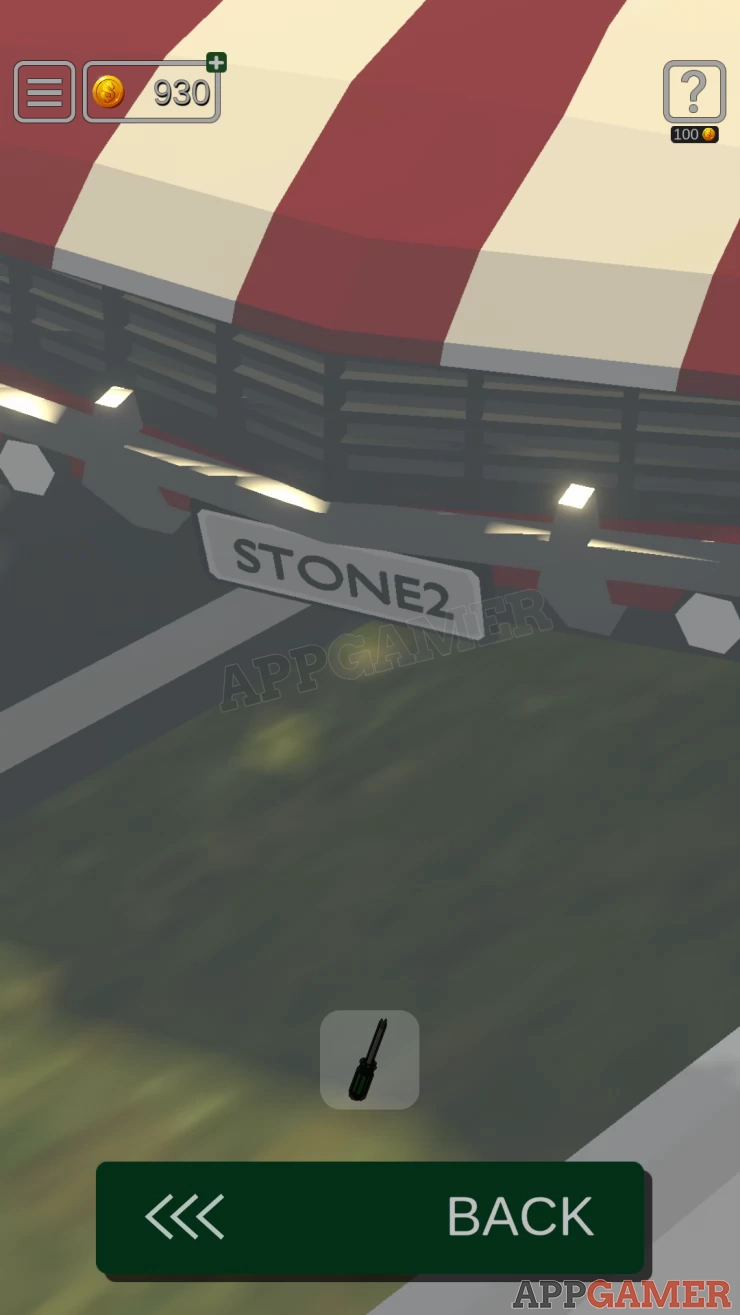
Then view the other screen of the computer and enter STONE2.
Tap the Print button and then collect the Paper from the printer.
Go back to the Map on the wall and view it.
Map Puzzle and Safe
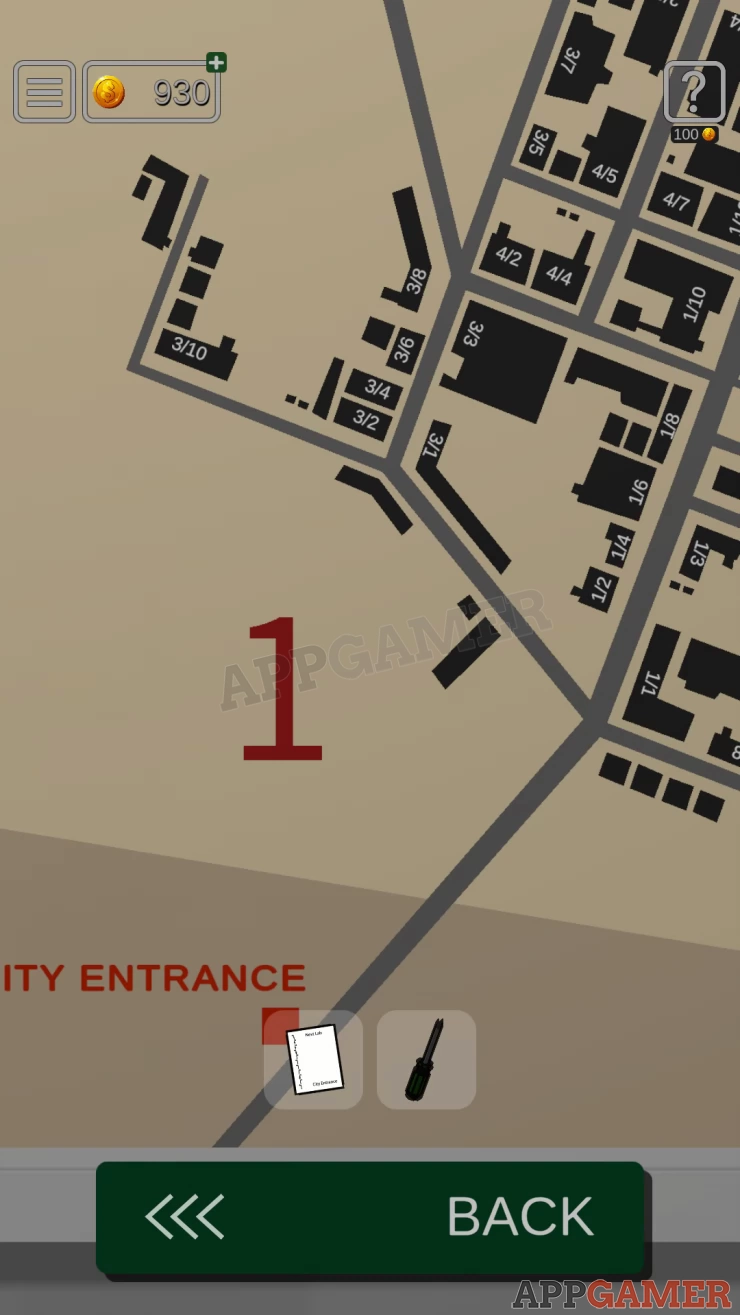
- There are 2 sides to the map, 1 and 2 The city entrance is on the left side (1) .
- Look at the paper to see the route shown from the city entrance.
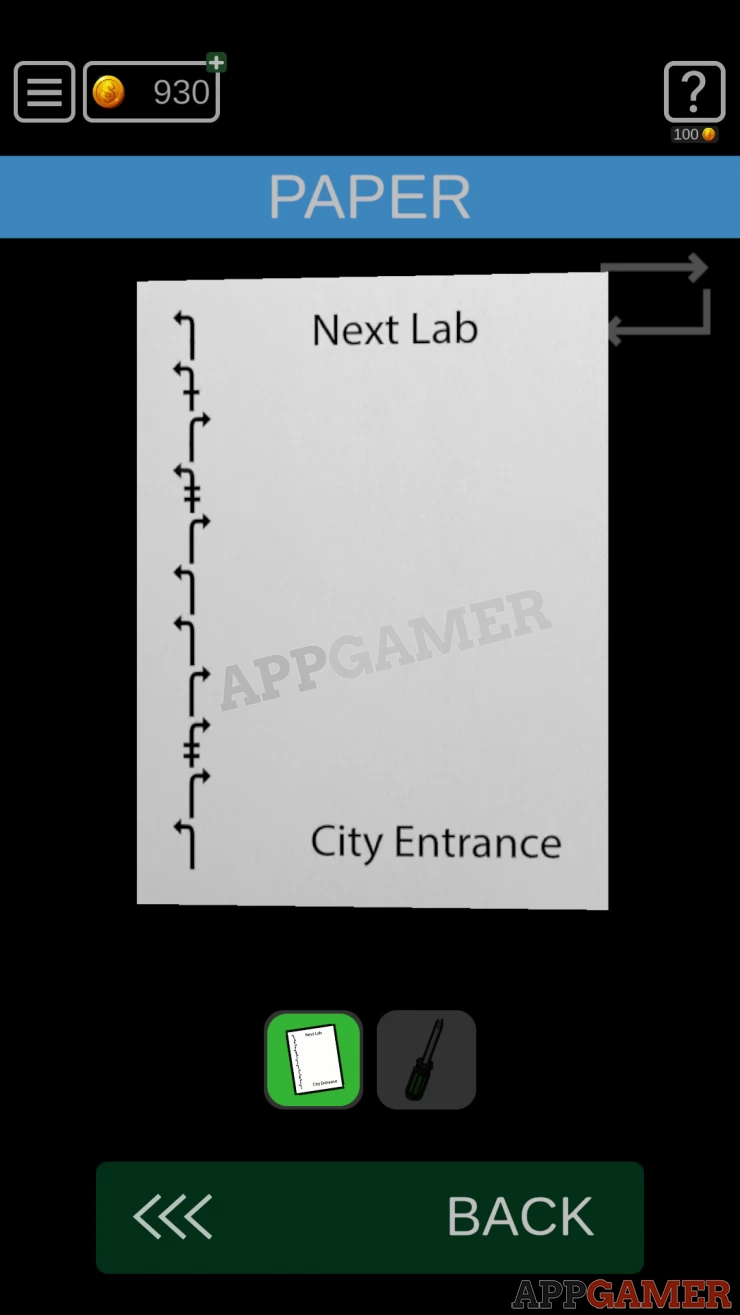
- Follow the directions from here to find out the location of the destination building 'Next Lab'.
- You will arrive at one of the building in area 2.
- Once you know the code number of the building you can view the safe below the map.
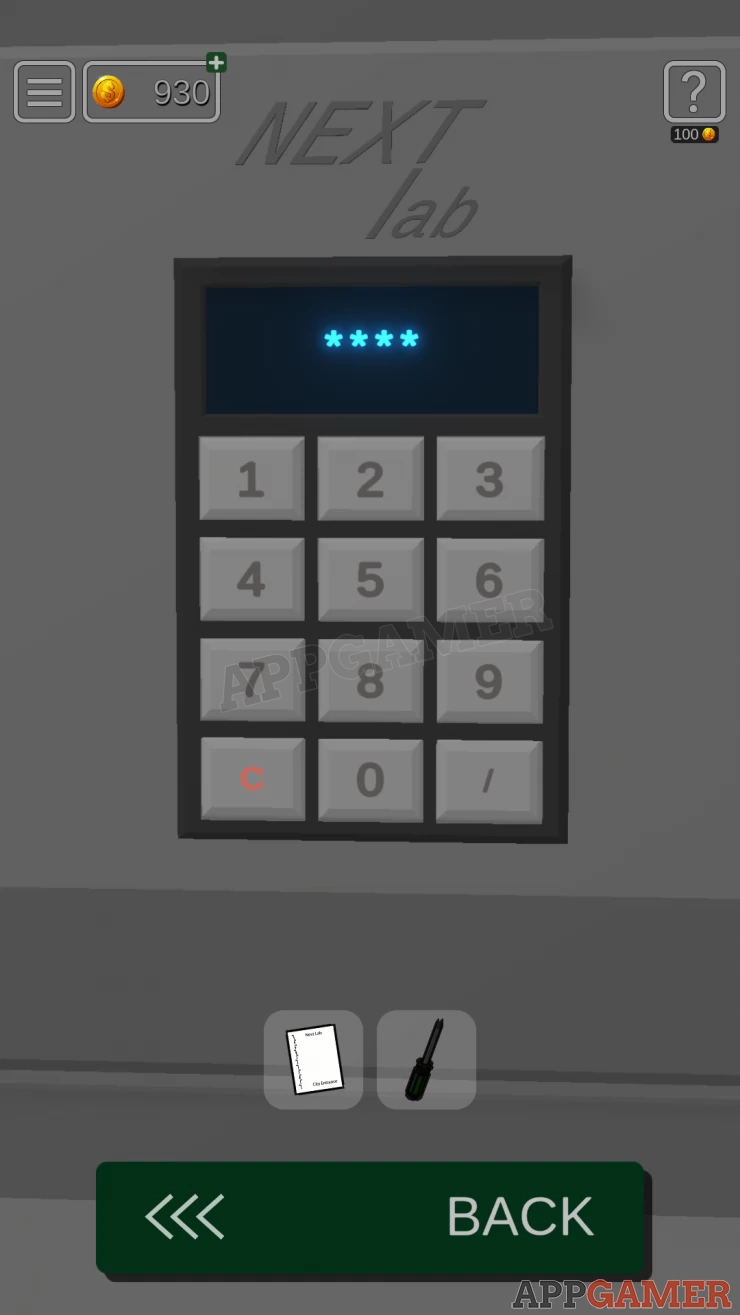
Notice that the safe says Next Lab on it. The clue for the code is from the map .
Solution: The next lab building is marked as 9/2 in section 2. This gives us a code of 2 9 / 2Show
Collect the access card from the safe
Now turn to the left and view a panel in the floor under the shelves. Open this.
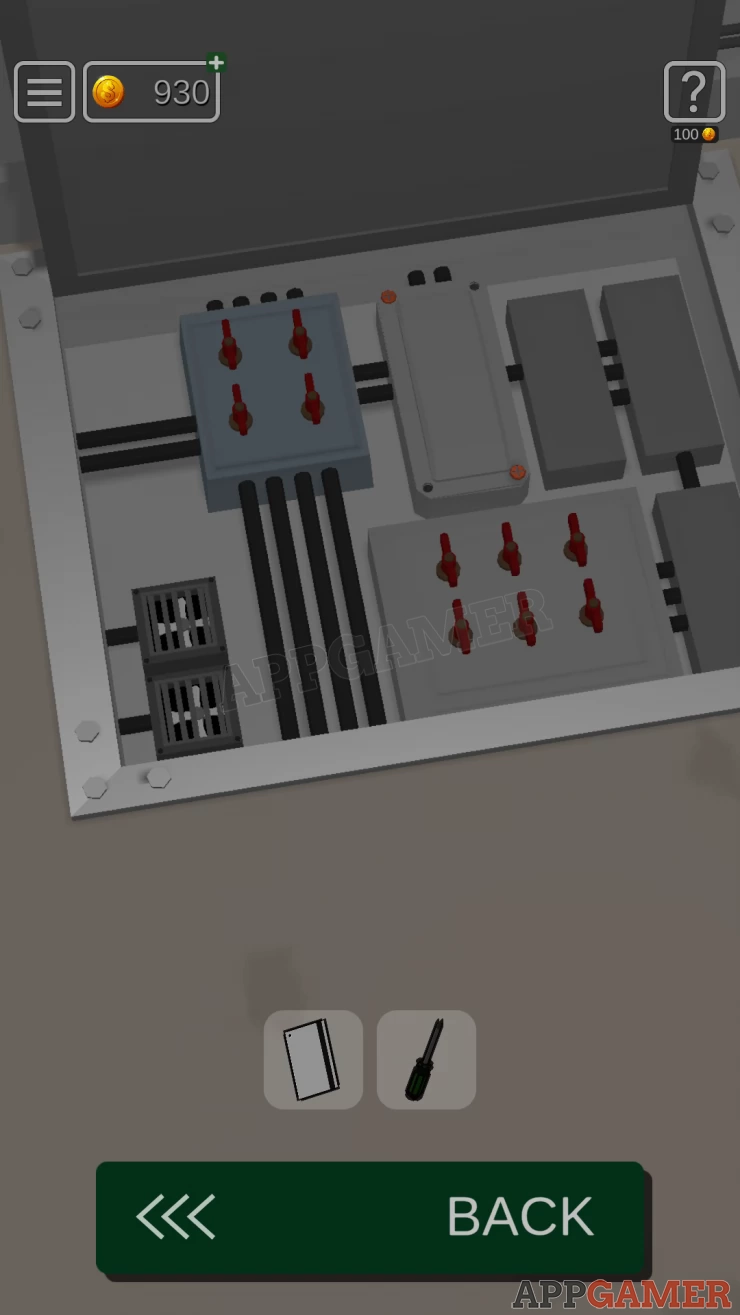
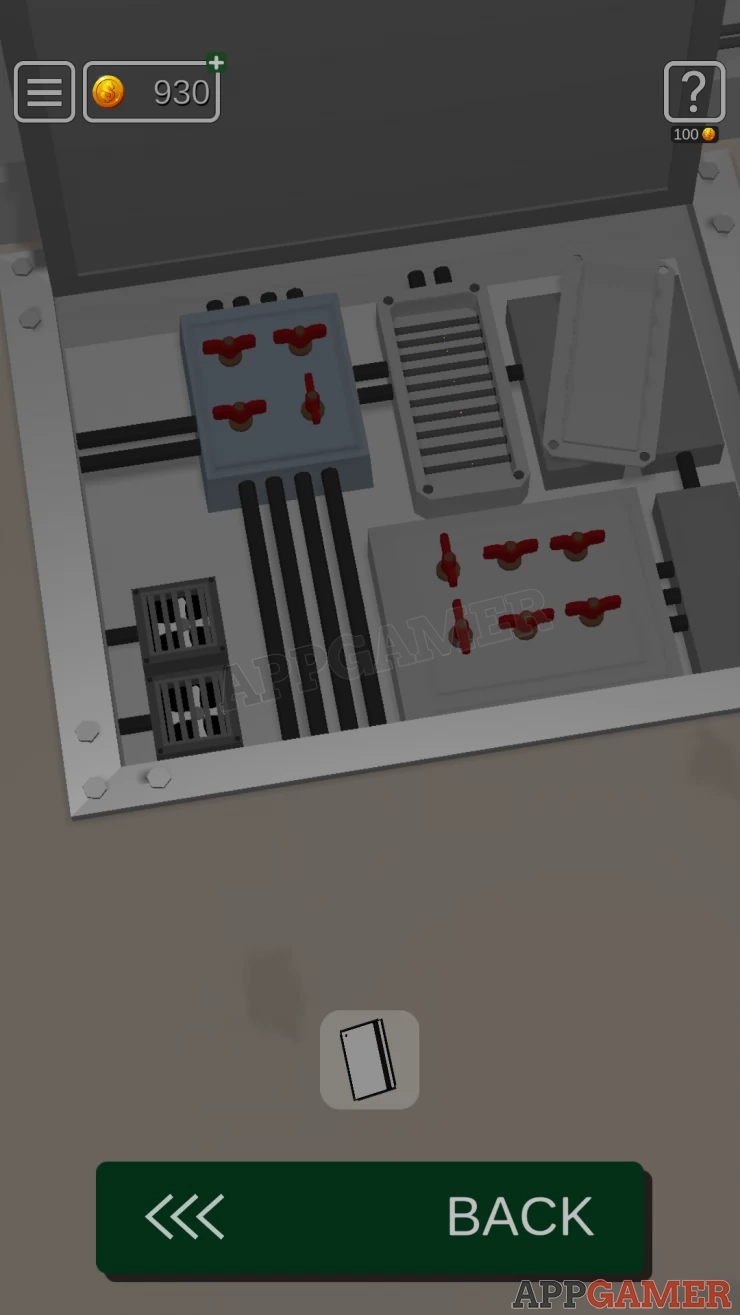
Electrical Panel Puzzle
- Use the screwdriver on the 2 yellow screws on a box in the top center. This will open it.
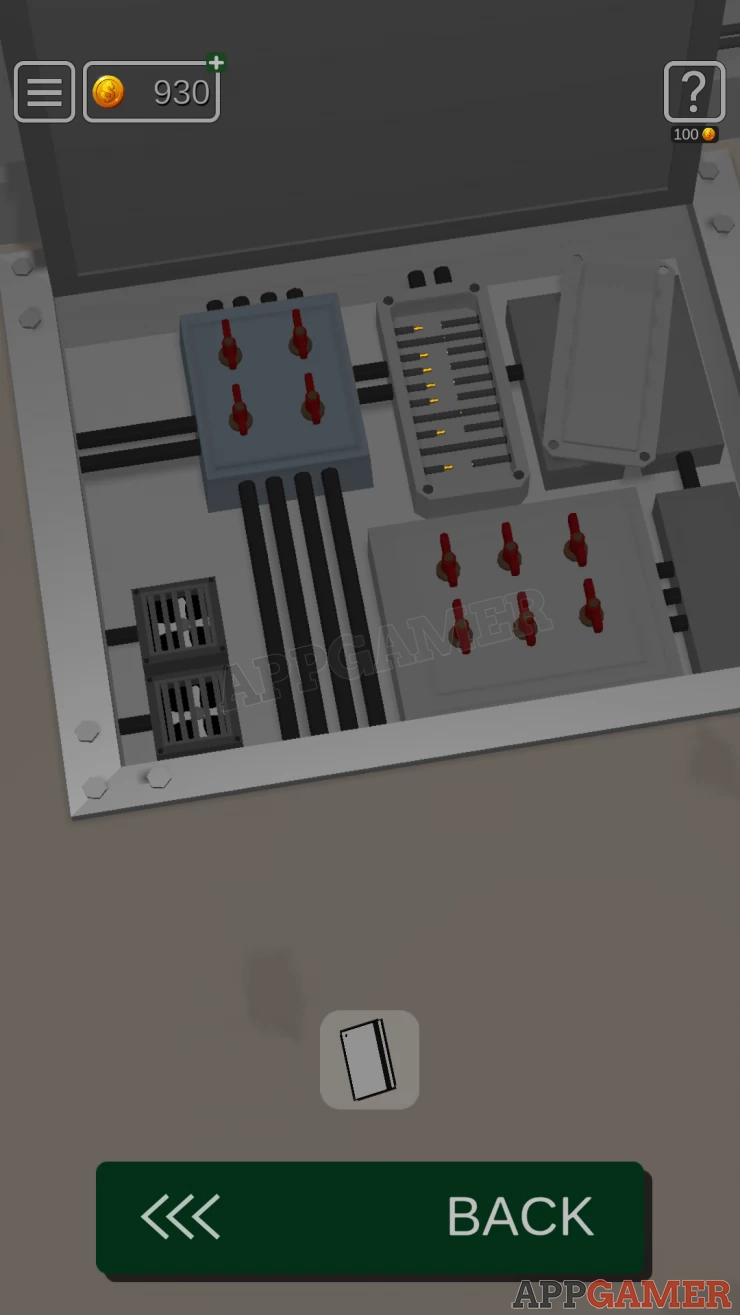
- Inside are a number of wide that need to be connected.
- Tap the red switches to move the wires, some will make them connect some will move them apart.
- Find the correct switch positions to make them all closed.
Solution: Show
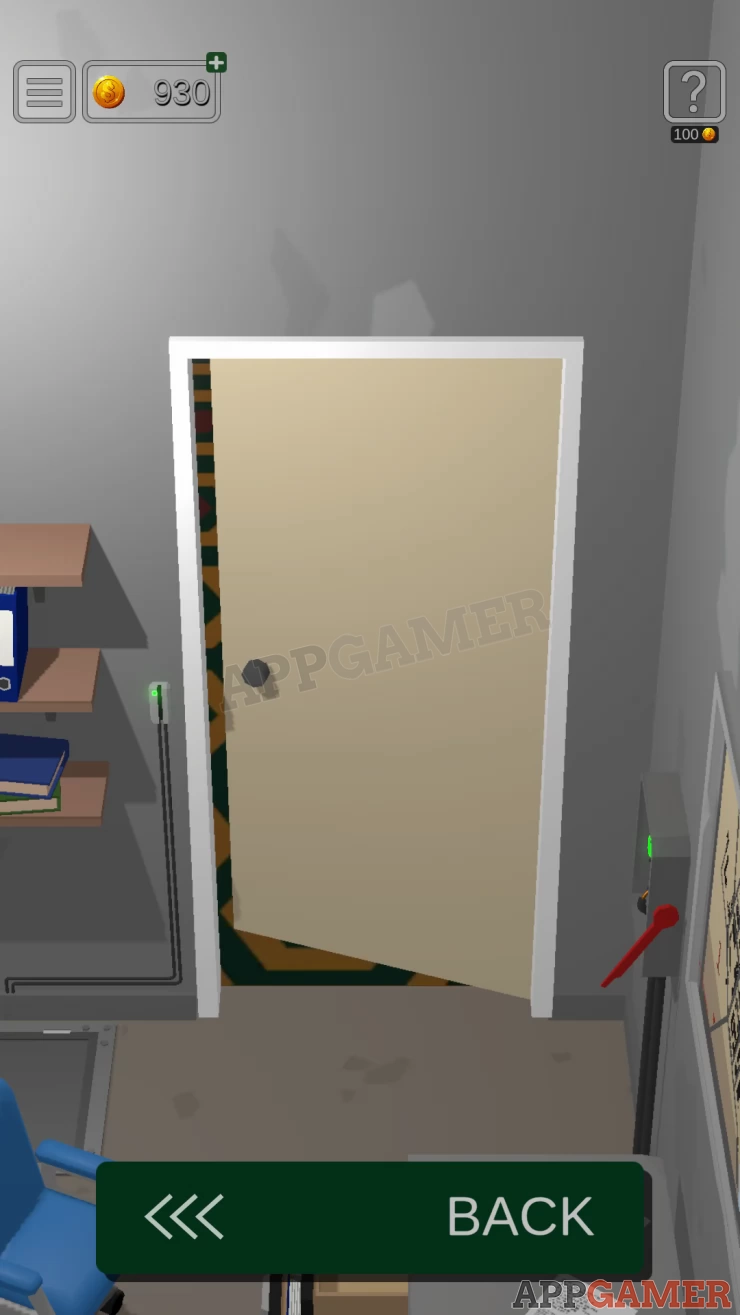
Now you can use the access card on the card reader by the door, this opens the door and you can escape.
Move on to level 32.
We have questions and answers related to this topic which may also help you: Show all
 With 20 years of experience in creating video game content for the internet and over 30 years as a gamer, Mark is now a passionate mobile App Gamer. Loving a challenge, he is always ready to get stuck in to both survival builders and puzzle solving games. He has been providing content for AppGamer since 2014.